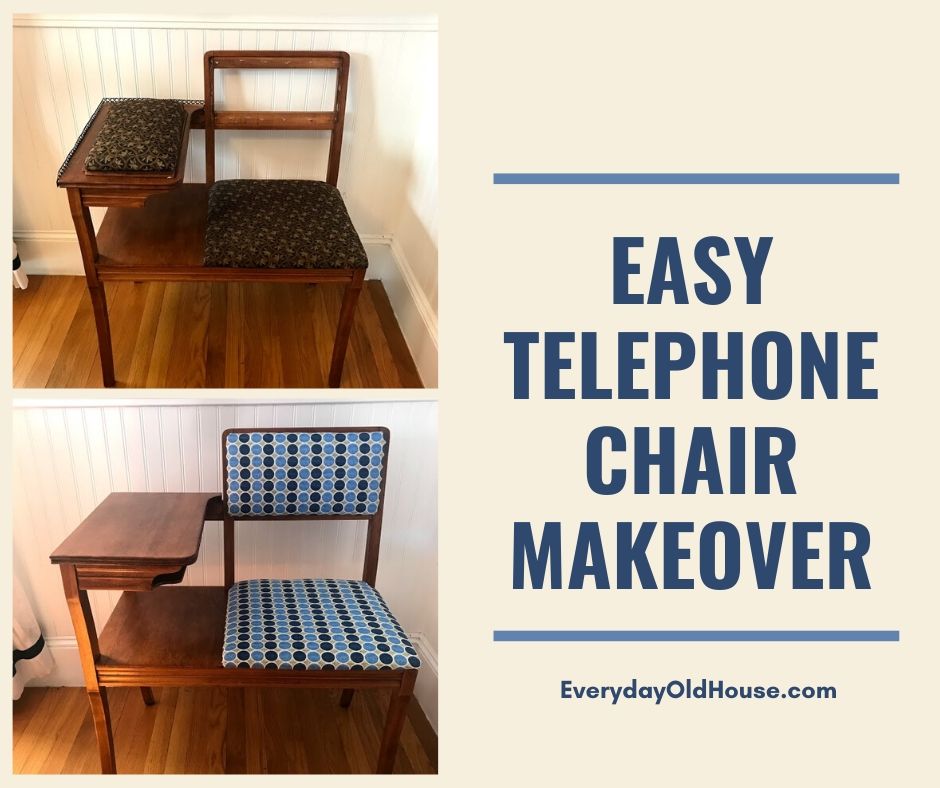
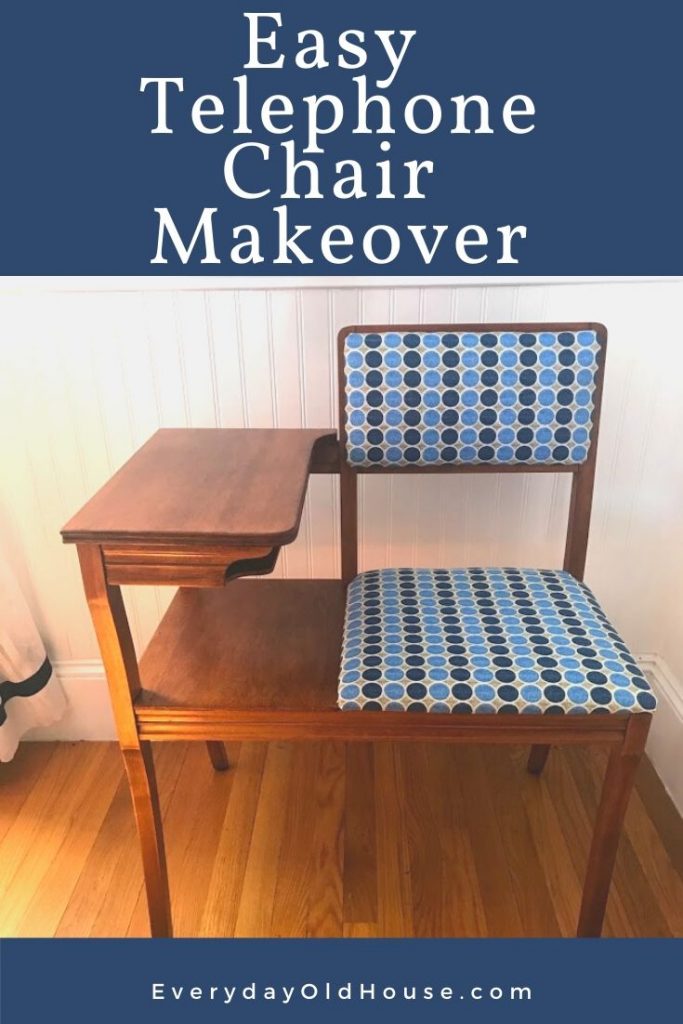
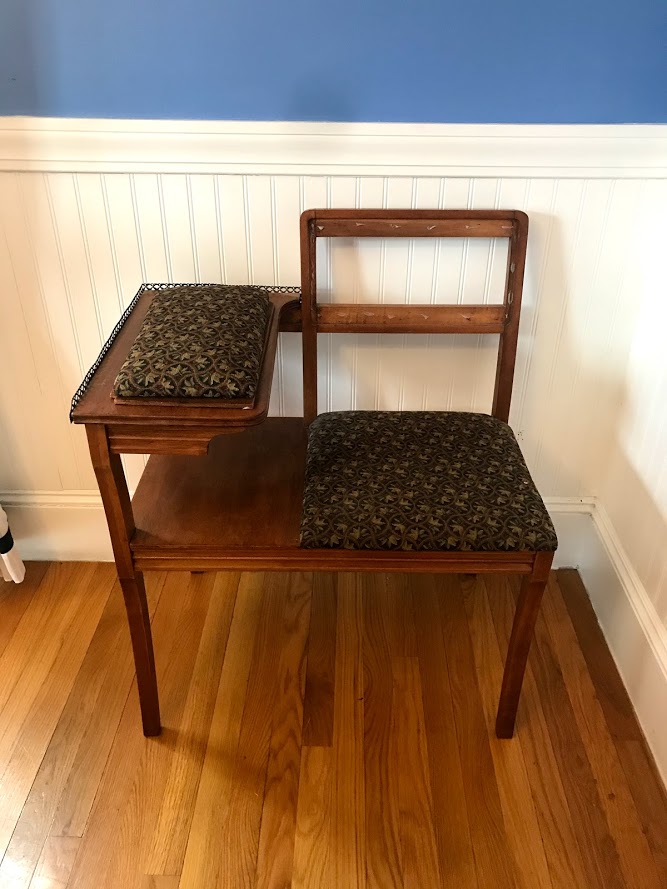
A few months ago I came across this vintage telephone chair on Freecycle, an online grassroots network of folks who give (and get) stuff for free. This telephone chair was in amazing shape, it just needed a little love. And in this tutorial, I reveal how easy it is to upcycle a telephone chair.
It’s the first one I’ve done and I was surprised at how simple it was. Now I’m on the lookout for more telephone chairs to upcycle!
This post contains affiliate links, including but not limited to, Amazon Associates. As such, I earn from qualifying purchases. Full disclosure located here.
What is a Telephone Chair?
But first, you might be wondering what even is a telephone chair? And in today’s wireless society, it’s a good question.
Technically, this piece of furniture is called a few different things – a telephone chair, telephone bench, even gossip chair. These telephone chairs consist of a chair or small bench with a table attached at one side. Usually the table contains a built-in shelf to store a telephone book or magazine.
Once a upon a time (in a galaxy far, far away WINK), telephones were not portable. There were no cell phones. No cordless phones. There were only landlines. (The horror! Lol) I remember these days (Hey! I’m not that old…..). I remember a nook in my nana and grandpa’s old Victorian home with a chair and table dedicated to the landline telephone (and yes, the phone had a rotary dial).
Telephone tables were created to put in the hallway or corner or even under the stairs away where people could sit and chat (or “gossip”) on the phone.
Telephone chairs have existed since the late 19th century, but were most popular in the 1930s through the 1950s.
And while today’s homes rarely have a telephone with a restrictive cord, telephone chairs are still in use today. They are still perfect for filling in those nooks and crannies in old houses or simply adding a vintage touch to your home.
My Upcycled Telephone Chair’s Story
I’d like to say that I was motivated from the get-go of upcycling this telephone chair. But like most of my DIY projects, it all starts out of necessity.
This piece has been sitting in our basement (with lots of other unstarted projects) for a few months, patiently waiting for my attention. But a few days ago my oldest daughter was down in the basement trying to find something new to do.
Understandably she’s bored being homebound for 6 weeks from our covid stay-at-home order. And it’s becoming more and more difficult to keep her motivated to do her schoolwork. She came across this telephone chair sitting in the basement and said “Mom! This would be perfect for me to do schoolwork! I could sit and work on my computer and I could store my notebook and pencils in this shelf!”
And so, mom dragged the gossip chair out of the basement, dusted off the toolbox, rolled up her sleeves, and went to work…. Time to learn how to upcycle a telephone chair!
How to Upcycle a Telephone Chair
This is one of the simplest projects I’ve completed. It doesn’t take much time, and chances are you already have most of the materials already lying around your house.
Supplies (Buy here)
Here’s what you need to upcycle a telephone chair. I’ve linked to this products at the end of this post for reader’s ease.
- Drop cloth to protect workspace
- Gloves
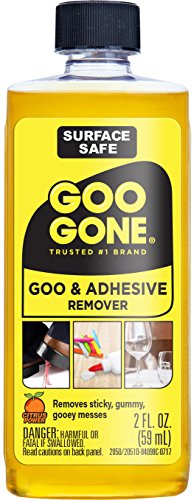
- Adhesive remover (I typically recommend Goo-Gone and Goof-Off)
- Murphy’s Oil Soap and cleaning cloth
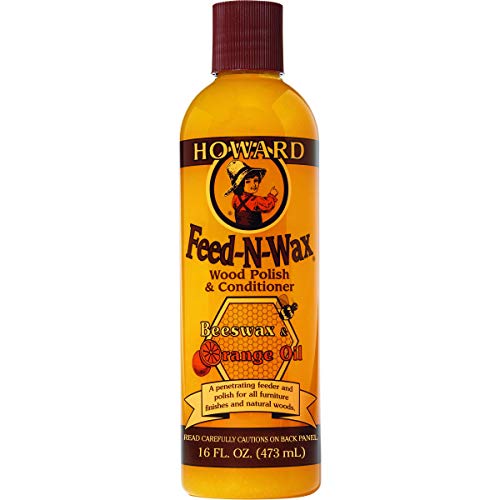
- Howard Products Feed-N-Wax and soft cloth
- Tack remover
- Staple Gun
- Upholstery/ fabric (optional: new foam cushion)
- Glue gun
1. Remove Adhesive from Cushions
Remove the cushioned portions of the chair. For my telephone chair, the seat easily popped out. To remove the old adhesive, I first applied my go-to Goo Gone. (Use gloves to protect your hands).
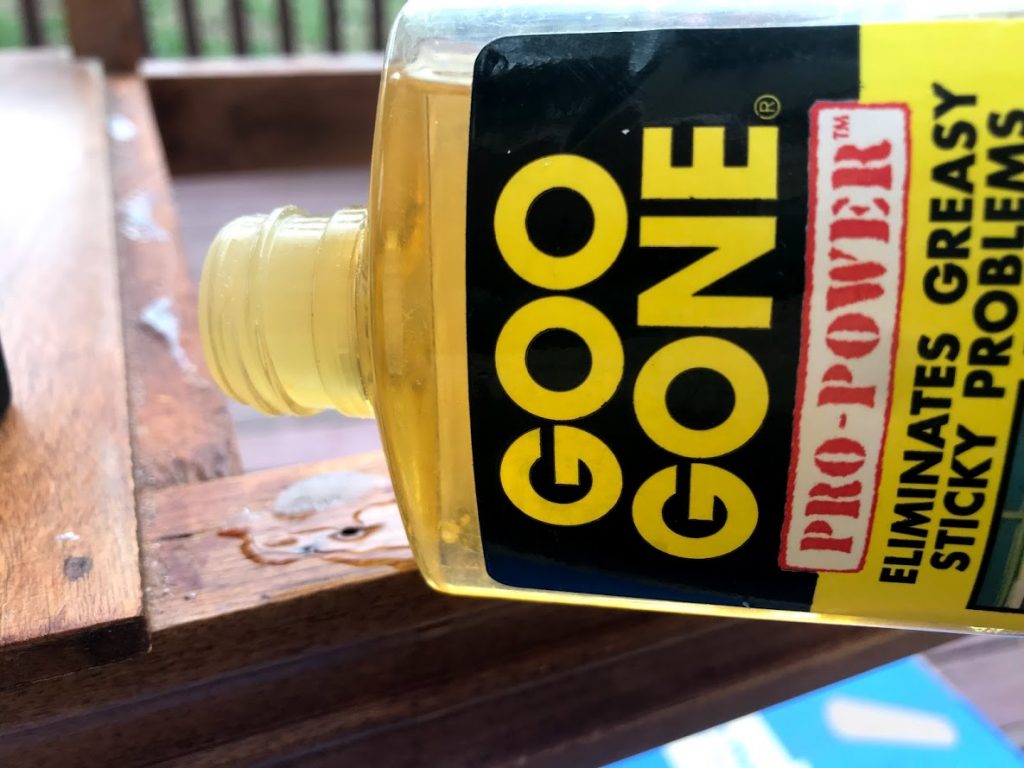
I waited about 10 minutes, but it didn’t work fast enough for my impatient self. So I dug deep into my toolbox and tried Goof Off. I waited another 10 minutes, and the glue was easily removable with a plastic scraper.
Honestly, I’m not sure which product worked (probably a combination of the two!) so I’ll thank both for getting all the adhesive off the telephone chair very easily.
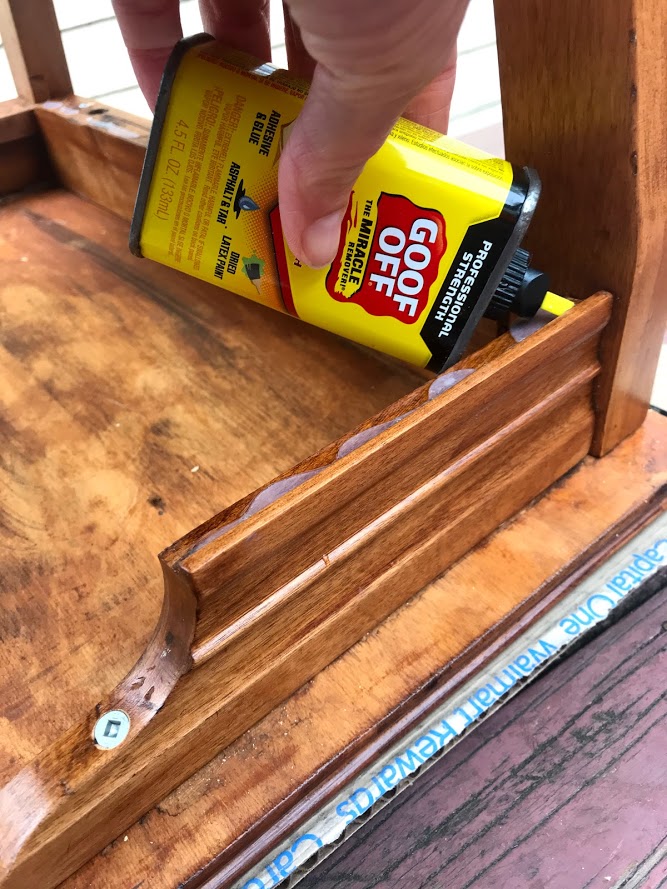
Note that these two products are runny, so position the telephone chair so that the glue stays in the inconspicuous portions of the chair. In the photo above, the chair is upside down so the Goof Off doesn’t run to other parts of the chair. And as with most DIY projects, don’t forget a towel or drop cloth under the chair to protect your floor.
2. Clean Chair
Once the adhesive is removed, I gave the chair a wash with Murphy’s Oil soap and warm water and a soft cloth. I’m a bit fan of Murphy’s Oil Soap – it is what I use to clean all the wood in my house. To get into the nooks and crannies, use an old toothbrush.
3. Paint or Not to Paint
Once dry, I considered painting to upcycle the telephone chair. It would look charming painted in a pretty white or cream color. Whenever I do a wood furniture restoration project (like this cute side table I found on my neighbor’s sidewalk on trash day), I always consider painting.
But, I decided not to paint this piece. Why? Because this piece is going into the corner of our dining room – for now. And the telephone chair’s wood stain matches the stain on our dining room chairs. But when I’m ready to paint, I’m reaching out to my friend at Swank Surroundings who does some amazing work with painted furniture.
To refresh the wood, I applied a liberal amount of Howard Products Feed-N-Wax Wood Polish & Conditioner per bottle instructions. I’ve found that Howard Products do amazing things to revive vintage wood furniture.
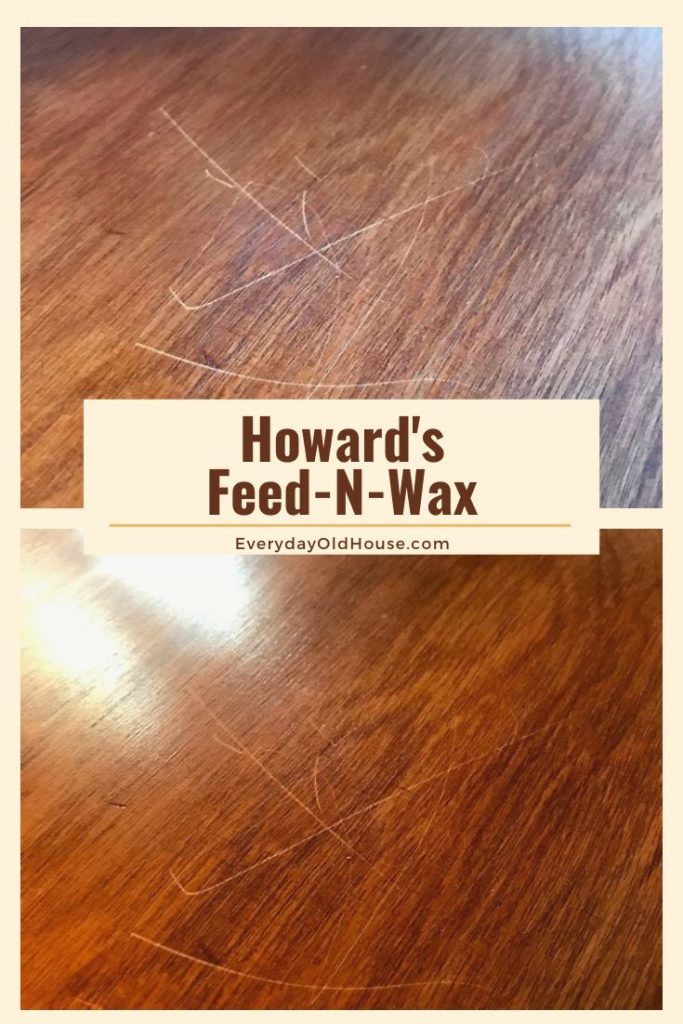
Isn’t the difference amazing? I took pictures of the area with the worst group of scratches so you can better see the pics (there were remarkably few scratches on this vintage telephone chair).
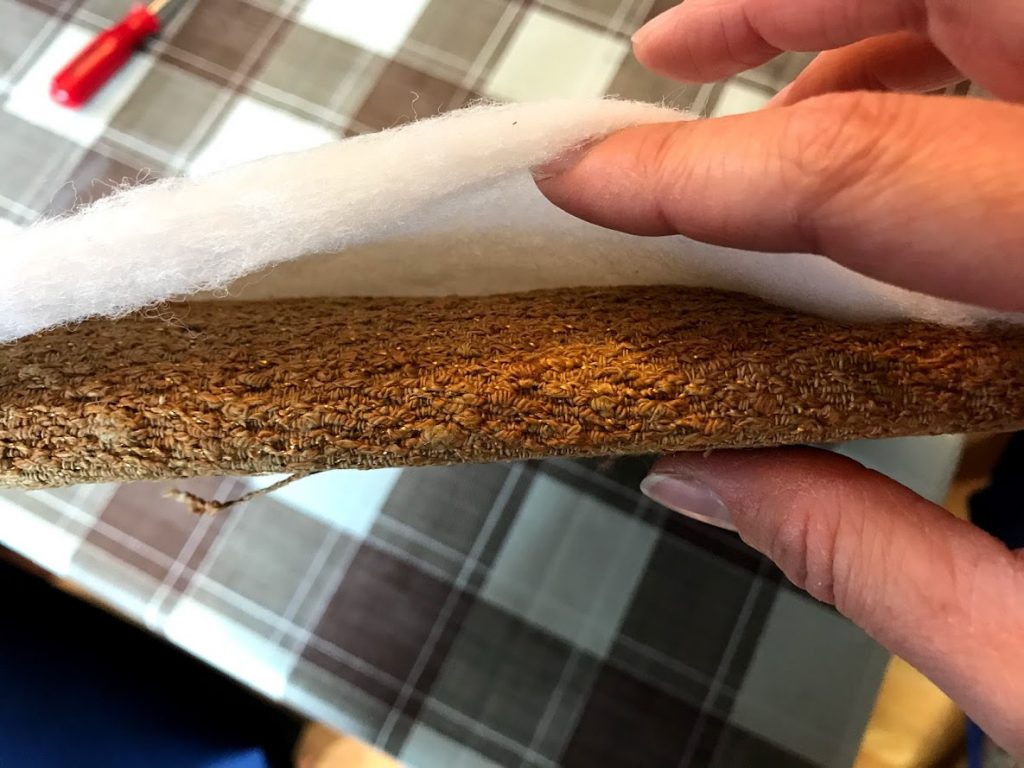
4. Remove Old Upholstery
[Note: My bench cushion was salvageable. However, if you are missing one or just want to start fresh, check out this DIY bench cushion cover tutorial.]
If you are feeling lazy (and yes, the thought crossed my mind to do this….) I considered attaching the new upholstery over the old to upcycle this telephone chair. But the old chair cushions just smelled smokey and just, well old. This chair definitely existed in a smoker’s house. Not recently, but awhile ago. Not surprising since smoking was more acceptable, in fact, was “in-style” in the heyday of telephone chairs.
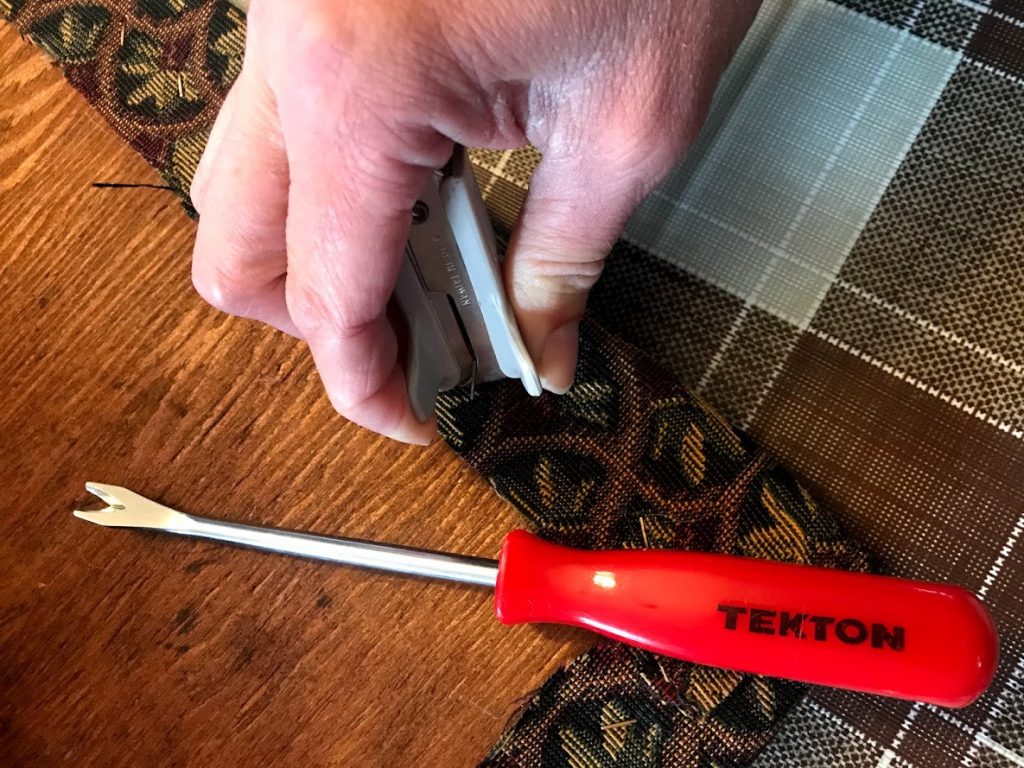
There are a few tools out there to help remove staples from upholstery. I used a tack remover that I used to remove the tacks on my mom’s antique rocker with a leather seat insert. It’s easy to use, and fairly inexpensive.
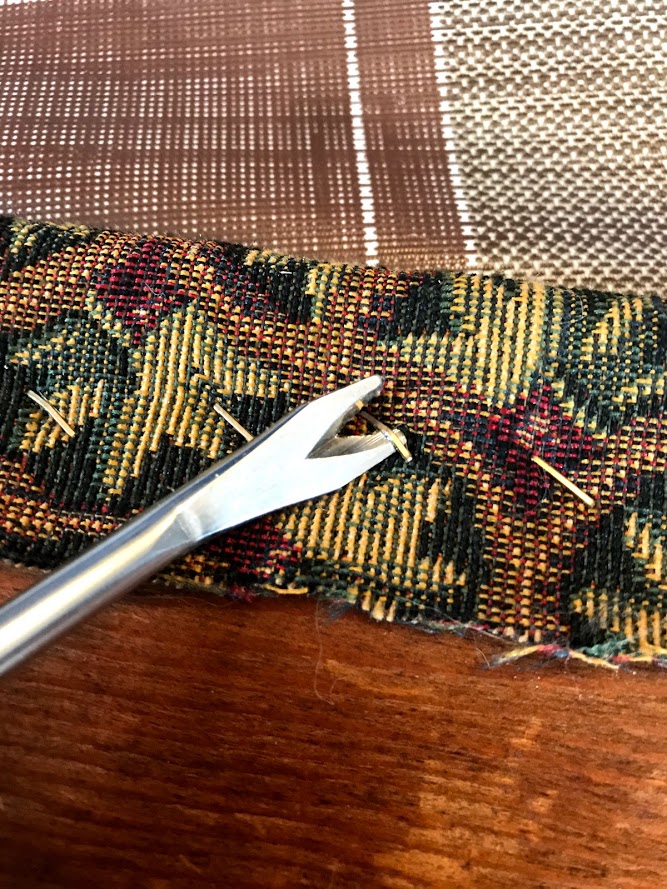
Glide the tack remover with slight downward pressure.
If one of staple points came out and not the other, I used a standard staple remover to pull the staple completely out as pictured below.
Once the old upholstery was removed, I could see what was underneath – the original fabric and a layer of batting. The original cushion was covered with a gold fabric. Looked very 1950s to me!
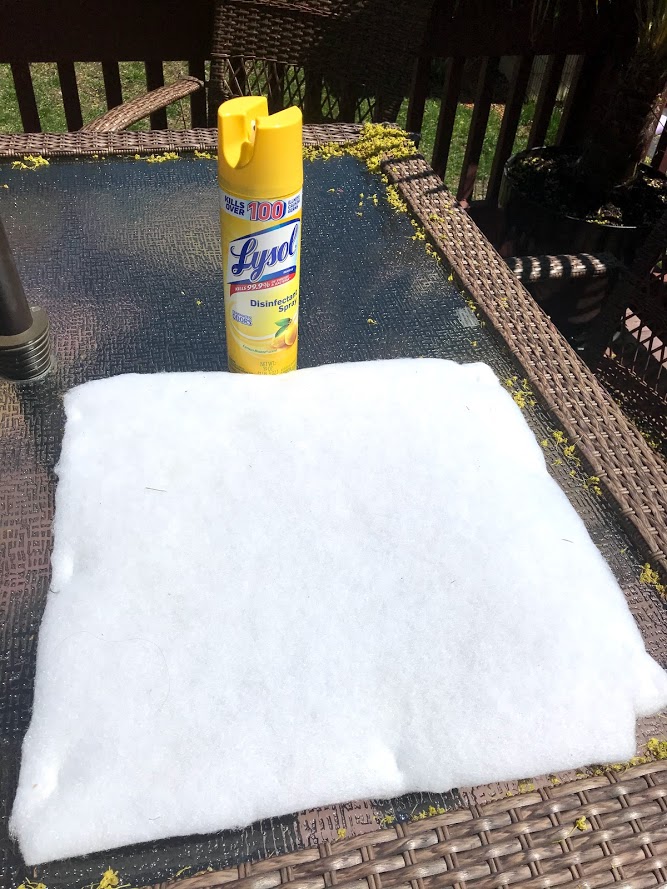
If it wasn’t during covid quanantine, I probably would have gone out and purchase new padding. But we make do with what we can in these times, right?
I did a thorough spray of the cushions with Lysol and set outside to dry and air out on a nice, warm sunny day. And I was able to rid the cushion of smells. In the picture, please ignore all the pollen in the background – we have a maple tree that throws pollen everywhere for 1-2 weeks and makes a complete mess.
5. Staple New Fabric
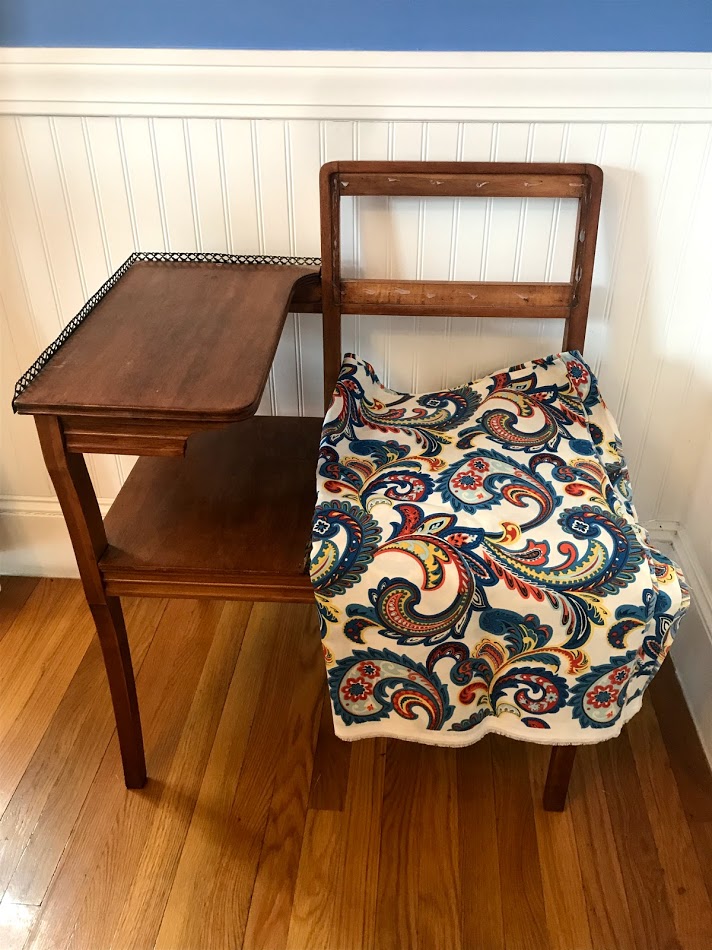
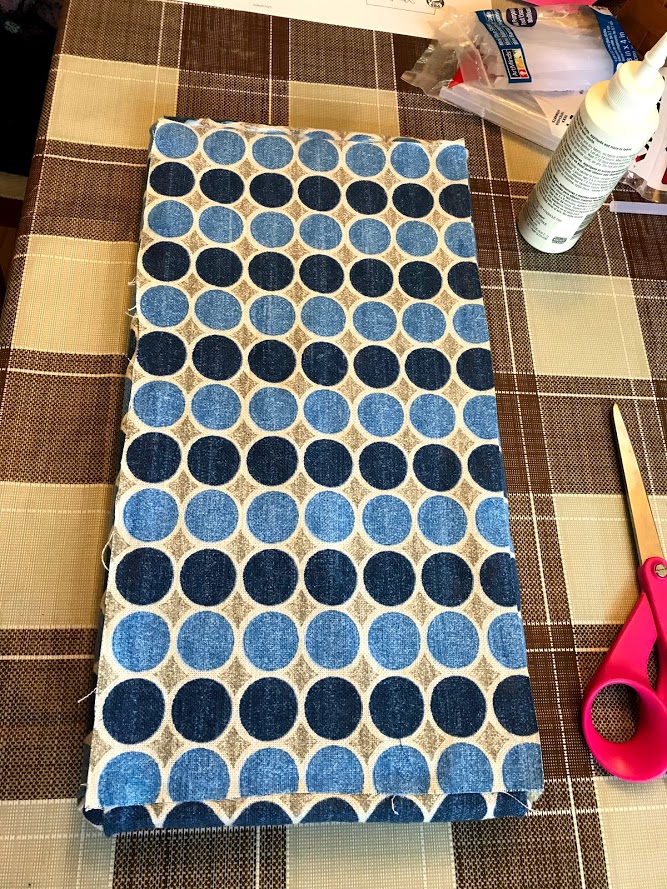
Luckily, I had fabric stored up in my attic so I didn’t have to wander out during the pandemic. I found two potential fabric options to cover the cushion up in my attic. One was a paisley print (picked below), the other a polka dot. The polka dots seemed to match the telephone chair the best – it had a bit of a retro 1950s look.
Using the old upholstery as a template, I cut the new fabric for both cushions.
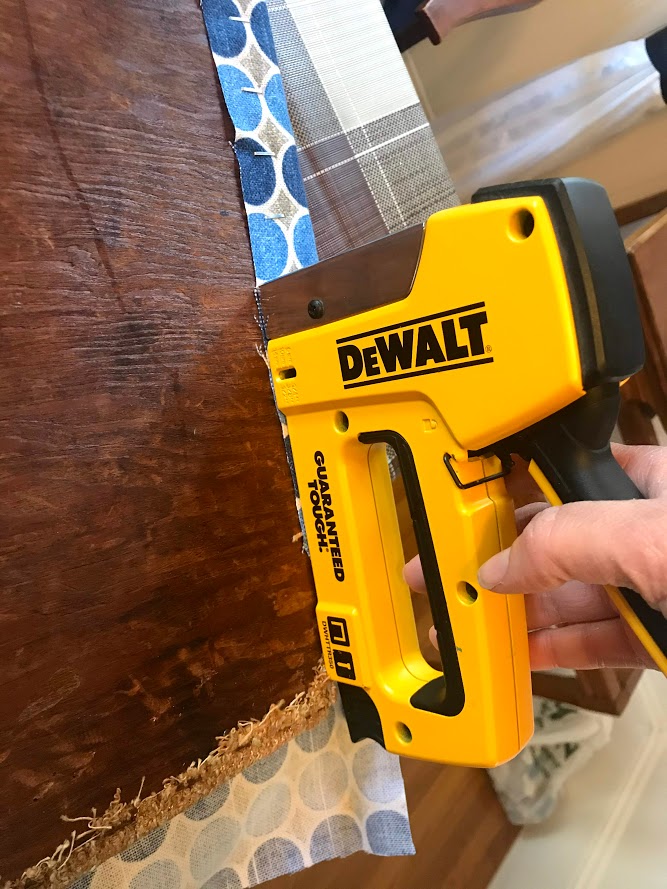
Then using this below video as my tutorial, I stapled the new fabric to the cushions, taking special care with the corners (see 5:15).
Here’s a pic of stapling the polka dot 1950s-inspired fabric to the chair cushion.
I did the same for the back cushion, but this particular cushion posed one additional challenge. The back of the chair is opened, so I couldn’t just leave the back as messy. So after I stapled the fabric to the front of the cushion, I cut another piece of fabric and secured to the back using fabric glue.
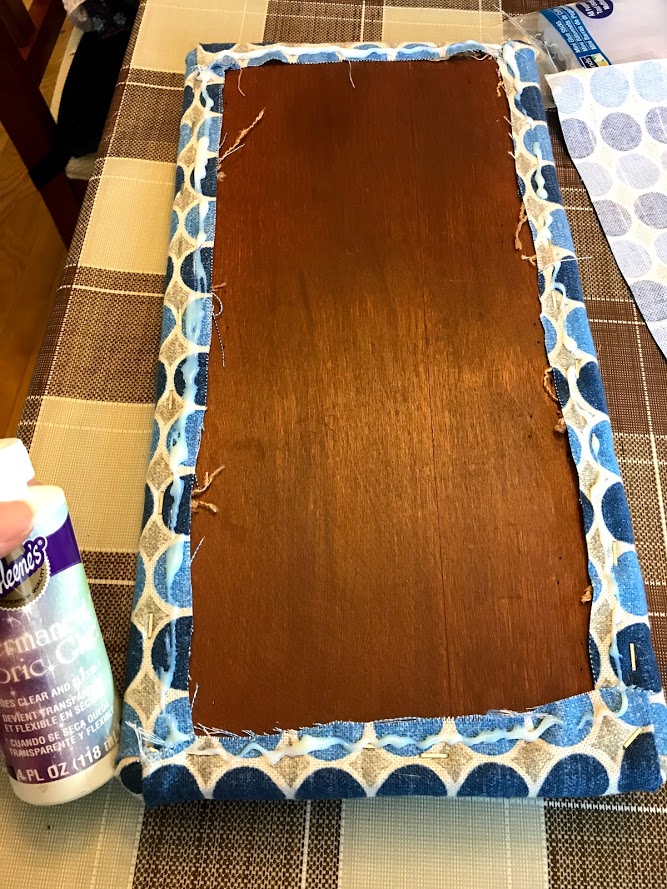
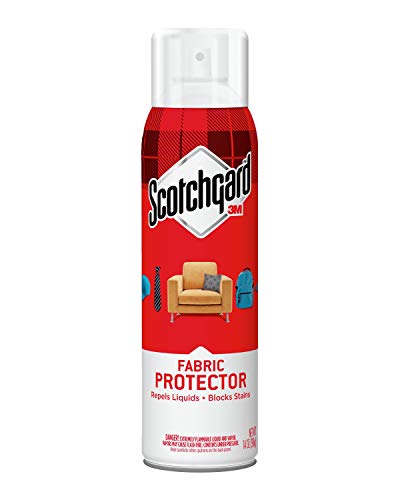
Last, I sprayed Scotchguard over the cushion fabric. I have kids, therefore, I have Scotchgard….
6. Glue Cushions to Chair
Next was regluing the cushions to the chair with a glue gun. To be honest, I’m not exactly convinced that glue is going to keep the back cushion secured to the chair. But I researched online for awhile to determine other ways to secure the back cushion to the telephone chair and didn’t find a better option.
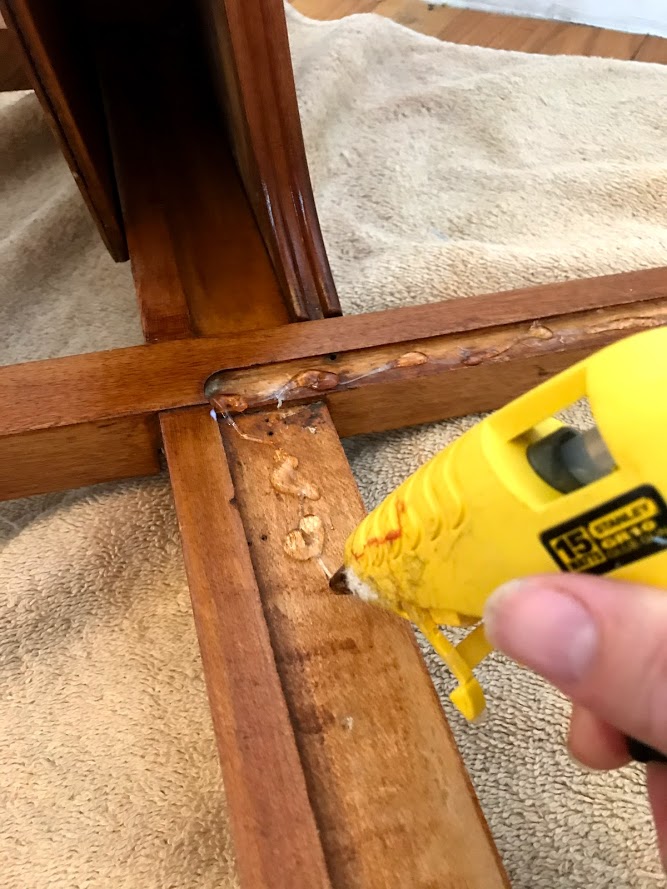
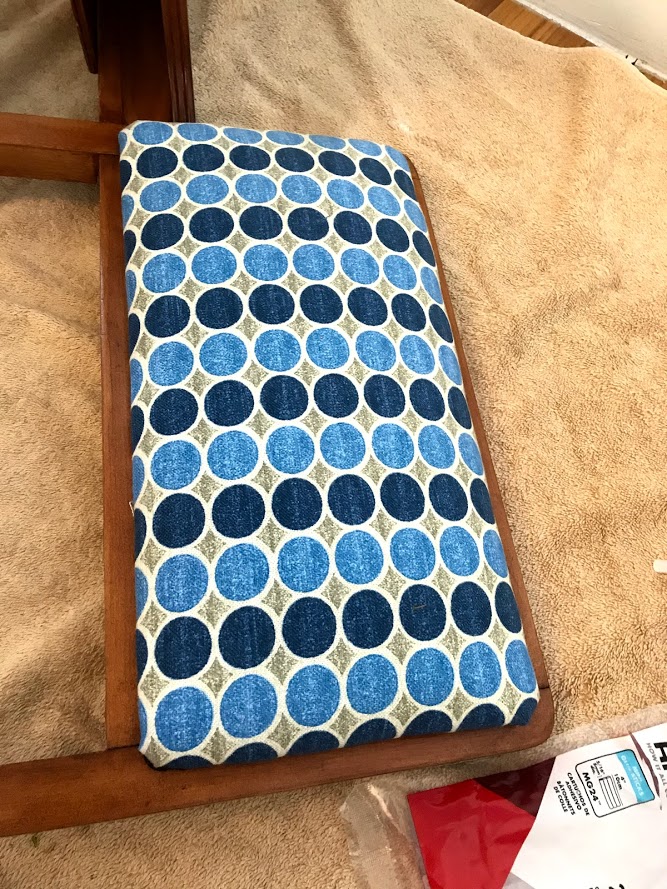
So using a hot glue gun, I applied a LOT of glue to the chair and secured the cushions. I did the back cushion first, then set it on its side and stacked over a dozen of my children’s hardcover books on top over night to let the back cushion dry. The next morning, I think turned the telephone chair right back up on its four legs and glued the seat cushion in place.
Conclusion

And that’s it! How easy was that to upcycle a telephone chair?
It didn’t take long at all to fix up this vintage telephone chair for my daughter. And now she has thrilled to have a dedicated place for her schoolwork.
Hopefully that’s enough to keep her motivation to do schoolwork for a few more weeks until the end of the school year!
Shopping List


Related Chair Upcycle Posts

Want to be the first to know about new posts? Be sure to follow me on Pinterest, Facebook, Instagram or Twitter of even Etsy! Or better yet… Subscribe below!
My monthly (admittedly sometimes more, sometimes less….) emails are like receiving a unexpected letter from an old friend WITHOUT needing to put on your slippers and walk out to your mailbox…. See? I got ya, my friend!)
[Note: My posts are proudly connected to these amazing link parties full of DIY ideas and inspiration!]