Last Updated on March 20, 2024
Porcelain kitchen sinks get grimy and accumulate black scuff marks in the blink of an eye. Or at least, it seems mine does. I’m determined to get my old sink sparking again. So I tried out 4 different methods to remove black scuff marks from a porcelain kitchen sink as recommended by the experts. Here’s what I found – which ways worked best, with pros and cons to help you decide which will work for your sink.

This post contains affiliate links, including but not limited to, Amazon Associates. As such, I earn from qualifying purchases. Full disclosure located here.
Backstory
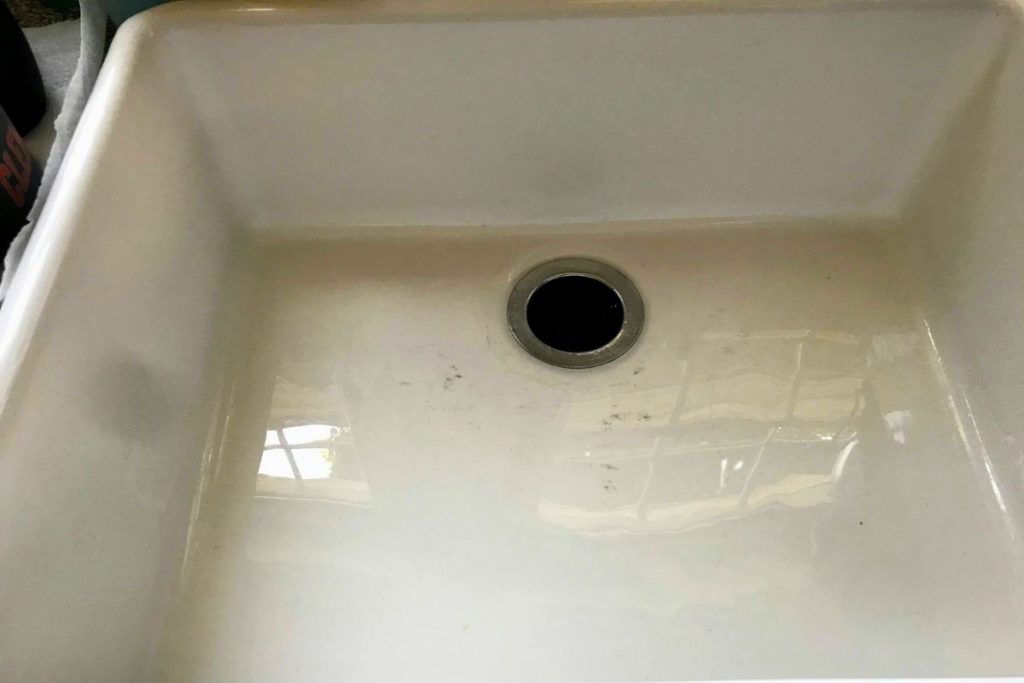
My sink gets dirty fast. We are a frugal family of 5 who cook and eat most meals at home (we get take-out on Saturday night). Food stains – coffee grounds, spaghetti sauce – quickly turning my sink into a dingy color.
Plus, there’s these random mystery black scuff marks that accumulate in the bottom of my sink…
What exactly ARE those Black Scuff Marks?
Appears that these dark marks are caused by my aluminum pots and pans, as well as utensils clinking around my sink. These marks aren’t permanent (thankfully!), but they are annoying and make the sink look old and dirty.
And if I must stand in front of my kitchen sink 3 times a day washing dishes, I should, at the very least, have a clean, stain-free white sink to look at, right?
So I took to the experts online (aka Google search result) to figure out the best way to remove black scuff marks from a porcelain kitchen sink. After reading through the expert’s posts, I was surprised that there were SO many ways to clean a porcelain kitchen sink. Who knew???
But are they all that effective? Easy to do? Strong enough to remove black scuff marks without scratching the porcelain surface? And there must be pros and cons for each, right? (Spoiler alert! Yes there are…. Keep scrolling to read my experience ?)
Disclaimer
Before we start, I need to add this disclaimer. I’m an average homeowner, not a cleaning expert.
If you decide to try out on these methods to remove black scuff marks from a porcelain kitchen sink, PLEASE first test on a small discrete area of your sink. Better yet, click on the links directly to the experts’ websites and read their recommendations firsthand.
First, Clean Your Porcelain Kitchen Sink
Before we get into the 4 ways to remove black scuff marks from a porcelain kitchen sink, first clean your sink with a damp nonabrasive sponge and dishwashing liquid soap to remove any food, dirt and scum buildup. Then, wash away the soapy residue and dry with a soft dish towel.
Not only does it remove food or whatever else your family is chucking into the sink, it also helps clearly identify stains or black scuff marks that need a deeper cleaning.
Simple enough, right?

4 Ways to Remove Black Scuff Marks From a Porcelain Kitchen Sink
Here’s 4 different ways to remove grime and those random black scuff marks from a porcelain kitchen sink quickly and effectively (yet still gently). Note that some of these experts swear by one cleaning method, others admit that all 4 work. Also to understand from these experts:
- Some methods are better for lightly scuffed porcelain sinks, while other are slightly more aggressive. Since my sink accumulates black scuff marks fairly, quick, I tried the 3 methods that were more aggressive.
- The first 3 methods use a mild abrasive and some elbow grease to remove those black scuff marks. (Harsh scrubbing can scratch and damage porcelain, so use with caution!) The last method uses a soaking strategy.
1. Bar Keepers Friend
Cori from Hey Let’s Make Stuff saw an amazing difference when she used Bar Keepers Friend to clean the dingy porcelain kitchen sink in her new house. Also, Jennifer from isavea2z.com mentioned a few methods to remove stains from her porcelain kitchen sink, but she especially sang the praises of Bar Keepers Friend.
So I decided to try it. Note that Bar Keepers Friends comes in 2 forms – scouring powder and scrubbing cream. Jennifer recommends the powder version.
Directions
Using the powder version, first sparingly sprinkle over the entire wet sink. Then cover the areas specifically with black scuff marks with a heavier dose of powder. Scrub with a sponge in a circular motion, spending more time on the black scuff marks, then rinse with running water.
Results
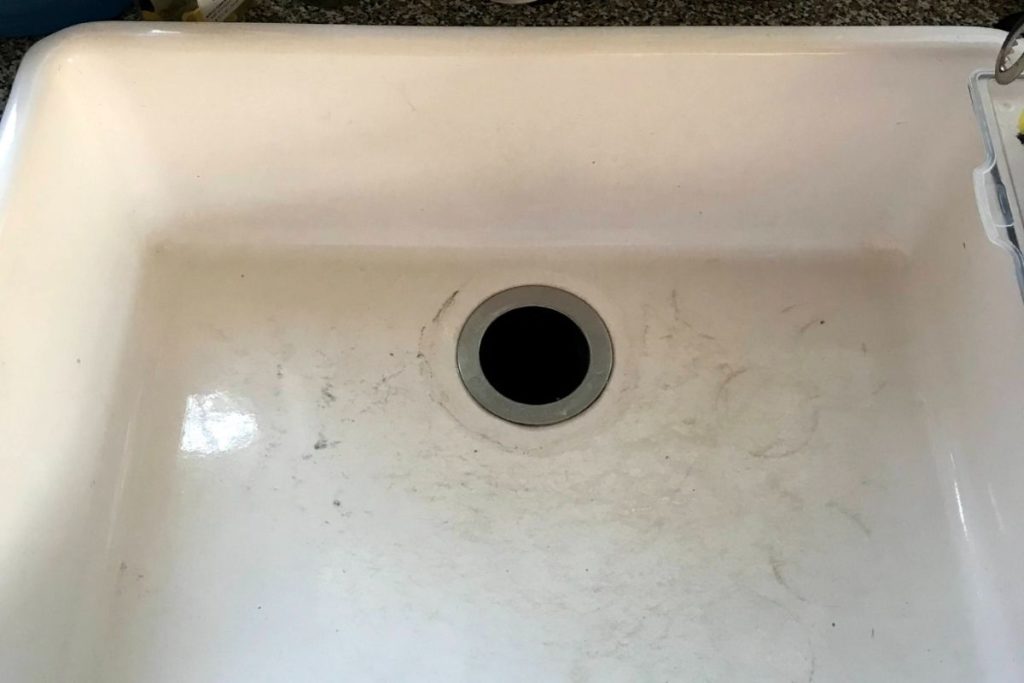
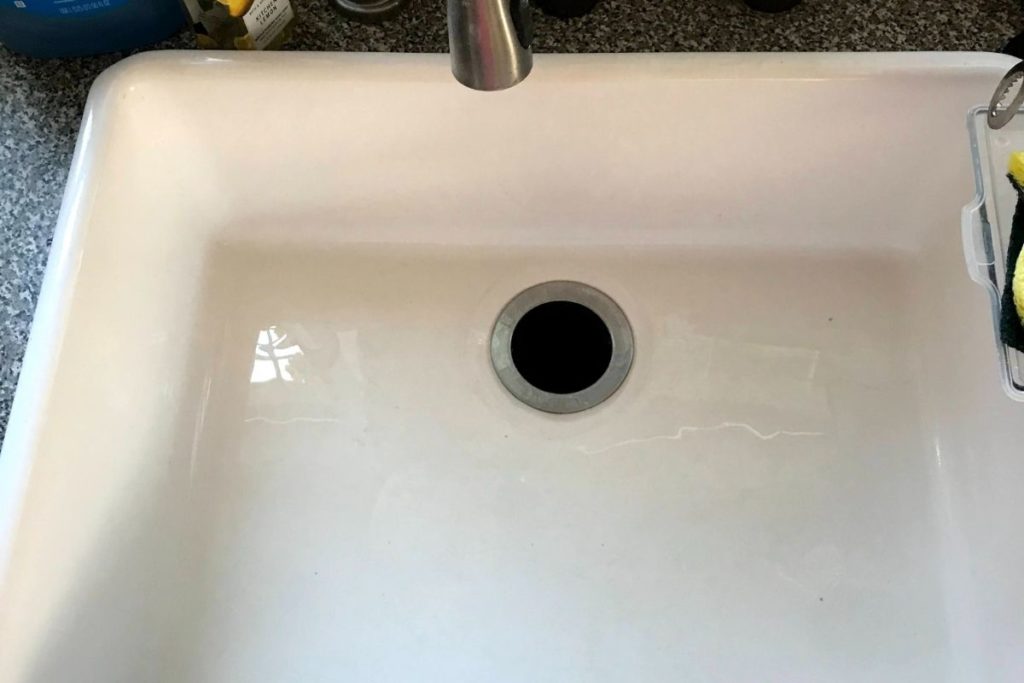
It definitely worked! My sink was shiny and beautiful!!!
One concern I had was that reportedly if Bar Keepers Friend stays on too long, it could potentially discolor or pit the porcelain. Or it could remove the shiny finish (I have no idea if that’s actually true, but I wasn’t willing to risk it.)
| Pros – Bar Keepers Friend | Cons – Bar Keepers Friend |
|---|---|
| Effective on first try | Slight chemical smell. It’s not strong, but not overly pleasant |
| Easy prep – no mixing | While not expensive, you still have to purchase |
| Extremely quick cleaning time (around 5 minutes) | If left too long, could potentially damage porcelain |
| Bar Keepers Friend is multi-use, so it can also clean cookware, kitchen, and bathroom surfaces. |
2. Borax and Lemon Juice
Borax is known for serving a ton of different uses around the home (ok, I exaggerate, but you catch my drift). Melissa at Clean My Space outlines how borax can remove clean stains on both porcelain and stainless steel sinks.
Directions
Melissa’s directions include first mixing one cup of borax and ¼ cup of lemon juice (real lemon juice, not the one in the bottle). Then apply paste to a wet sink, with some extra rubbing on the black marks, using a damp sponge or towel. Sit 5-10 minutes, then rinse with running water.
Results
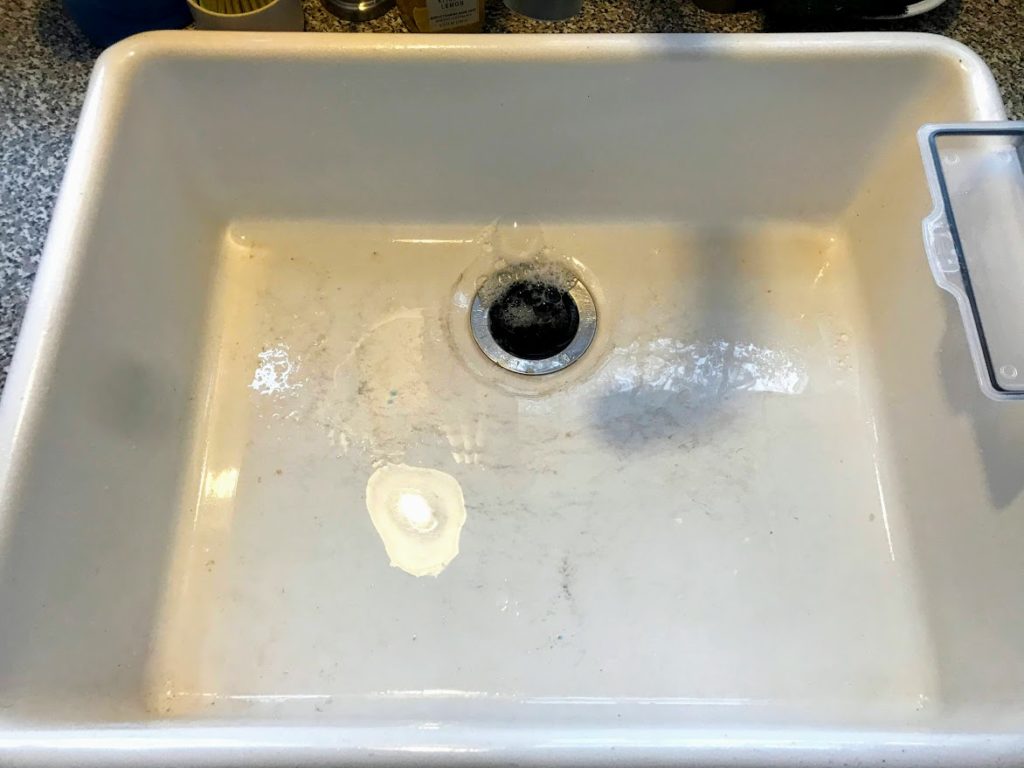
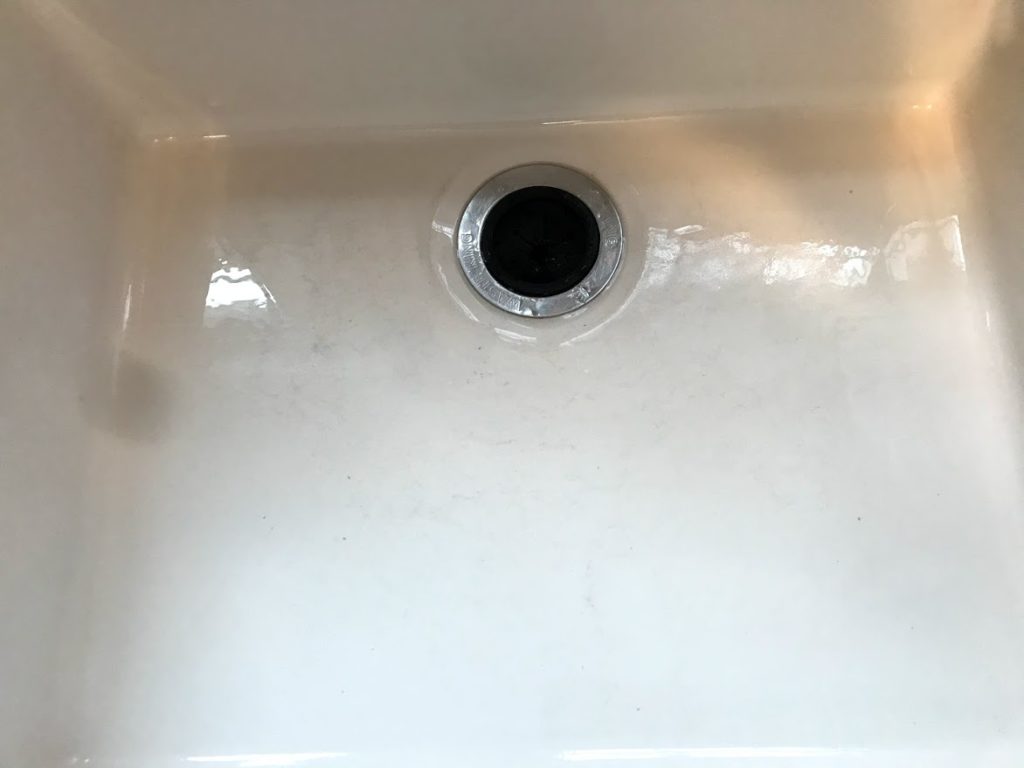
Note that I halved the recipe (½ cup borax with 1/8 cup lemon – ½ a lemon) since I knew it was enough to completely coat my porcelain kitchen sink. But the paste was very clumpy, so I added juice from another ¼ lemon.
It was still clumpy, but better. I applied the paste to my wet sink with a damp sponge, rubbing in a circular motion for about 5 minutes. After letting it rest for another 10 minutes as recommended, I rinsed the sink and was happy to see all those black scuff marks gone! I rank this method as effective as Bar Keepers Friends.
Note that I thought the paste was too scratchy. As I (lightly) scrubbed with a sponge, I was concerned that I might have been scratching my sink. Perhaps more lemon was needed? But I need to tweak the ratio of lemon to Borax to get a smoother paste and try again.
| Pros – Borax & Lemon Juice | Cons – Borax & Lemon Juice |
|---|---|
| Effective on first try | Paste was clumpy and felt abrasive. |
| Nice lemony smell | |
| Disposing lemon peels down garbage disposal also cleans disposal | |
| Ingredients likely already in your house | |
| Relatively fast cleaning time (around 15-20 minutes) |
3. Baking Soda and Hydrogen Peroxide
Both Chrysa at Thrifty Jinxy and Erin at Lavender and Lemons recommended an easy 4 step process for removing black scuff marks from a porcelain kitchen sink with baking soda and hydrogen peroxide.
Directions
The full directions are on theirs blogs, but here’s the gist….
First, wet down the sink and sprinkle baking soda onto a moist sponge. Then scrub the sink with baking soda. Next, pour home hydrogen peroxide on the sponge and rub all over the sink. Wait about 15-20 minutes, and then rinse the whole sink.
Results
For me, this method didn’t work on the first try. I don’t think I used sprinkled enough baking soda on the sponge. I was disappointed. But I wasn’t ready to accept defeat.
I waited a few weeks for black scuff marks to accumulate and tried again. But I slightly modified the technique. Instead of applying via sponge, I liberally sprinkled the baking soda directly all over the sink, followed by a squirt of hydrogen peroxide on top. Then I used a moist sponge (scrubby side down) to tackle the sink, scrubbing in a circular motion (with extra scrubs over the black marks). Finally, I let it sit for 20 minutes before rinsing.
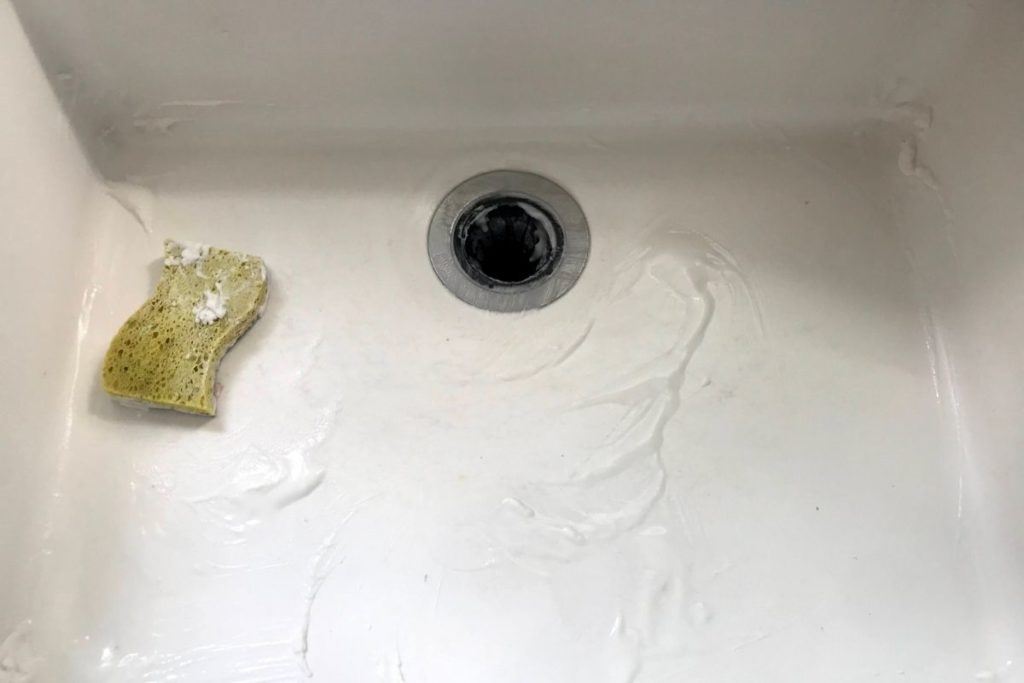
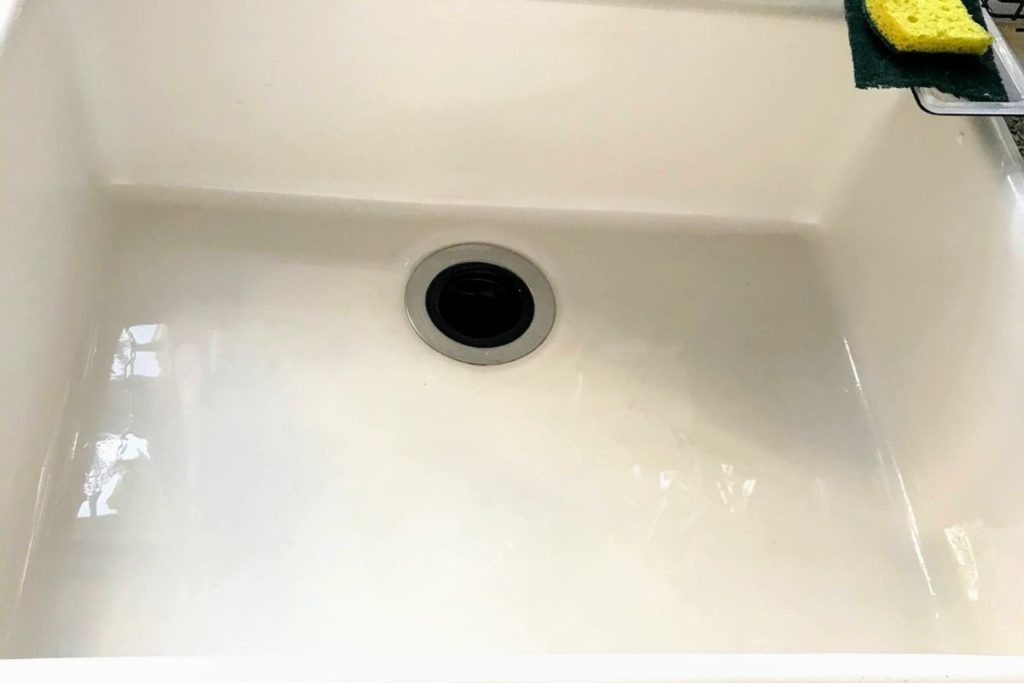
The results? I saw significant improvement in removed more scuff marks. Regardless, I’m SO glad I tried these ingredients again since it clearly worked!
| Pros – Baking Soda & Hydrogen Peroxide: | Cons – Baking Soda & Hydrogen Peroxide |
|---|---|
| Ingredients likely already in your house | Not effective in removing black scuff marks on first try |
| Relatively quick cleaning time (around 15-20 minutes) | |
| Neutral smell |
4. Bleach
All the methods mentioned above involve a bit of scrubbing. Bleach is an option that doesn’t require any elbow grease, just a little time.
For the bleach method, I ultimately ended up trying 2 different strategies recommended by the experts:
- Bleach soaked in paper towels
- Bleach poured directly into sink
Note that if you don’t want to use bleach, and have light black scuff marks, you might get the job done by substituting bleach with either white vinegar or ammonia. Unfortunately, our lifestyle and sink need slightly more aggressive tactics.
Bleach and Paper Towels
Danny, owner at Boydco Plumbing recommended this strategy for WHITE porcelain sinks. If your sink isn’t white, don’t use bleach! Color porcelain fades with bleach!!
Directions
For this method, first cover your sink with a layer of paper towels. Next, pour bleach into a spray bottle. Spray bleach over the power towels until completely soaked through. Allow the paper towels to sit for around 30 minutes. Remove and throw away the paper towels, followed by rinsing the sink with water.
Results
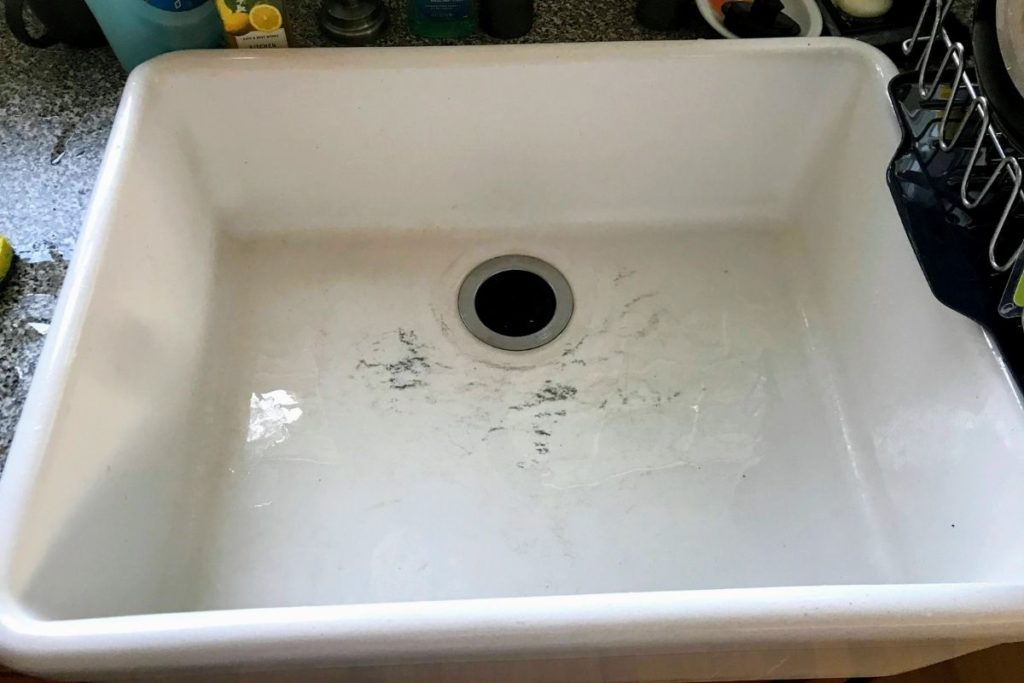
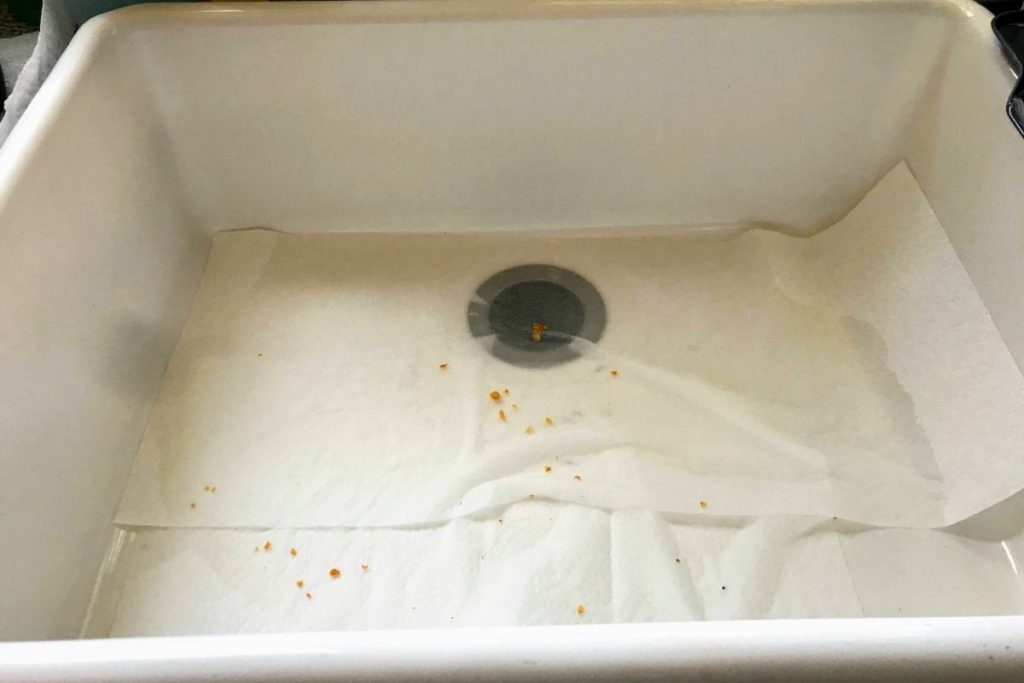
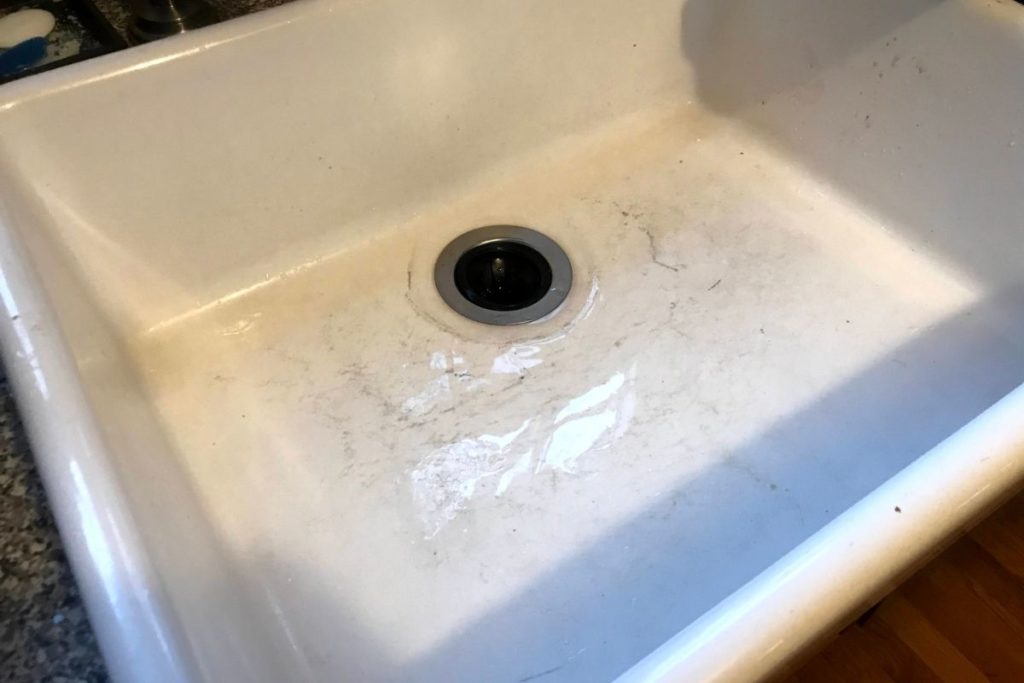
After 30 minutes I peeked under the paper towels and still saw black scuff marks, so I sprayed some more bleach and waited another 30 minutes. It still didn’t get all the black marks out, but there was improvement. But I wasn’t thrilled with the results.
| Bleach & Paper Towels: Pros | Bleach & Paper Towels: Cons |
|---|---|
| Ingredient likely already in your house | Not as effective on first try |
| Easy prep – no mixing | Longer cleaning time (30 minutes – 1+ hour) |
| Messy: Bleach spills can ruin laundry | |
| Chemical bleach smell |
Bleach and Water
Since the paper towel method didn’t fully work for me, I tried a different approach recommended by my mother-in-law (who keeps one the cleanest houses I’ve ever seen). Admittedly, she’s not an online cleaning expert, but if you saw her house, you’d agree that she could compete with the best of them!
Directions
Fill up the porcelain kitchen sink ½ to 2/3rd of the way with warm water and add approximately 2-3 cups of bleach. Let sit for about 30 minutes, then drain and rinse with water. About halfway through the soak, take a sponge to wash the sides of the sink that aren’t submerged.
One of the best part of this method is the ability to simultaneously do some laundry while cleaning your sink. How? Once you fill the sink with water and bleach, add in some dingy white laundry (dishtowels, men’s undershirts, etc) to also soak and whiten!!!
Results
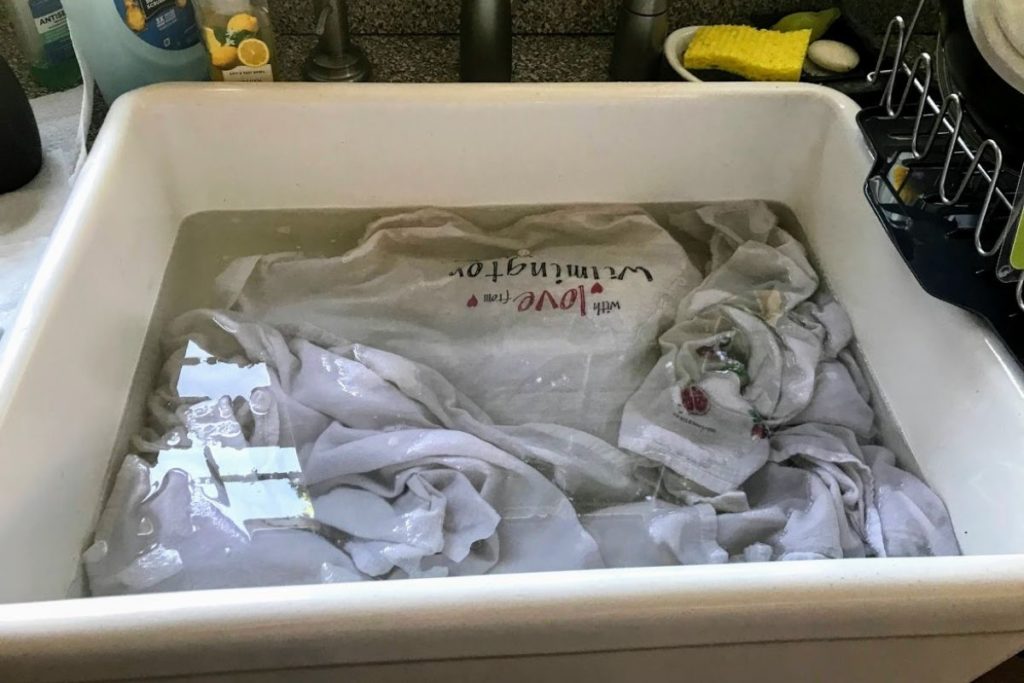
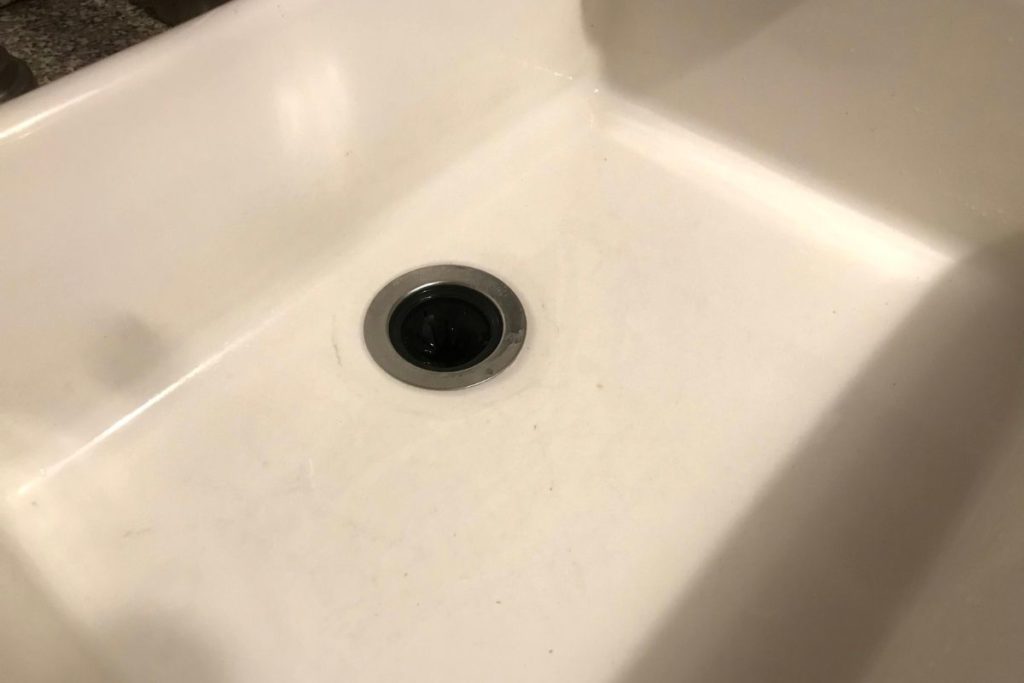
After 30 minutes, I let the sink drain and found that most of the black marks were gone. I was a tad disappointed BUT considering this test tackled the darkest black scuff marks of all, I think it still did an impressive job. Next time I’ll use a stronger ratio of bleach.
There is one tricky part to this method – the laundry needs to find its way safely from the kitchen sink to the washer without dripping and making bleach stains. First, spread out a white towel on the kitchen counter and have a laundry basket at your feet. Squeeze the bleach water out of the items in the sink (with gloved hands), place the laundry on the laid-out white towel, roll the towel up, place in the laundry basket, and promptly head to the washer.
| Bleach & Water: Pros | Bleach & Water: Cons |
|---|---|
| Ingredients likely already in your house | Longer cleaning time (over 30 minutes) |
| Easy prep – no mixing | Chemical bleach smell |
| Multi-purpose – whitened my dish towels at the same time! | Messy with the potential to bleach anything around the sink, including the clothes you are wearing! |
Conclusion
Which way did I ultimately prefer to remove black scuff marks from my kitchen sink? My favorite Bar Keepers Friend the best – no mixing, worked fast, and extremely effective.
But I also see myself using the baking soda and hydrogen peroxide since it was just as effective as Bar Keepers Friend. And I liked the idea of the bleach in water doing double duty to wash my sink and whiten dingy laundry.
I hope that one of these methods above help with getting your porcelain kitchen sink cleaner, shiny and looking new again! Let me know in the comments which methods you prefer!
Related Posts
Want to be the first to know about new posts? Be sure to follow me on Pinterest, Facebook, Instagram or Twitter of even Etsy! Or better yet… Subscribe below!
My monthly (admittedly sometimes more, sometimes less….) emails are like receiving a unexpected letter from an old friend WITHOUT needing to put on your slippers and walk out to your mailbox…. See? I got ya, my friend!)
[Note: My posts are proudly connected to these amazing link parties full of DIY ideas and inspiration!]

