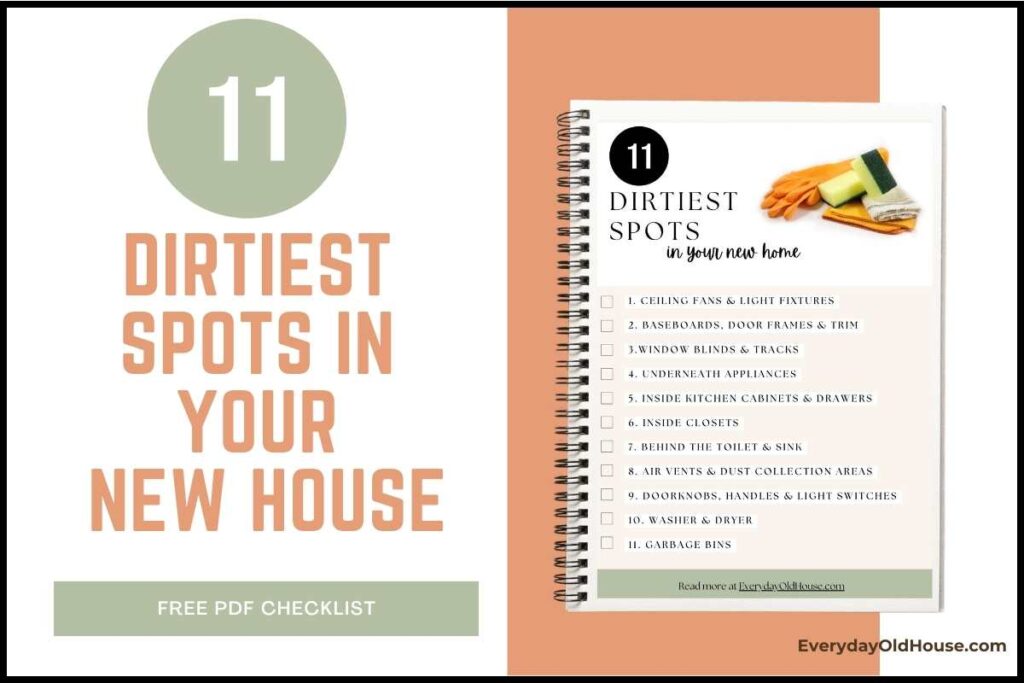
Buying a home is an amazing adventure. A fresh start. Congrats!!! However, the previous owners of your new house may have not helped in creating that fresh start. While the seller cleaned obvious visible surfaces like countertops, floors, and bathrooms, they probably overlooked numerous areas that now demand your attention. Here’s 11 overlooked dirty spots the seller left you to clean (with downloadable checklist).
Backstory
We bought our first house in 2011. Or rather it was my first house, my husband’s third. Before we met, he had lived in the South and Upstate New York where real estate was much more reasonable. Real estate around Boston is one of the highest in the country. But I digress….
This was my first house. I had saved towards a downpayment for 10+ years. Admittedly I had rose-colored glasses on when we walked over that threshold with home closing papers in hand.
But within a few days I realized that my house wasn’t nearly as clean as I expected. Sure, the seller had cleaned. But they didn’t get into the nitty-gritty spots. And from the looks of it, they didn’t hire a cleaning company (or if they did, they probably should have gotten their money back).
Bottom line – my new house needed a thorough cleaning….
11 Overlooked Spots the Seller Left You to Clean (UGH!)
Based on my memories of our move (assisted with an online search 😉) here’s a list of the most overlooked – from the ceilings to the floors and everything in- dirty spots the seller left you to clean…
Since I’m more helpful than the seller, I’ll also add some practical cleaning tips and strategies for ensuring that these areas get tackled and no corner goes unnoticed…
1. Ceiling Fans & Light Fixtures
Look up! Ceiling fans are notorious for collecting dust bunnies, and cobwebs love to linger on light fixtures. Every time I clean my ceiling fans and light fixtures I’m amazed at the surprising amount of dust that has accumulated.
For ceiling fans, start by turning off the fan. Then use a ladder or step stool to reach the blades, and gently wipe them down with a microfiber cloth or duster. Or use a pillowcase. Yup, a pillow case! For stubborn dirt or grime, you may need to dampen the cloth with water or a mild cleaning solution. Be sure to clean both the tops and bottoms of the blades, as well as the motor housing and any decorative elements.
For light fixtures, first remove any light bulbs and shades to access the interior of the fixture. Use a soft-bristled brush vacuum attachment to remove dust from the inside of the fixture.
For glass or plastic shades, wash them with warm, soapy water and dry them thoroughly before reattaching. Finally, wipe down the exterior of the fixture with a damp cloth to remove any remaining dirt or fingerprints.
2. Baseboards, Door Frames & Trim
What are the chances that the previous homeowners, in their rush to pack for their move, stood on a stepstool and cleaned the top of the door frames? I’m not a betting woman, but I’d say the chances are slim-to-none – this is one of the many overlooked spots the seller left you to clean.
Over time, door frames (especially the tops) collect dust and debris. And that makes them appear dirty and dingy, detracting from the overall appearance of a room. Baseboards are even worse since they are close to the ground.
To clean door frames, baseboard and other trim, grab a dry microfiber cloth or duster (I love my Swiffer duster) to remove the dry loose dirt and dust. For stubborn residue, use a damp cloth or sponge dipped in warm, soapy water. Give some extra love to the corners and crevices.
3. Window Blinds & Tracks
The previous homeowners may have been kind enough to clean the window glass. It’s one of the top cleaning tricks to staging and selling a home. But there’s a good chance they left behind dirty window blinds and tracks. (Window tracks are the narrow channels along the bottom of window frames that allow windows to slide open and closed.)
Cleaning blinds depends on the type and material of the blinds, so you might want to identify and then search online for the best way to clean them. However, in general, most blinds can be cleaned by dusting with a microfiber cloth. If blinds are particularly grimy, create a cleaning solution with warm water and a mild dish soap. Dip a microfiber cloth in the solution, wring it out thoroughly, and wipe down the blinds. Be sure to dry them completely with a clean, dry cloth to prevent water spots.
For window tracks, first vacuuming out any loose dirt and dead insects (EEEKKK!) from the window tracks using a crevice tool or brush attachment. Next, mix equal parts white vinegar and water in a spray bottle and spritz the tracks generously. Use an old toothbrush or scrub brush to agitate the solution and loosen dirt and grime. Finally, wipe the tracks clean with a damp cloth and dry them thoroughly.
RELATED POST: 25+ EXPERT TIPS ON WASHING WINDOWS

4. Underneath Appliances
As part of the purchasing agreement, the seller may have left some or all of their appliances. Over time, the amount of food crumbs, spills, pet hair and dust can accumulate underneath appliances are astounding. Every time I clean under my refrigerator I’m amazed we don’t have ants. There is SO much food and junk under our refrigerator.
Before cleaning under appliances, such as refrigerators, stoves, dishwashers and washing machines & dryers, unplug them from the power source. If possible, move them away from the wall to access the space behind them. Some are heavy, so be careful.
Use a vacuum cleaner with a wand attachment to remove dust and debris from the floor and walls behind the appliances. For hard-to-reach areas, use a long-handled duster or brush to dislodge stubborn dirt. For stubborn dirt, break out the mop and/or scrub brush and wash the floor. For refrigerators, this is the perfect time to vacuum the coils.
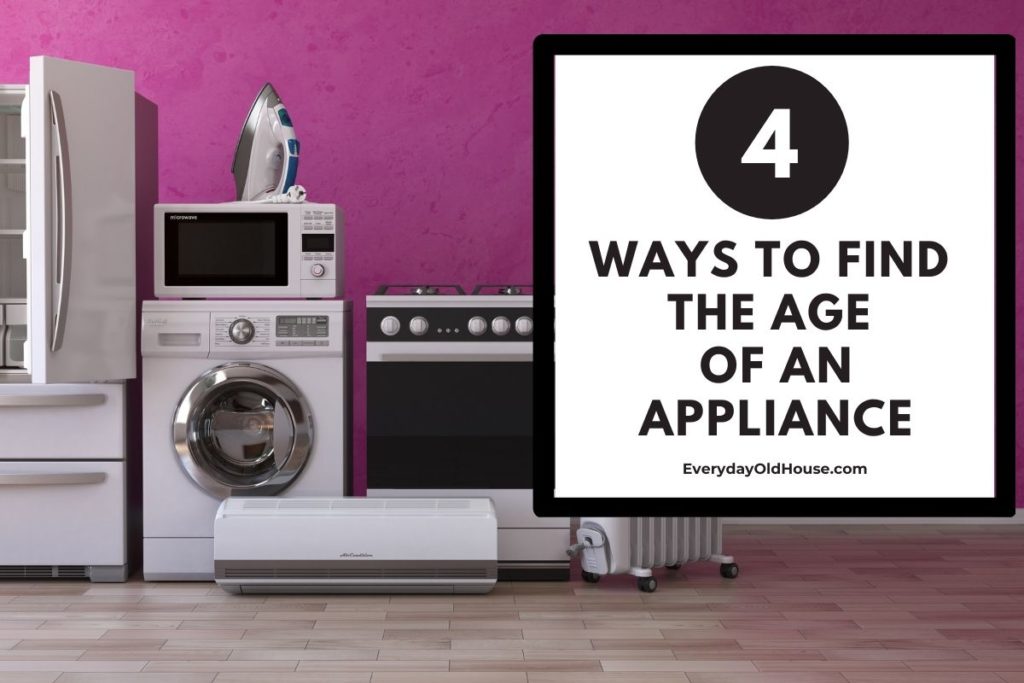
Pro Tip: While you are working around “new-to-you” appliances, this is the perfect time to also find the appliance user manuals. The seller should have left those behind organized in one place.
Consult these manuals for any specific cleaning recommendations for their particular models. For example, some ovens have self-cleaning cycles. Once you are settled in your new home, be sure to assess the age and lifespan of your appliances so you can budget for their replacement.
RELATED POST: HOW TO TELL THE AGE OF YOUR APPLIANCES
5. Inside Kitchen Cabinets & Drawers
Your home’s seller probably did a quick wipe-down of kitchen cabinet doors and knobs. But how about inside? Oh, yeah, the inside of kitchen cabinets and drawers are definitely overlooked spots the seller left you to clean. Over time, dust, food crumbs, and spills can accumulate inside cabinets, leading to unpleasant odors and potential pest infestations.
Open those doors and drawers wide! Hopefully, the previous owners took everything with them. If not, discard. Then wipe down all surfaces, including shelves, backs, and drawer bottoms. This is also a great time to consider shelf liners.
RELATED POST: DO I NEED SHELF LINERS? 7 QUESTIONS TO DECIDE

6. Inside Closets
Closets and pantries are similar to kitchen cabinets and drawers. The seller removed their clothes and shoes from bedroom closets, towels from linen closets, and food from the pantry. But it’s unlikely they subsequently cleaned the actual closets. The seller of our house certainly didn’t.
Use a damp microfiber cloth or sponge to wipe down the interior surfaces of cabinets, drawers, and closet shelves. Pay special attention to corners, crevices, and shelves where dust and dirt tend to accumulate.
Notice any lingering odors? Place a box of baking soda, a sachet of activated charcoal, or even a cotton ball with a few drops of essential oils to absorb unwanted smells.
7. Behind the Toilet & Sink
This area can get pretty yucky fast in any home. And if the previous owners weren’t well-known for their, uh, cleanliness, this area can be downright disgusting.
Not only does gunk accumulate behind the bathroom toilet and sink, moisture also loves to gather in these areas. Which can lead to mold or mildew growth if left unchecked.
Grab a cleaning solution specifically designed for bathrooms and tackle these hidden nooks. Pay close attention to the caulking around the base of the toilet and sink for any signs of mold.
Pro Tip: For a natural cleaning solution, mix equal parts white vinegar and water in a spray bottle. This solution is a great disinfectant and can be used on most bathroom surfaces, except for natural stone countertops. Always test any cleaning solution on an inconspicuous area first.
8. Air Vents & Dust Collection Areas
If the previous homeowner neglected the home’s HVAC system, then there is likely a build up of dust, pet hair, and gunk in the air vents and dust collection grates. Not only does that decrease the quality of your indoor air, it also reduces the efficiency of your HVAC system.
Before cleaning, turn off your HVAC system to prevent the spread of dust and debris. Use a screwdriver to remove the vent covers from the walls or ceilings. Vacuum areas with a brush attachment. Scrub the vent covers with a sponge or brush, and replace with new filters for a fresh start.
9. Doorknobs, Handles & Light Switches
These high-touch surfaces are germ magnets. Hands touch these surfaces multiple times throughout the day, making them a breeding ground for germs and bacteria. If the previous owners had a little Johnny that forgot to wash his hands, then you have some cleaning to do….
Wipe down doorknobs, handles and light switches with disinfectant wipes or a microfiber cloth dampened with an all-purpose cleaner.

10. Washer & Dryer
If your new home came with a washer and dryer, first of all, congratulations! You can do laundry from day one!!
[Hopefully they last. Unfortunately, the previous owners of our house gifted us the washer and dryer and they promptly died on us. 😒 #imnotbitter]
Check your washer and dryer manuals for specific cleaning instructions. But in general, for the washer, you should clean the inside of the washer drum with a cycle specifically designed for cleaning. For the dryer, remove any lint build-up from the lint trap and vent hose to prevent fire hazards and ensure efficient drying.
11. Garbage Bins
Refuse collection for some communities (like ours) assign barrels to an address, not the owners. So when the owners leave, the barrel stays with house.
And I’ll bet you $5 that your garbage barrel is one of the overlooked spots the seller left you to clean. And honestly, I can’t blame them. I’d probably forget too…
To clean your garbage bin, rinse them thoroughly with a hose to remove any loose debris. If needed, scrub the bins with a mixture of warm water and mild detergent using a long-handled brush or sponge. Finally, rinse the bins again with clean water and allow them to dry completely before replacing the liners.
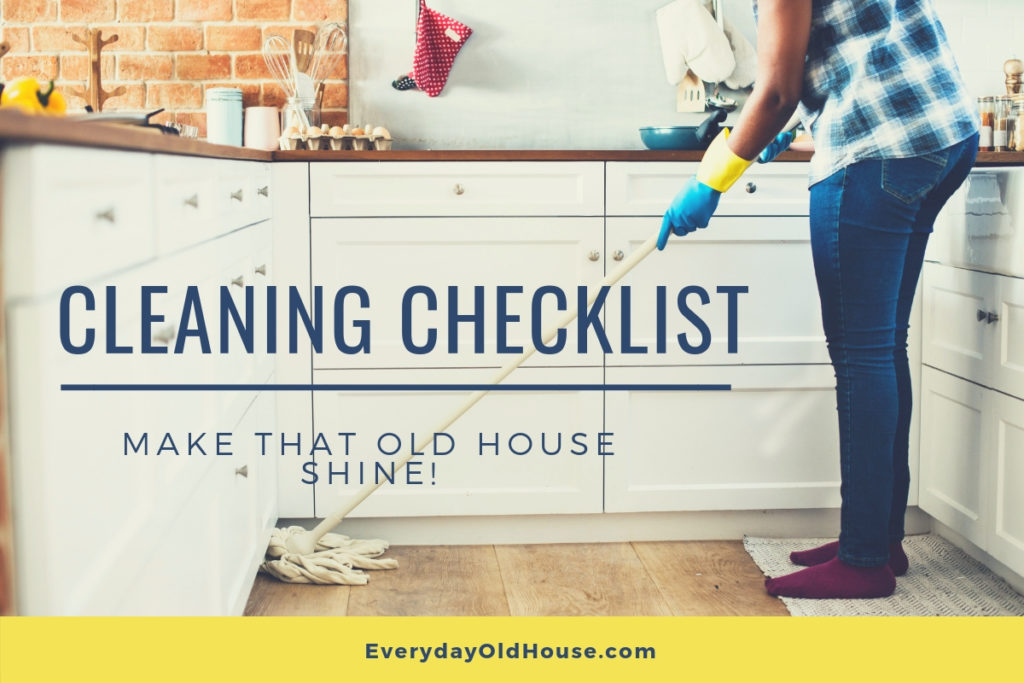
Conclusion: A Sparkling Victory and a Fresh Start!
By conquering these hidden dust bunnies, forgotten corners, and overlooked spots the seller left for you to clean, you now have a completely clean home. A fresh start for your new home – congrats!
Download the checklist to ensure you don’t miss a spot!

MORE NEW HOME CHECKLISTS!

Want to be the first to know about new posts? Be sure to follow me on Pinterest, Facebook, Instagram or Twitter of even Etsy! Or better yet… Subscribe below!
My monthly (admittedly sometimes more, sometimes less….) emails are like receiving a unexpected letter from an old friend WITHOUT needing to put on your slippers and walk out to your mailbox…. See? I got ya, my friend!)
[Note: My posts are proudly connected to these amazing link parties full of DIY ideas and inspiration!]