My family loves to eat strawberries. These tasty berries are perfect in yogurt, on a salad, or even just a handful for a snack. But you know who else loves strawberries? Birds, squirrels, and deer. And every year, wildlife keeps beating us to them!
In this post, we share a simple, inexpensive DIY strawberry plant cage using PVC pipe and bird netting. We designed and installed it in about 20 minutes (but I didn’t time it….)
It was extremely easy to install, relatively inexpensive and broke down quickly for storage at the end of the season.
This post contains affiliate links, including but not limited to, Amazon Associates. As such, I earn from qualifying purchases. Full disclosure located here.
Do Strawberry Plants Need to be Protected?
In my persona, average gardener opinion, yes. Strawberries are well-loved treats to birds and other pests. There are a variety of ways to protect strawberry plants, as mentioned here in 14 Simple Ways to Protect Your Strawberry Plants From Birds.
The easiest and most foolproof way to protect strawberry plants is to cover them with netting. But using netting alone can be a hassle.
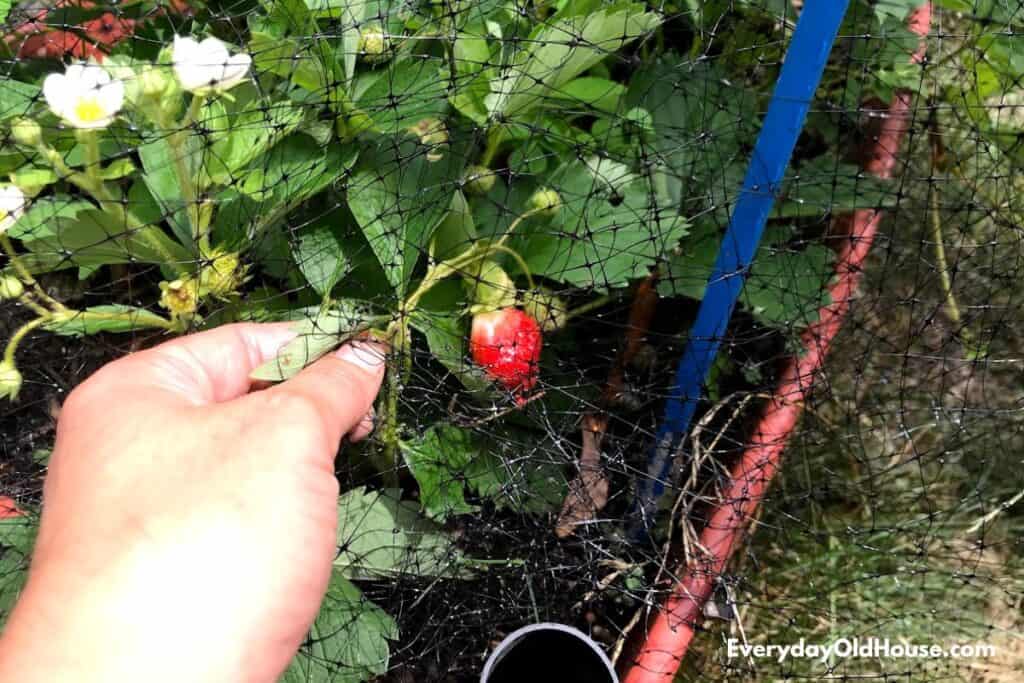
First, the strawberries on the outer edges of the plant will still be accessible to the birds, so you’ll still have some losses. Second, the plants gets caught up in the netting so when you go to harvest the berries, you will find yourself frustratingly fighting with the netting.
Like in the picture below from a few years ago when I grew strawberries on an aboveground container. See the chaos of netting?
A great solution is built a support system to hold the netting up and over the strawberry plants. And that’s where we came up with our DIY strawberry plant cage.
About Our DIY Strawberry Plant Cage
Before I dive in any further, I want to touch on 2 things about our simple DIY strawberry plant cage to ensure this project is a fit for your garden.
- Size of Our Cage
- Material (PVC vs Wood)
1. Size of Cage/ Number of Plants
Unfortunately I don’t have the ideal place in my yard to plant a strawberry patch. Instead I have 2 strawberry grow bags. I’ve had them for 2 years, and while they have their cons, they are a great solution for growing strawberries in a small area. They are each 10-gallons, which when filled with soil, heavier than you think to move around the garden.
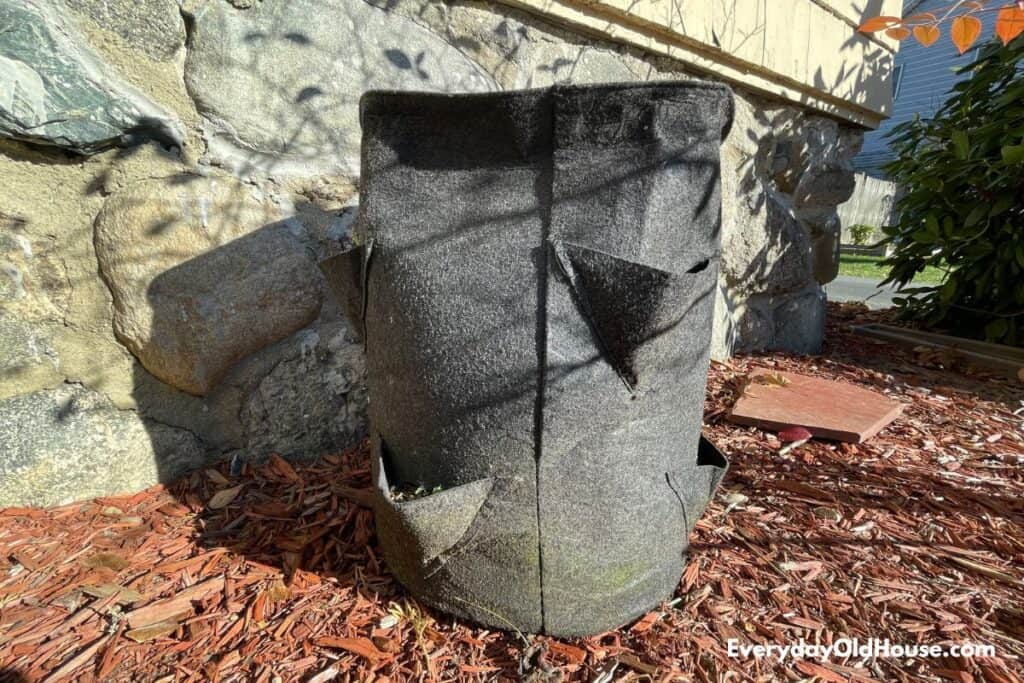
My point is this – the tutorial below includes measurements for covering 2 strawberry grow bags. BUT this method should work for strawberry plants in row with a modification in measurements.
The particular bags I bought on Amazon aren’t available anymore, but here’s a few 4+ star rated options I found.
2. PVC or Wood Cage?
I’d also like to touch on using PVC pipe. Admittedly, PVC doesn’t make for the most attractive cage. Especially in my front yard. A wood frame would be far more attractive.
But after doing some research PVC seemed to be the better option than wood. Why? Netting slides easy over the PVC poles versus snagging and ripping on wood. Snaps and rips? I don’t need that kind of frustration…
Next year I might spray paint the PVC a nice color to blend in with the house and garden. Probably a dark green color.
When to Erect a DIY Strawberry Plant Cage
Ideally, the best time to erect the strawberry plant cage is as soon as you start seeing white blossoms. Wildlife tend to be less picky than we humans. They are happy to eat immature, unripe berries. So don’t wait too long to erect your strawberry cage.
What Size Mesh to Use?
Bird netting comes in a variety of mesh openings – it ranges from 1/4” to 3/4”. While the thought of a smaller mesh sounds enticing, my basic biology knowledge tells me that strawberries may need pollinators like bees. So the medium to larger size might be a better choice since it ensures that bees and other pollinators can reach blossoms.
We bought netting with 5/8″ mesh, which should be wide enough for bees.
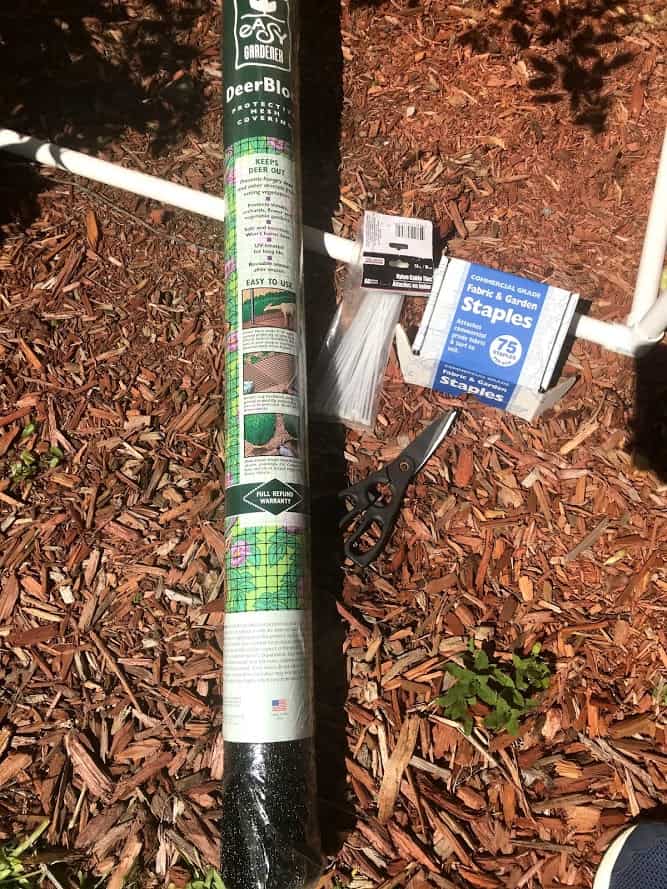
Supplies
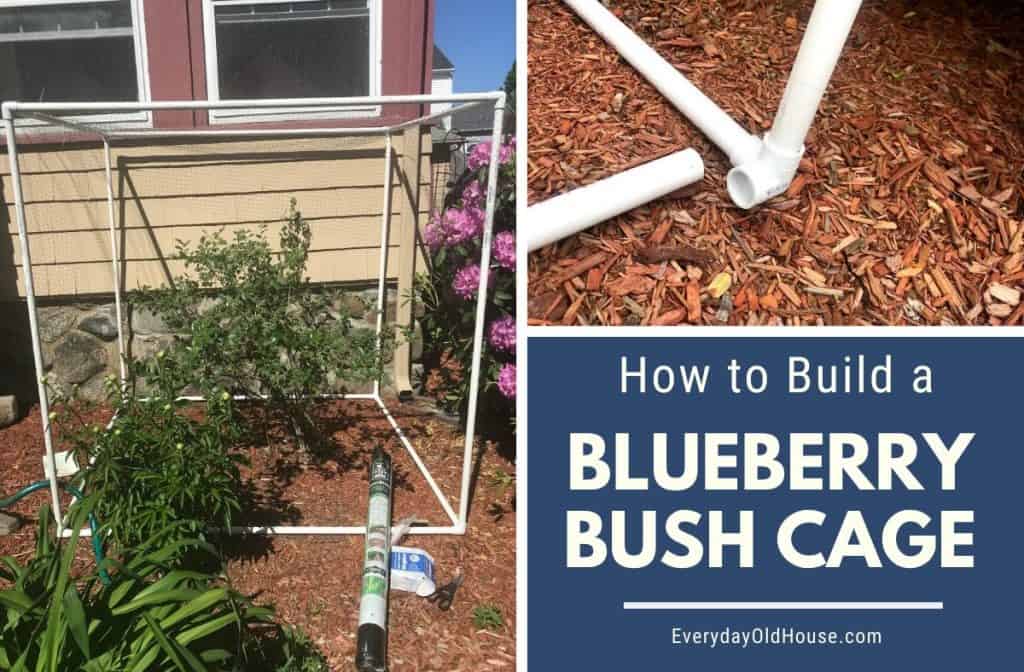
Our supplies were fairly inexpensive. In all honesty, it cost nothing since we used leftover supplies from our DIY blueberry bush cage. The blueberry cage is much larger than the strawberry cage. Our supplies for that project was around $50, so based I would estimate that supplies for a strawberry cage would be about $15-20.
- PVC pipe – 10’ lengths of ¾” diameter (we used 3)- we bought ours at Lowes
- PVC side outlet elbows or corner connectors – ¾” (Quantity of 4 or 8) – we bought ours at Lowes
- Saw or PVC cutter
- Netting – Minimum of 6′ by 40′ roll. We found the best value in a 7’ by 100’ roll for future gardening projects
- Plastic cable zip ties (strips of fabric also work)
- Garden and fabric staples – 1″ wide. These staples come in various lengths. We already had on hand the 3.5″ long ones from another DIY project to childproof indoor floor plants.
How to Build a DIY Strawberry Plant Cage with Netting
1. Measure
Measure the height and the width of your strawberry grow bags (or yard area). Add about 6″ to all the measurements to estimate the length and width of PVC pipes (i.e. the supports). For our 2 10-gallon strawberry bags, our cage was about 32″.
2. Cut PVC Piping
Cut the PVC pipes using your chosen cutting tool. We used our circular saw, but PVC pipe can also be cut using a PVC scissor-style or ratchet-style cutters or hacksaw.
3. Assemble Cage
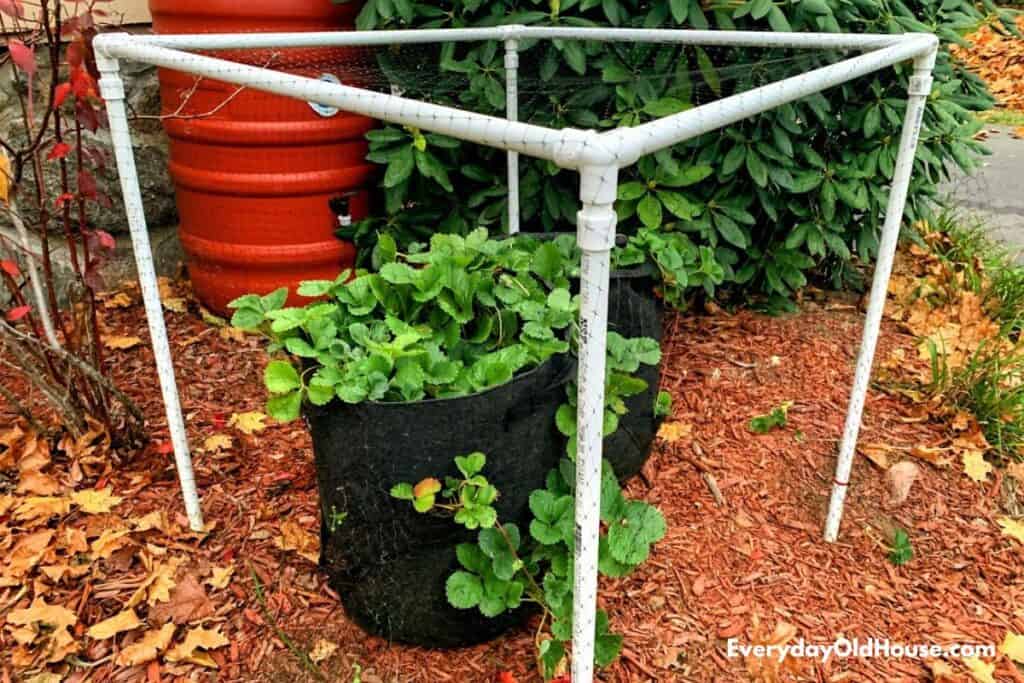
Assemble the cage into a cube be connecting the PVC pies with elbow and corner connectors.
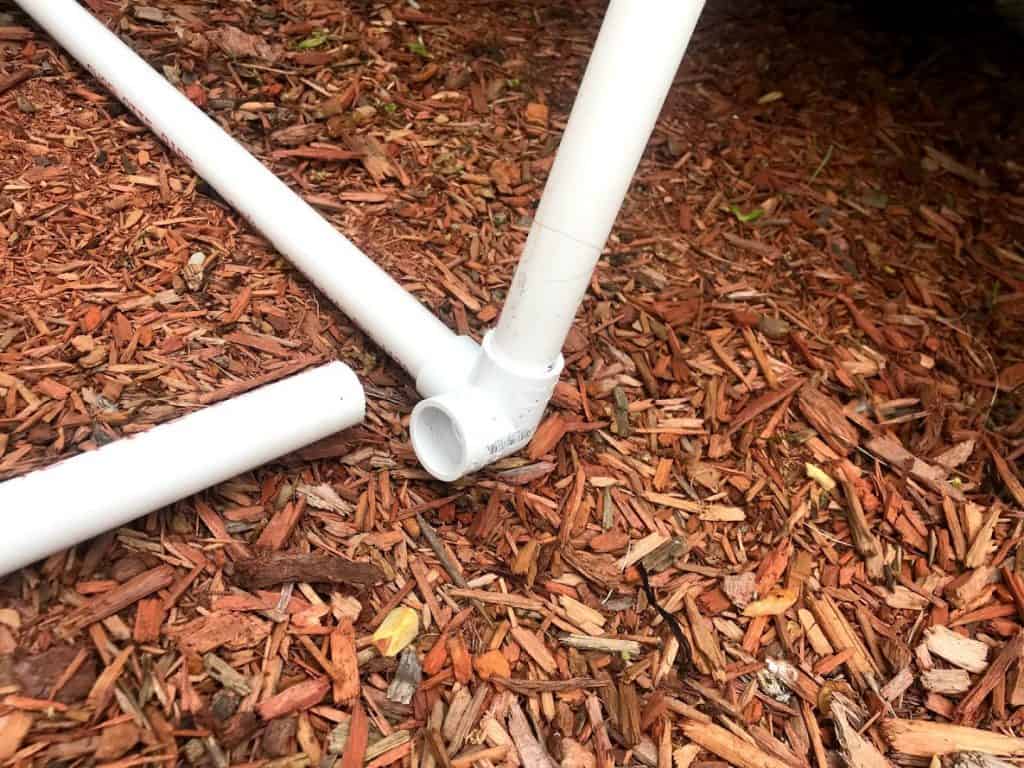
Since our cage wasn’t terribly big, we just used 4 connectors at the top with no PVC or connectors around the bottom. In hindsight it wasn’t as stable as I preferred, so next year I’ll cut more PVC for the bottom and
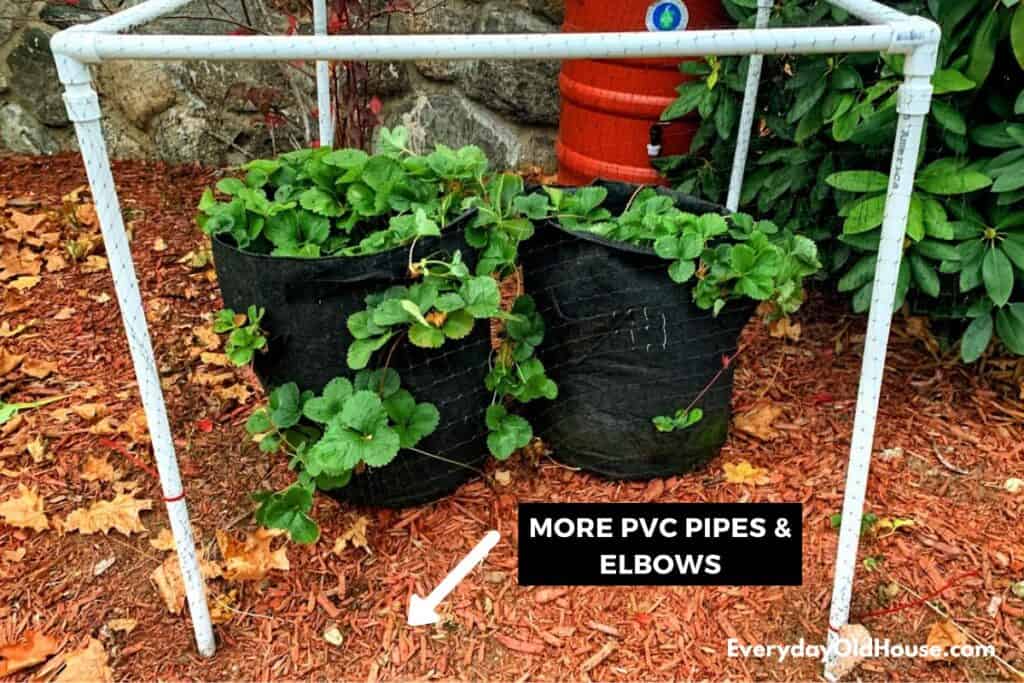
Once assembled, I merely set the PVC structure over the strawberry plant bags. I found it easy to just pick up the cage and collect berries.
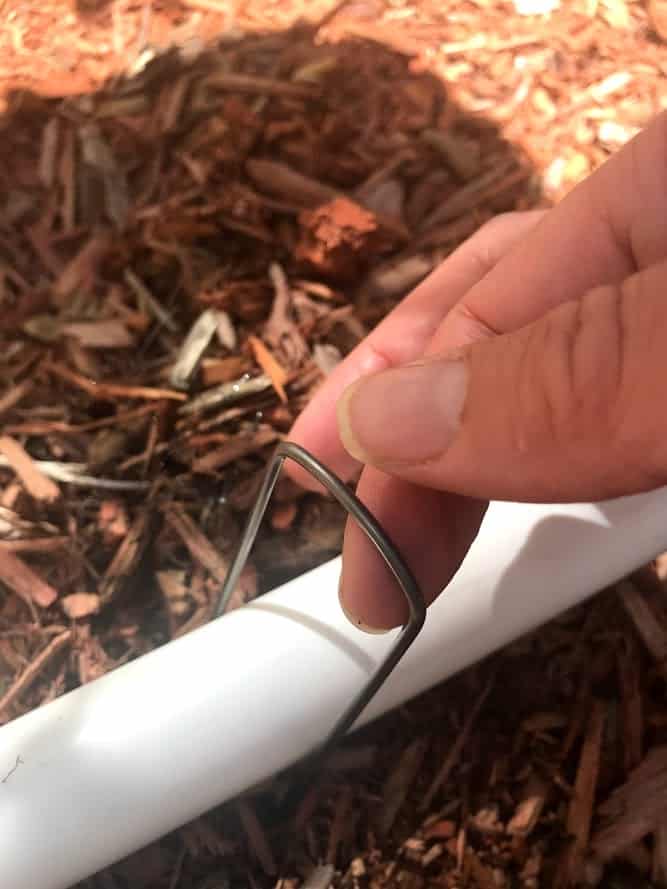
However if you worry about critters digging underneath or the wind blowing the cage over, secure the PVC pipes into the ground with garden staples.
4. Drape Netting
Starting from the bottom of one side, unroll netting and drape it up and over the PVC frame down to the ground on the other side.
I was impressed with the netting we used – lightweight yet still appears strong. It’s made by Jobes’ Easy Gardener division (they also manufacture the garden staples). Based in Waco, Texas, they focus on a wide range of products that make growing plants attainable for any level of gardener. Thank you Jobes!
Secure the netting along the top and sides of the frame at intervals with plastic or fabric ties. If using plastic ties, leave a little room so that when dismantling the cage at the end of the season you can cut the ties without cutting a hole in the netting.
Note: If you don’t plan to take the cage off the strawberry plants at harvest (i.e. you have secured it to the ground with staples), don’t use ties along two of the sides of the PVC pipe. This way, you can easily raise the netting on this side and collect berries.
Final Results
And wa-lah! A DIY strawberry plant cage that protects strawberries so that YOU, not the birds and squirrels, can enjoy the harvest. Whoop whoop!
When to Remove Your DIY Strawberry Plant Cage
After you have enjoyed your harvest of ripe, juicy berries, simply snip the plastic ties, remove and fold the netting, and break apart the PVC pipes and connectors and prepare for storage. With proper care, the netting should last a few years.
That’s it! I was impressed with how quick and easy (and cheap!) it was to build. It worked perfectly last summer and we intend to repeat the process next year. We finally figured out a way to be a step ahead of the birds and squirrels and beat them to our own berries!
Supplies
Related Posts
Want to be the first to know about new posts? Be sure to follow me on Pinterest, Facebook, Instagram or Twitter of even Etsy! Or better yet… Subscribe below!
My monthly (admittedly sometimes more, sometimes less….) emails are like receiving a unexpected letter from an old friend WITHOUT needing to put on your slippers and walk out to your mailbox…. See? I got ya, my friend!)
[Note: My posts are proudly connected to these amazing link parties full of DIY ideas and inspiration!]
