Last Updated on June 10, 2024
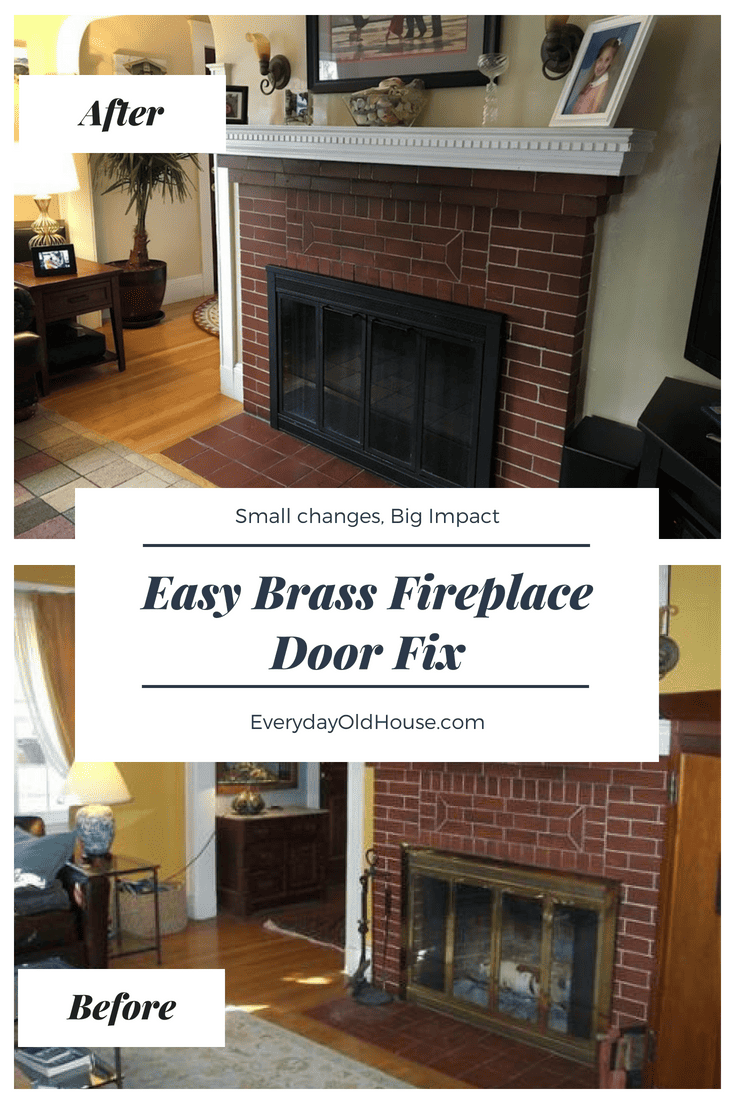
Is that 1980s brass fireplace door in your living room cramping your home’s décor? Yeah, mine too. While most fads eventually come back into style, I’m not in the mood to wait for brass fireplace doors to make a comeback. Here’s DIY step-by-step instructions on how to spray paint brass fireplace doors and bring into the right millennium.
This post contains affiliate links, including but not limited to Amazon Associates. As such, I earn from qualifying purchases. Full disclosure located here.
Backstory
My dated brass fireplace doors drove me up the wall. Don’t get me wrong, I’m definitely a child of the 1980s. I’m convinced that some of the best movies (The Princess Bride) and musicians (Michael Jackson, Madonna) of all time came from this decade.
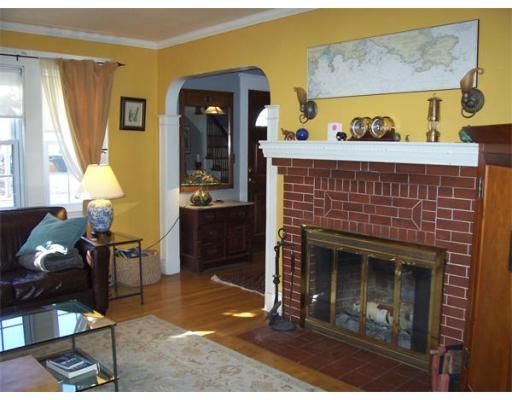
“Before” pic
But brass finish on fireplace doors?? Nope, sorry…. It doesn’t fit my vision of an classic older home.
Ideally I’d love new fireplace doors. However, it currently isn’t in the budget. Time to DIY a fireplace makeover.
In just a few hours and less than $10, I said “Good-bye” to a tacky brass fireplace door and “He-He-Hello” to an updated fireplace door with a polished look.
Supplies
First step to this DIY project to transform your brass fireplace door surround into the talk of the town is to gather these necessary materials:
- Drop cloth, tarp, or old bedsheet
- Screwdriver
- Painter’s tape
- Newspaper, construction paper or printer paper
- Clean cloth
- Steel wool pads size “000” or “0000”
- High heat paint
A few things to note:
How Was this Fireplace Door Makeover Only $10?
I already owned all but 2 supplies – screwdriver, drop cloth, painter’s tape, etc – purchased from prior home improvement projects. And changes are, if you are also a DIYer, you have these materials lying around.
For me, I only needed the high temperature spray paint and steel wool, which came in just under $10. Pricing in our area might be different, or you may need to buy additional supplies.
What Type of Paint Should You Buy?
Note that is essential that you pick a high heat paint since this is part of a fireplace with high temperatures.
While there are several high-temperature paints on the market, I’ve had the best luck with Rust-Oleum’s Specialty High Heat Spray Paint.
You can also buy high-temperature paints that can applies with a foam roller, but I find spray paints are easy way to get this job done.
Instructions
Step 1 – Remove Fireplace Doors
Wait for a nice day outside (not too much wind so the paint won’t blow) and set out some old sheets out on the lawn. Don’t set up your work station on the driveway or a deck – in case things get messy with the paint.
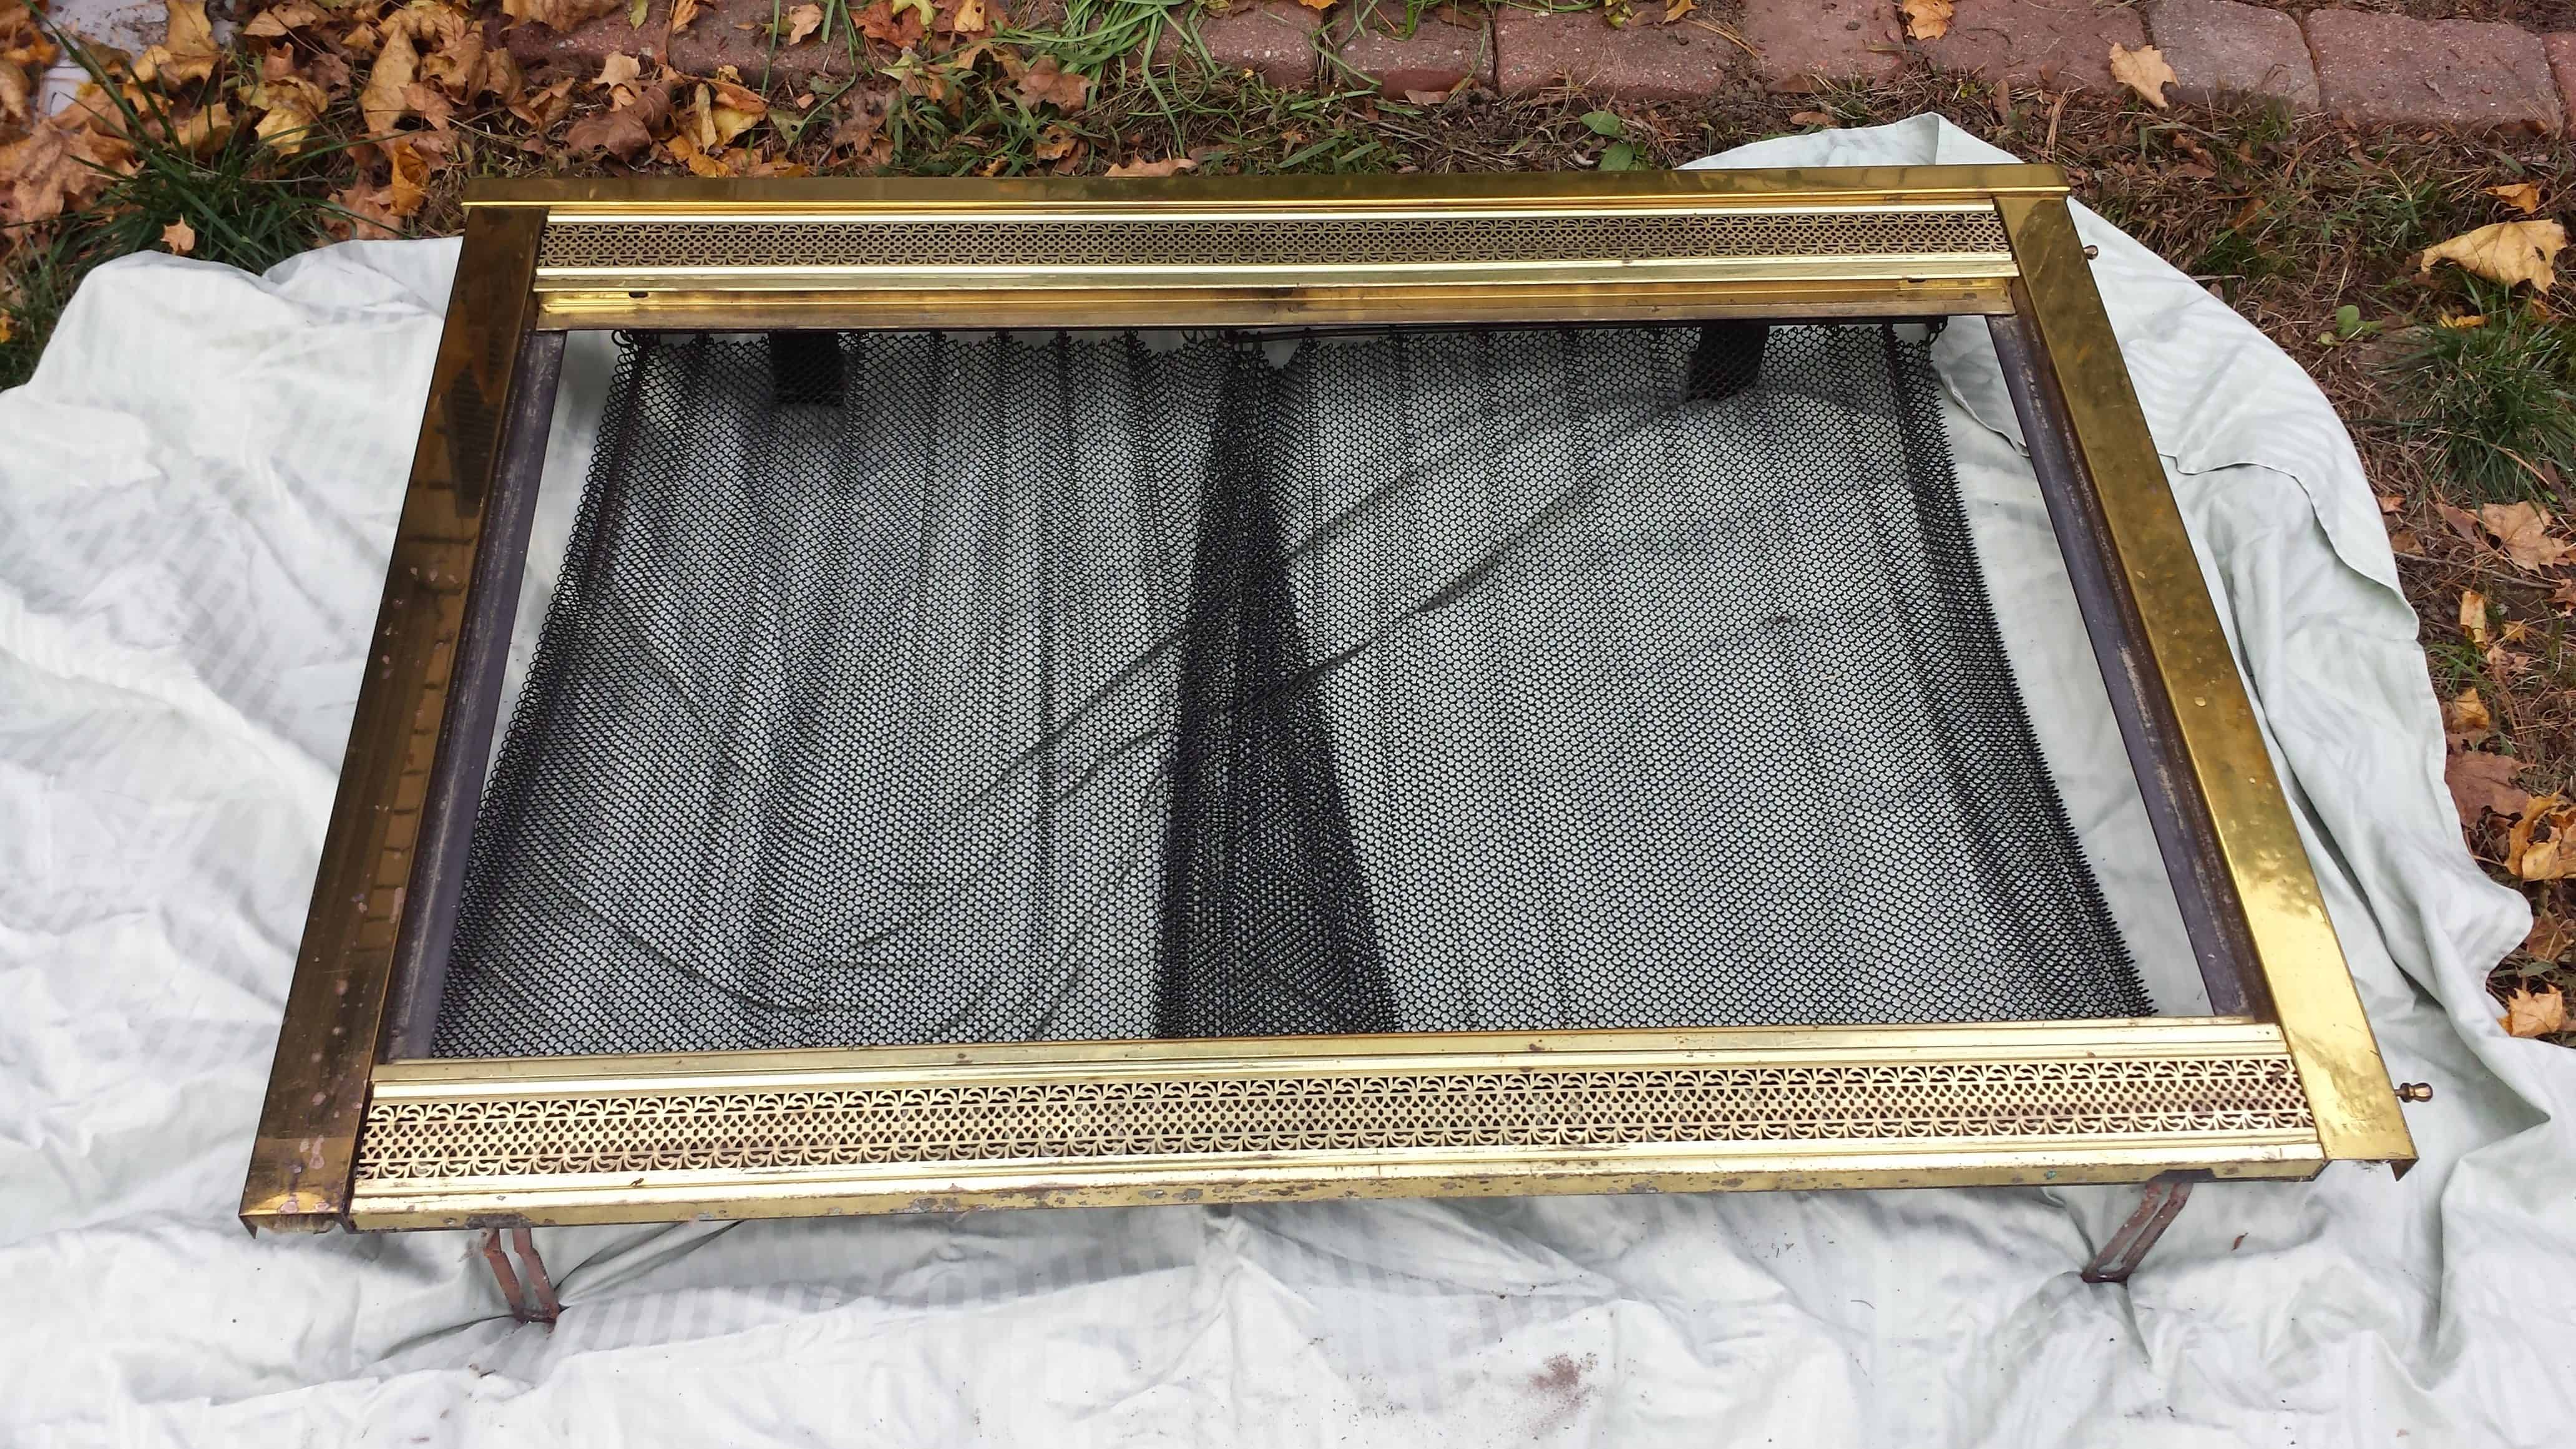
Next, remove the fireplace door from the fireplace. Unhinge the doors from the fireplace frame. Then unscrew the frame from the fireplace and set all 3 pieces outside. Set the screws next to the doors on the sheet. Below is a picture of the frame outside. If you have problems, watch the first few minutes of this video.
If you have hesitant to remove the fireplace doors and want to paint in place, that’s okay. Just remember to open windows and protect nearby surfaces.
[Note that our fireplace consists of two hinged doors and a frame, your fireplace may be just one piece].
Step 2 – De-gloss Fireplace Surround
For best results, it’s recommended to prep the metal fireplace surround by cleaning and de-glossing. This way the surface is prepared to for high heat paints (actually, all types of paint) to fully adhere to a surface.
Remove dirt by wipe entire surface of the metal fireplace surround with a damp cloth, with elbow grease where needed. Allow a few minutes to dry (enjoy a coffee). Then take a dry, small gouge steel wool, rub all metal surfaces to remove the shine and prep the surface for painting.
I recommend Rhodes American steel wool pads Size “000”.
Wipe the metal surfaces with a dry cloth to remove any remaining steel wool particulates.
Step 3 – Protect Glass
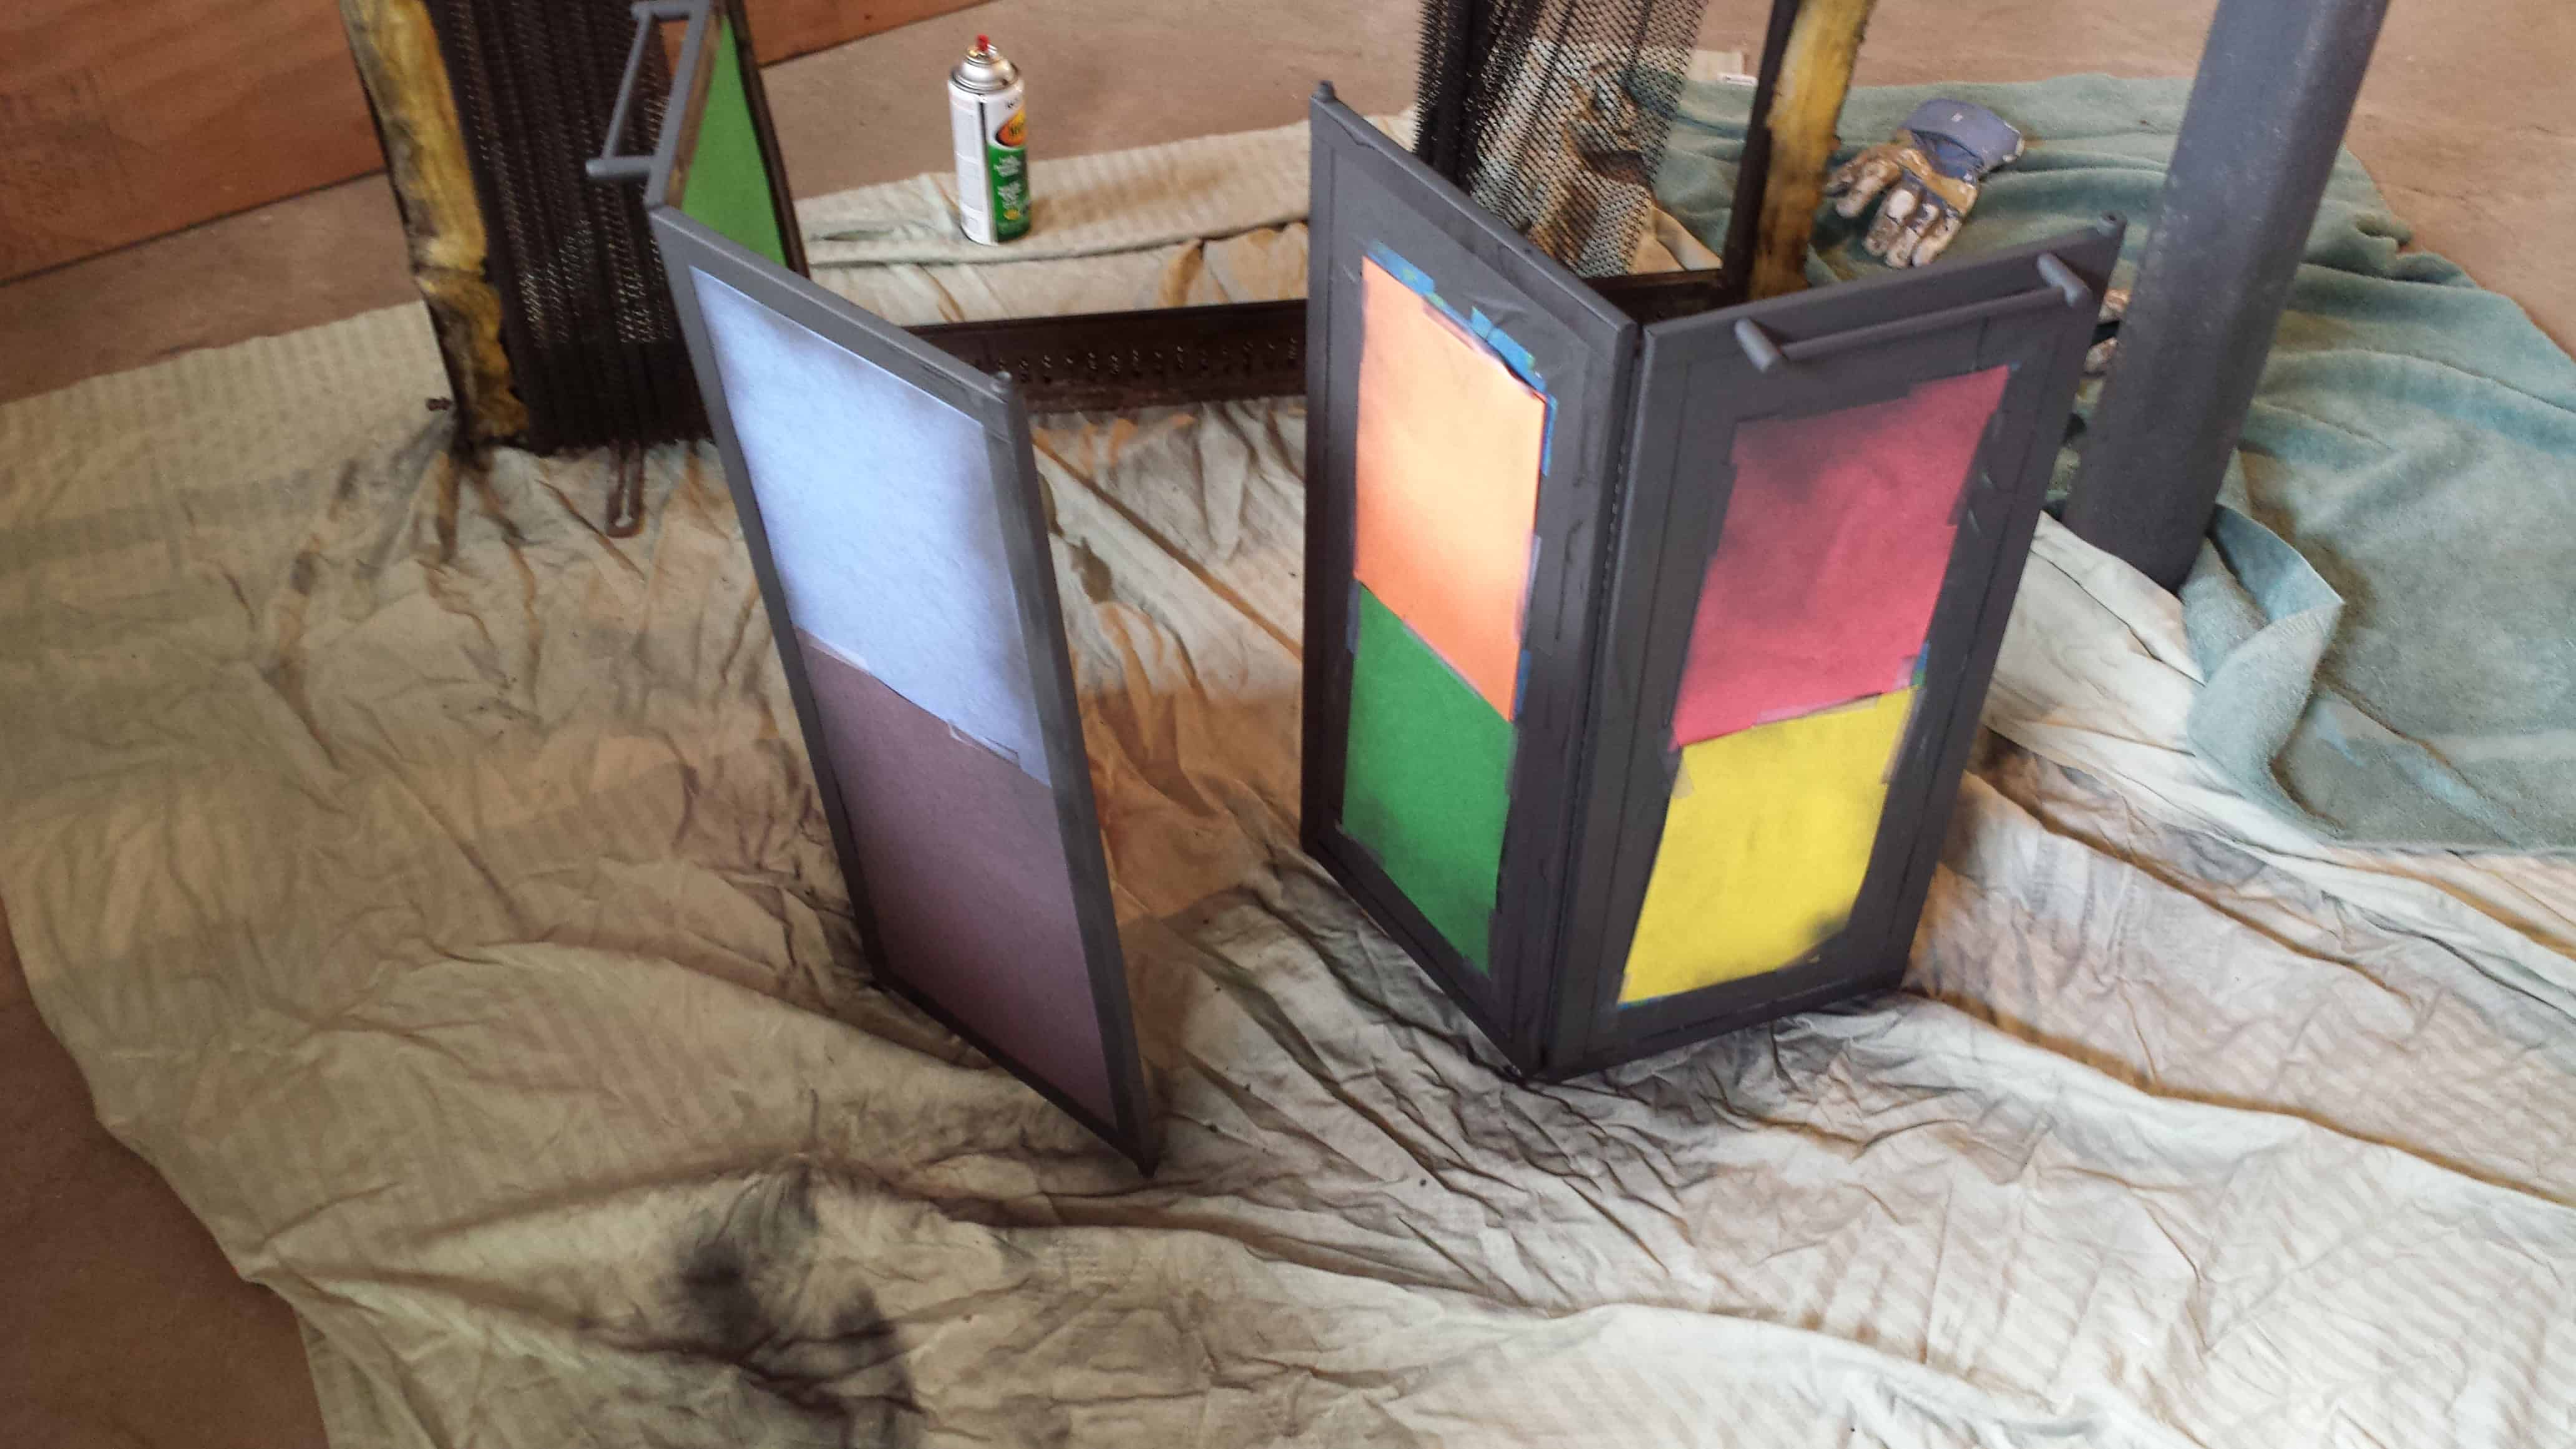
Next, it’s time to protect the glass or any other fireplace door parts you don’t want painted. Newspaper held in place with painter’s tape is probably the most common way to cover the glass. But recycling had just been picked up that morning (just my luck….) so I raided my child’s construction paper bin.
Step 4 – Spray Paint Fireplace Doors
Using spray paint made for high heat, spray a first coat of metal surfaces with a sweeping motion (or per manufacturer’s instructions).
It’s OK if it’s a light coat you don’t get everything on the first coat. In fact, for best results, your fireplace doors will turn out better if you do multiple light coats.
I used Rust-Oleum Specialty High Heat Black Enamel Spray Paint. It’s the same paint used to touch up grills.
Let this first coat dry. The directions on the back of the spray can indicated dry in 30 minutes. I waited about 1-2 hours. Do a second coat, and a third if needed until you have full coverage.
Step 5 – Re-install Fireplace Doors
Once completely dry, remove construction paper/ newspaper and painter’s tape. Carefully re-install fireplace doors into fireplace surround. I actually let my fireplace doors dry over night in the basement, and removed the construction paper the next day and installed in my living room..
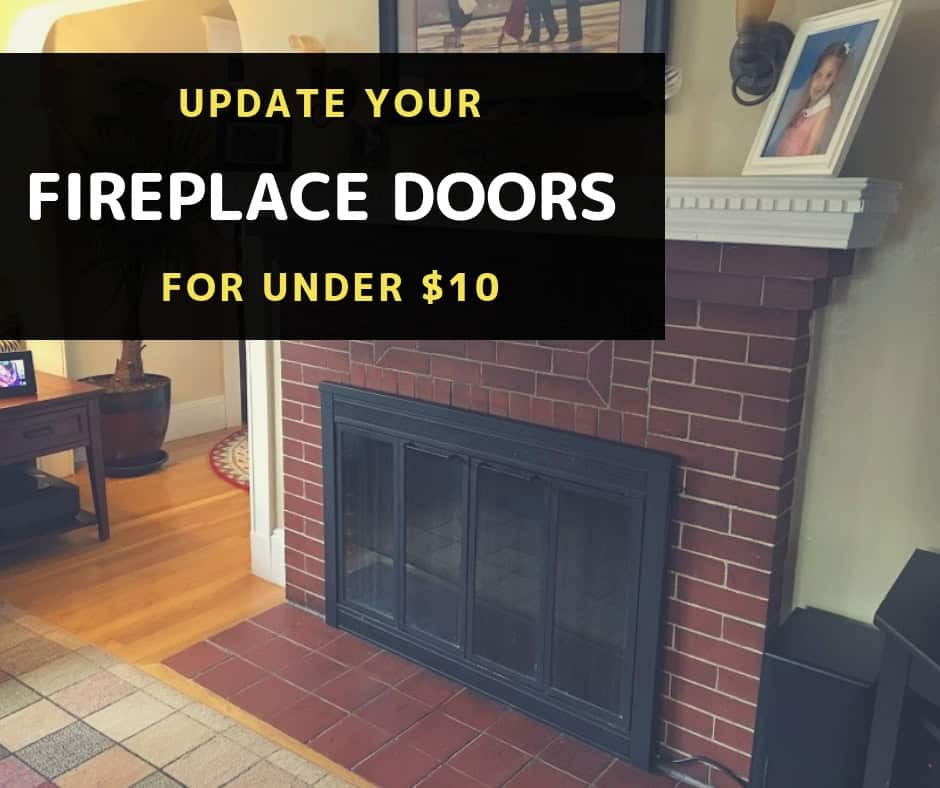
And wa-lah! Here is the fireplace doors in our living room – updated and finished!

It’s a subtle difference, but to me this updated metal fireplace surround has a MUCH improved, polished look.
Someday the budget will allow us to buy new fireplace doors, but for now, this will do quite nicely. And I can keep the ’80s where it belongs – to the movies.
Speaking of which, now I have a hankering to light a fire in the living room, put my feet up and start an 80s movie marathon…
Have you updated your fireplace doors? I’d love to see them! Be sure to post a pic in the comments section below!
Related Posts
Want to be the first to know about new posts? Be sure to follow me on Pinterest, Facebook, Instagram or Twitter of even Etsy! Or better yet… Subscribe below!
My monthly (admittedly sometimes more, sometimes less….) emails are like receiving a unexpected letter from an old friend WITHOUT needing to put on your slippers and walk out to your mailbox…. See? I got ya, my friend!)
[Note: My posts are proudly connected to these amazing link parties full of DIY ideas and inspiration!]


