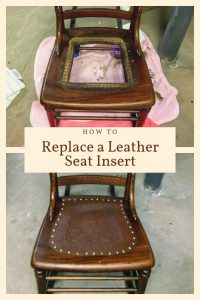
Last Updated on March 20, 2024
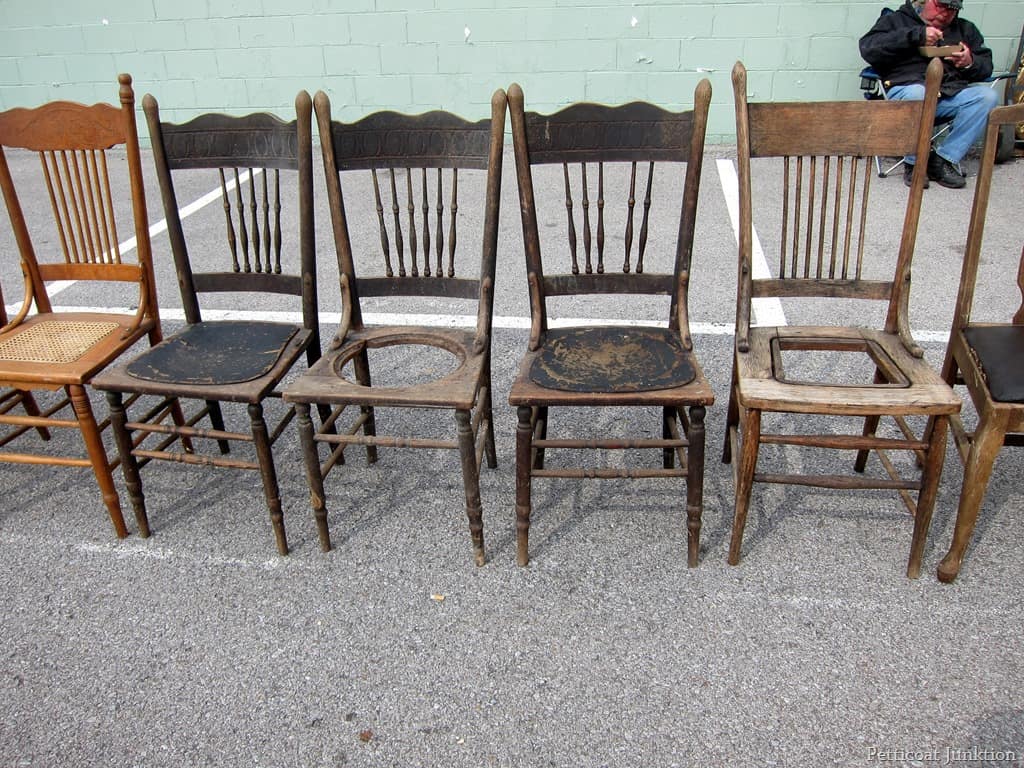
What do you constantly find stacked up at flea markets, yards sales, and estate sales? Vintage wooden chairs with ripped or missing leather seat bottoms. Nothing else is wrong with them. Just the leather seats need to be replaced in these antique chairs. And they are usually available at a bargain price.
Replacing a leather seat in an antique chair is easy, cheap, quick, and doesn’t require a high level of experience. A perfect DIY project!
And these antique furniture pieces were made with an attention to detail and workmanship not found in contemporary furniture. So bonus points for a high quality chair, for low price.
So the next time you come across a vintage chair that needs a new seat, grab up that hidden gem! Transform it into a chair that brings charm AND function to your home.

This post contains affiliate links, including but not limited to, Amazon Associates. As such, I earn from qualifying purchases. Full disclosure located here.
My chair’s story
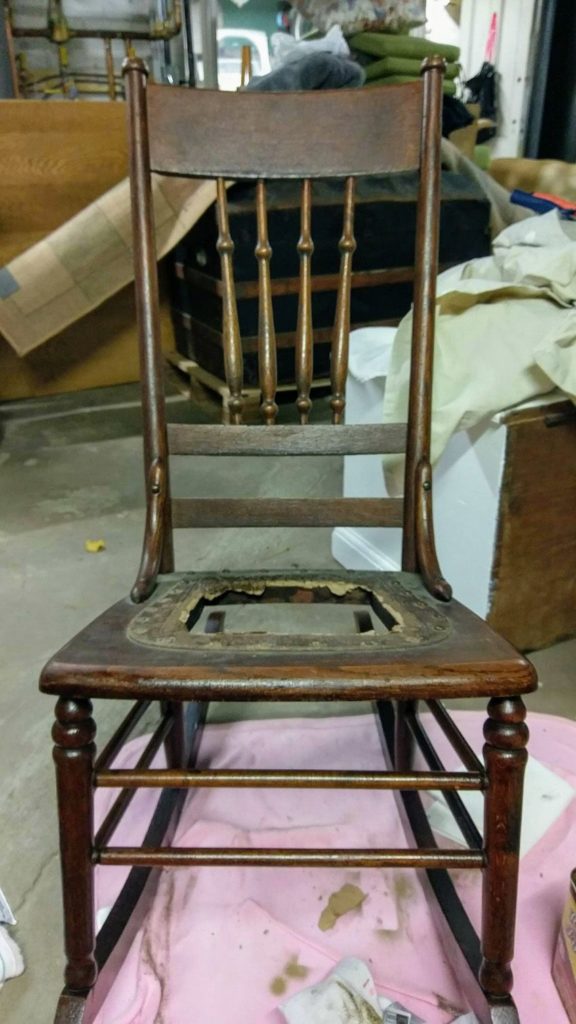
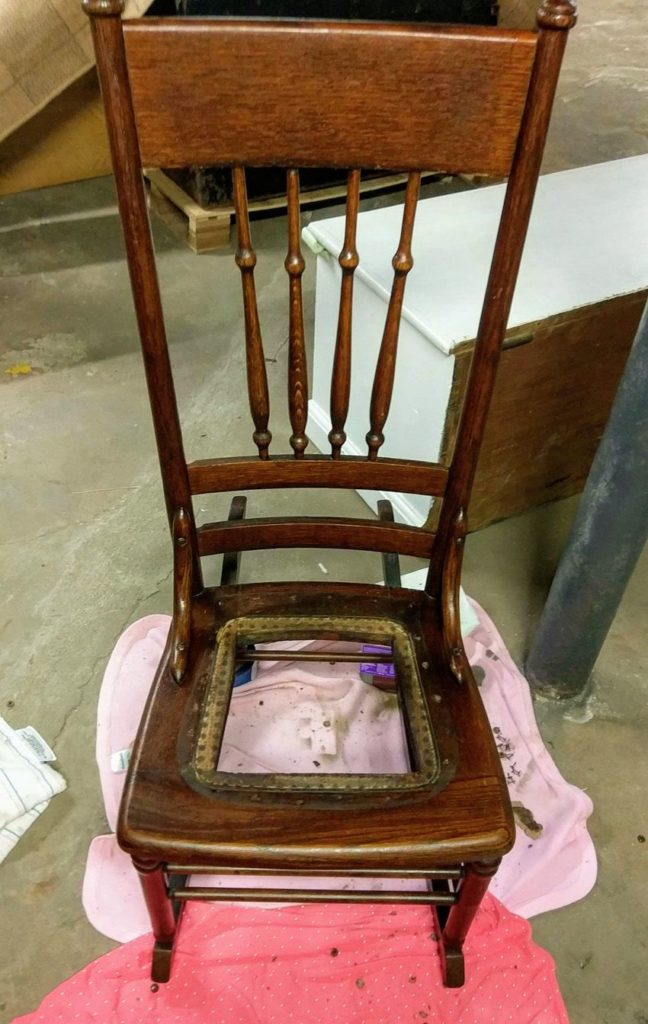
A few years ago my mother asked me to mend my grandmother’s old rocking chair. It had been sitting in the attic for decades. This chair was still useable (i.e. sturdy chair back and legs) except for the, well, the gaping hole.
I had a bit of experience with fixing up antique wooden chairs, but more than my mom. Apparently she considered me an expert….
I had never replaced a seat leather insert before, so it was slightly intimidating. But, I had the mindset that this chair, like the other two, would have just sat collecting dust or worse thrown into a landfill, if I hadn’t at least tried.
So what did I have to lose?
History of Grandma’s Chair
Digging into Google, I identified this chair as a ladies sewing rocker, also known as a nursing rocker. Common in the late 1800s and early 1900s these chairs had two main characteristics:
- Built lower to the ground to fit a women’s stature
- Contained no armrests.
This allowed the space for a woman to rock and nurse babies, or to sew, knit, etc…
Pretty cool, eh?
Materials/ Supplies
You probably have most of the tools and materials needed to replace a leather seat insert already in your toolbox. You’ll likely only need to purchase a few supplies, including the actual replacement seat.
While you could spend extra money on a true leather replacement seat, fiberboard seats are a cheaper alternative. Reproduction embossed fiberboard seats usually runs around $25, while a leather replacement seat is around $100.
They are more cost-effective, yet still have a similar look to leather. Fiberboard seats are made using specially-formulated compressed layers of paper and plastic fibers. These seatboards can be painted, stained, sealed, or used as-is. And commonly they are embossed with traditional designs to match the style of antique wooden chairs.
For a new DIY-er like myself, I decided to try an embossed fiberboard seat. It was my first time replacing a seat so I didn’t want to spend a lot of money and then make a mistake. I bought the Sunflower embossed style through Architecturals.net and had a great experience. They carry several other styles including Floral, Tufted, Shield and a Fluer de Lis. Note the measurements that best work for your project, for some styles are available in two different sizes.

I figured that if I got the process nailed down (pun intended) I could always upgrade to actual leather at a later date. Plus I preferred the idea of staining fiberboard. Honestly, the idea of learning how to stain leather intimidated me.
List of Supplies
- Needle-nose pliers or tack remover
- Goo Gone Adhesive Remover
- Sandpaper (fine grit – 150 or higher)
- Measuring tape
- Pencil
- Tracing paper or lightweight paper
- Embossed fiberboard seat insert – I used a Sunflower design
- Craft shears or tin snips
- Wood Stain
- Soft rag/cloth
- Gloves
- Acrylic clear vanish
- Carpenter’s wood glue
- Awl
- Rubber mallet
- Upholstery tacks – chose a color, style and size that suits the chair
Instructions
This step-by-step guide is broken up into 3 easy and distinct phases:
- Prepare Chair
- Create New Fiberboard Seat
- Affix Fiberboard Seat to Chair
Prepare Chair
1. Secure Chair
If you have a rocking chair, figure out a way to secure it. Flip an empty a 5-gallon bucket and place under the chair. Or insert a roll of blue painter’s tape under the rockers.
2. Remove upholstery tacks
Remove upholstery tacks and seat remnants if present. I tried needle-nose pliers to remove the old tacks, but they didn’t work for me. So I “splurged” on a tack remover (I bought mine for a few dollars on Amazon).
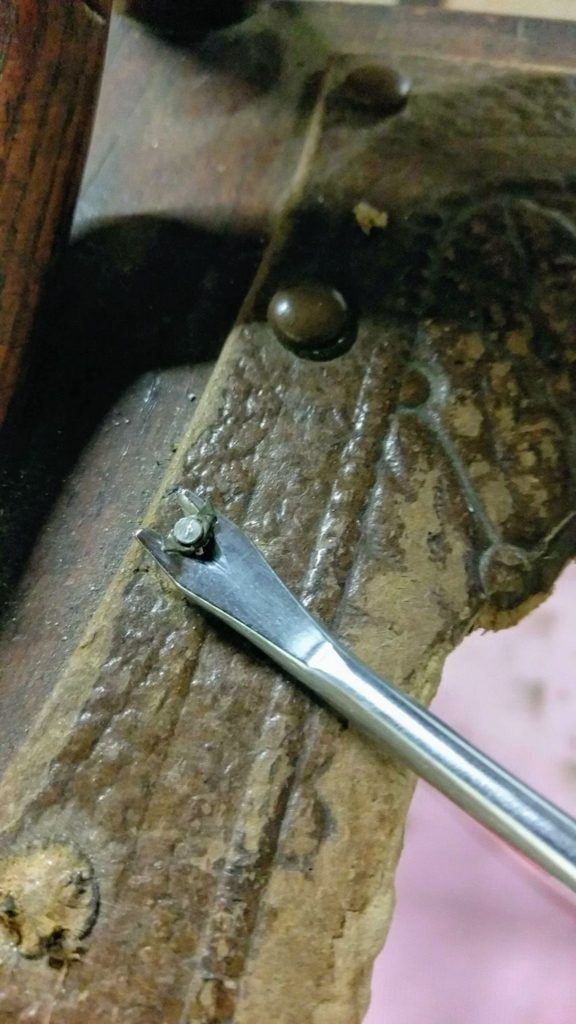
Carefully slide the V-slot of the tack remover beneath the head and leverage on the handle to loosen the head until the tack pulls out. If the tacks are still in good shape, you may want to consider re-using. My tacks were in poor shape.
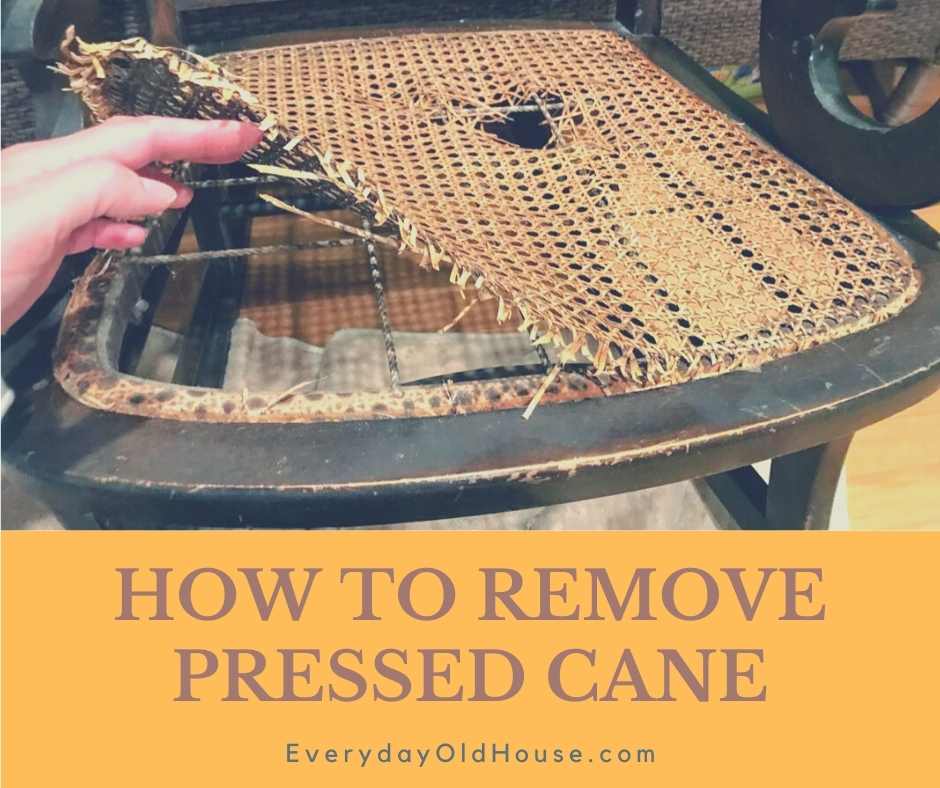
3. Remove Seat Remnants
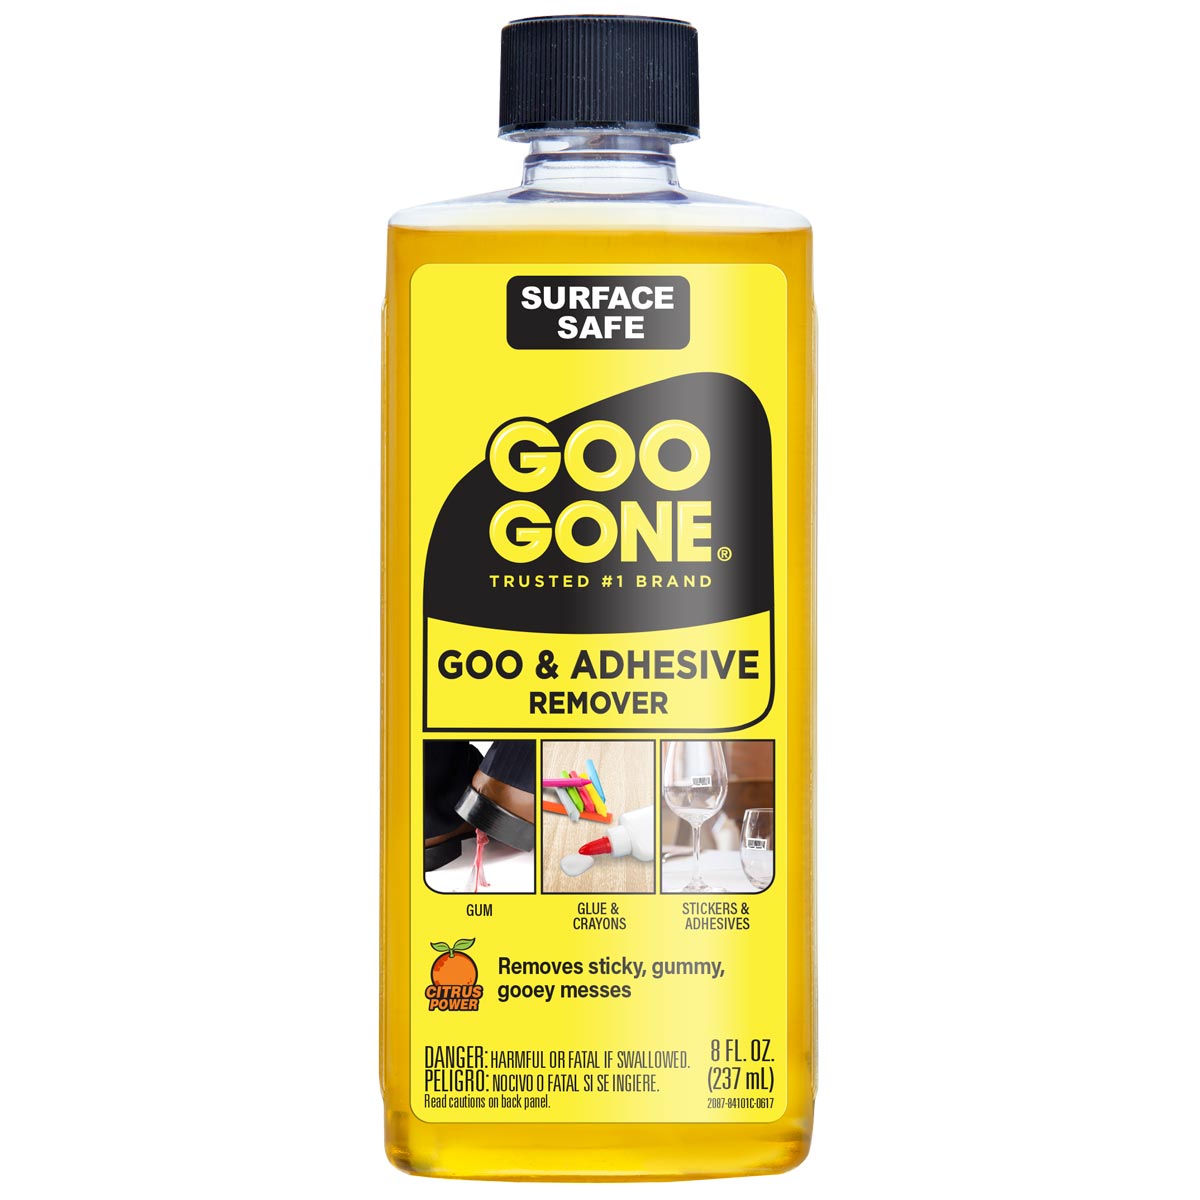
Scrape and clean any dirt, dust and glue using various tools. My chair was in better shape than expected, but there was some residual glue. I used Goo Gone to remove. After removal, do a light hand sanding of the seat area opening with a fine grade sandpaper.
4. Refinish wooden parts of chair
Once all the tacks and seat remnants have been removed, now is the best time to restore the wooden portions of the chair if needed. There are several great DIY restoration tutorial videos on YouTube. I especially like the Home Improvement Woodworking YouTube channel.
Luckily, my chair was structurally sound and the stain was intact. It just needed a good cleaning. I’ve used Restore-a-Finish a few times and I’m starting to love it!
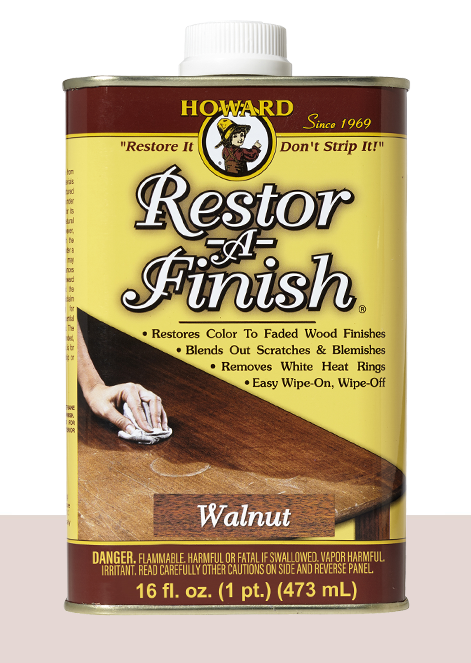
Per the products website, it is “a unique finish-penetrating formula that restores wood finishes while blending out minor scratches, blemishes and abrasions…. Restor-A-Finish maintains the original “patina” of an antique finish, maintaining its character and value as an antique”. It’s available in nine different colors (I used Walnut).

To protect the newly restored finish I then applied Feed-N-Wax Wood Polish & Conditioner as recommended by the manufacturer. This polish uses conditioning oils that “feed” the wood while providing a protective coating of beeswax and carnauba wax. Its goal is to preserve and keep the wood from drying out, fading, or even cracking.
Create New Fiberboard Seat
5. Stain fiberboard seat
If desired, it’s time to add color to the fiberboard. I decided to use stain (instead of paint or nothing). Put on gloves and test various stain colors on a corner of the backside of the fiberboard.

I found that fiberboard takes stain differently than wood. Once you have chosen your stain color, stain the entire fiberboard using a soft rag.
Allow seat to dry, possibly overnight. Originally I was between two color stains. I first tried the lighter stain, but after it dried I realized that I wanted a darker color. So I stained again and waited another day. The below is the finished color – rich looking eh?
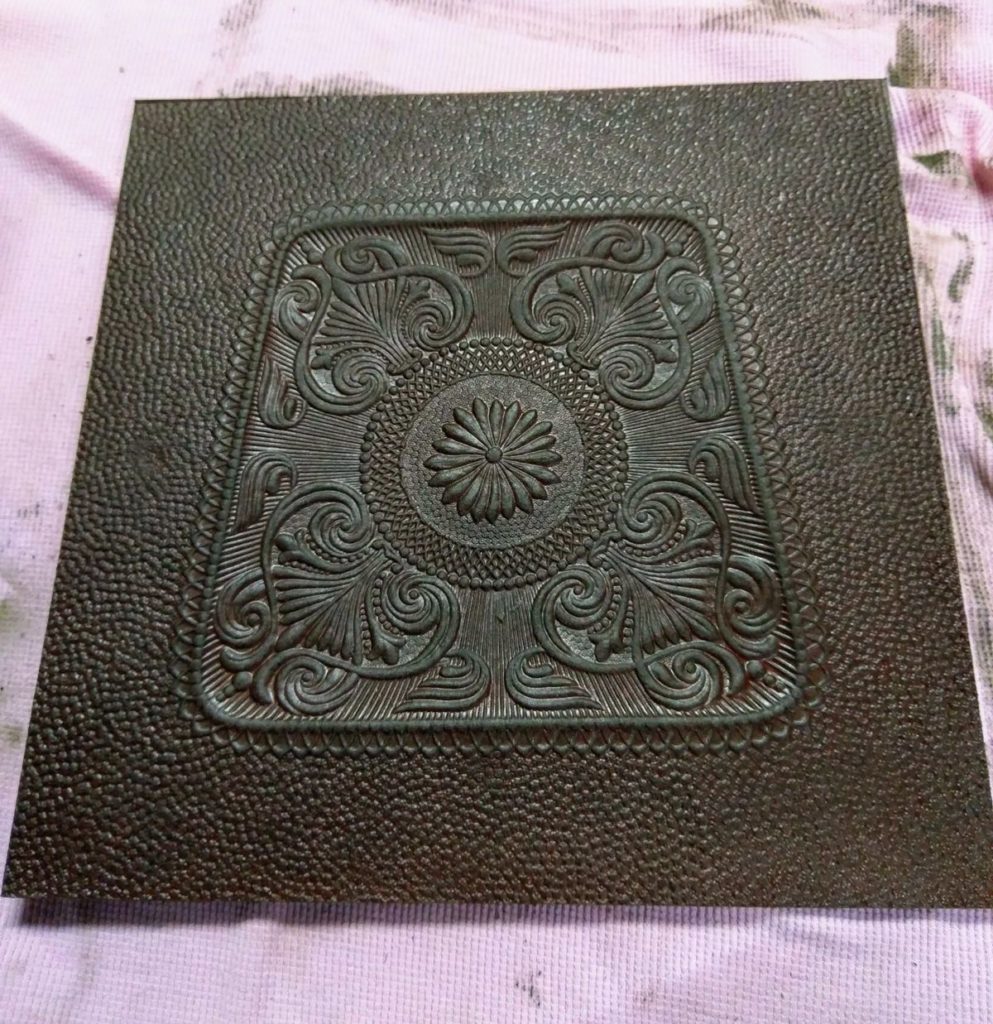
Which color stain did I use? Minwax Wood Finish in Ebony.
6. Determine Seat Dimensions
There are a couple of ways to determine the seat dimensions.
I was lucky enough to have the edges of old leather seat completely intact. Therefore I could simply trace the outline of the old seat onto the new seat with a pencil.
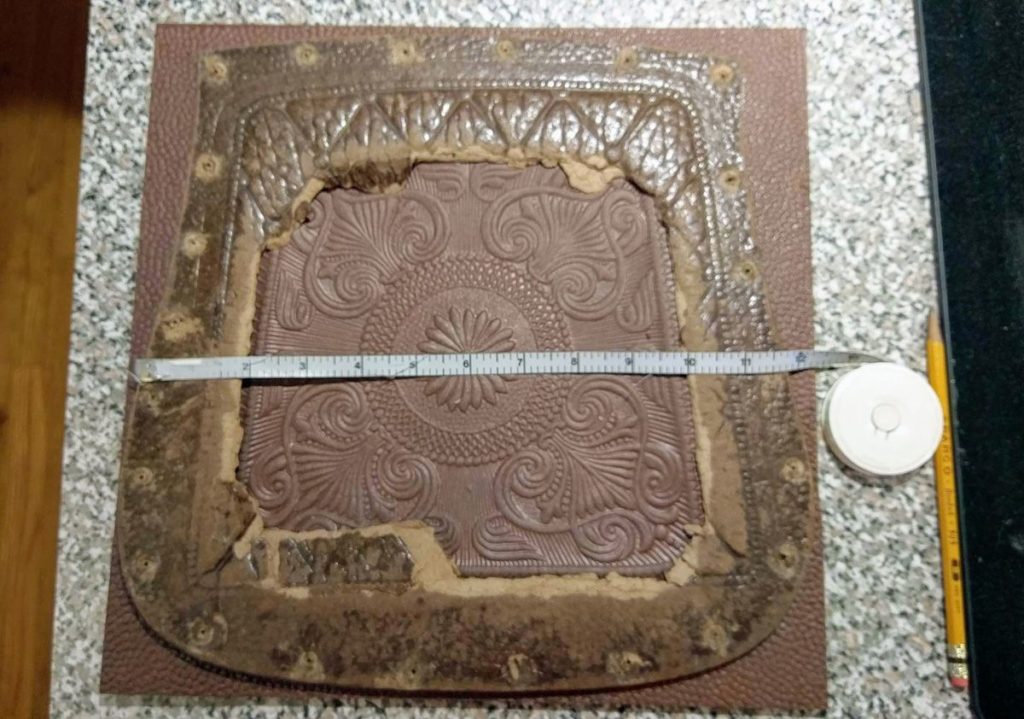
Be sure to find the center point with a measuring tape to avoid the chair being lopsided
But if you don’t have the old seat, you have other options. You could create a paper template per a great Martha Stewart tutorial. Or measure the diameter (or square) of the chair seat opening and add an additional 2 inches to the measurements to allow for tacking and gluing.
Regardless of the method you use described above your objective in this step is to outline the edge onto the fiberboard with a pencil.
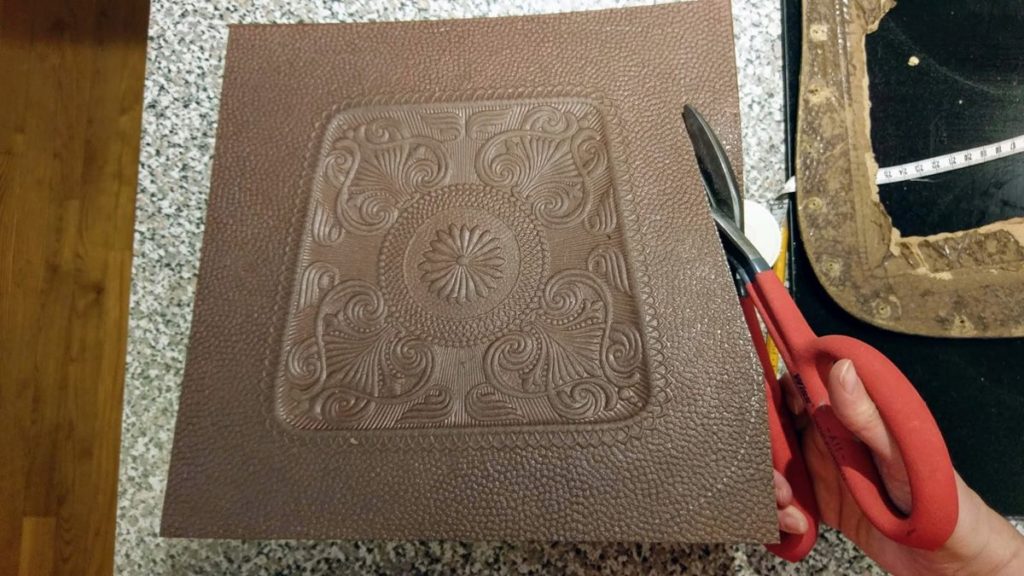
7. Cut Fiberboard
Cut along the pencil marks with shears, craft snip, or tin snips using small snips. I used tin snips. Take your time!!!
8. Varnish Seat
Apply a coat of clear acrylic vanish as per manufacturer instructions to seal and allow to dry.
Affix Fiberboard Seat to Chair
9. Center fiberboard
Center the fiberboard onto the chair bottom using a measuring tape to ensure the edges of the board are equidistant from the chair edges. Make a small mark with a pencil at each of the four corners of the chair bottom.
10. Glue fiberboard
Remove the fiberboard from the chair and apply a bead of carpenter’s glue around the underside edge of the fiberboard. Re-apply the fiberboard seat to the chair, making sure to line it up with the chair’s corner pencil marks. Let dry until tacky. Usually this takes about an hour or two.
11. Add upholstery tacks
Secure an upholstery tack into each of the four corners of the chair. I used FUCAS Upholstery Tacks Furniture Nails Pins in Antique Brass.

Some instructions say to tap tacks directly in with just a rubber mallet, but that didn’t work for me.
I bent the first few tacks so I followed Martha Stewart’s tutorial which recommended an awl to start the hole through the fiberboard and chair. [UPDATE: October 2020 – the link to Martha’s tutorial isn’t working. I’m trying to find the new link….hope to solve ASAP]
I pounded about 20 hits with the awl to start the hole. Then remove the awl, and tap in the upholstery tacks directly with the rubber mallet.
Once these four corner tacks are in place, hammer in remaining tacks at equal distance around chair using a measuring tape.

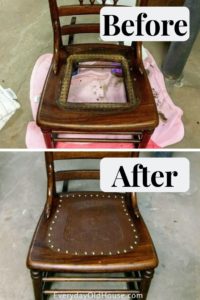
And DONE!
Congratulations! You have just replaced a leather seat in an antique chair and given an old chair a new lease on life!
Interested in learning more about fiberboard seats? Check out The Black Sheep Shoppe who also did a seat replacement with fiberboard, but painted the wooden chair a glassy distressed grey.
Related Chair Restoration Posts
Want to be the first to know about new posts? Be sure to follow me on Pinterest, Facebook, Instagram or Twitter of even Etsy! Or better yet… Subscribe below!
My monthly (admittedly sometimes more, sometimes less….) emails are like receiving a unexpected letter from an old friend WITHOUT needing to put on your slippers and walk out to your mailbox…. See? I got ya, my friend!)
[Note: My posts are proudly connected to these amazing link parties full of DIY ideas and inspiration!]
So glad to find this! Thanks for sharing!
I’m thrilled you enjoyed it! Thanks for reaching out. Let me know if you have any questions on the tutorial or if I can help in any way.
Hello- thanks for the information I ordered a seat from one of your links. I have been debating over re-caning or seat pad and voila I found your post…..Yeah internet!
Rashel – I’m siked you found a solution for your chair! Hope it works for you. If you have any questions about my tutorial, don’t hesitate to reach out. And feel free to post or email me a pic when you are finished – I’d love to see it!