Last Updated on January 5, 2024
Ahhh, the joys of fall – the kids are back in school, apple orchards are ripe for the picking, pumpkin ale is flowing. In our house, autumn means football season.
And while my Pittsburgh Steeler husband and I (a devoted New England Patriots fan) can’t see eye to eye on the greatest quarterback of all time (ahem…. Tom Brady), we do agree that completing our fall maintenance chores are essential to get our home ready for the harsh New England winter.
Here’s our 12 tips to prep your home’s exterior for fall that both Steeler AND Patriot fans can get behind.

This post contains affiliate links, including but not limited to, Amazon Associates. As such, I earn from qualifying purchases. Full disclosure located here.
Why Should You Prep Your Home’s Exterior for Fall?
Quite simply, it ensures that our homes are in tip-top shape to endure winter’s severe conditions. A well-maintained home that has been given some fall maintenance love lowers the risk of surprise fixes, costly repairs and headaches.
And what does that extra money mean?? Money for football tickets….
Admittedly, prepping our home’s exterior for fall isn’t exactly the highlight of our lives. I’d much rather be lounging outside by a propane fire pit sipping spiked apple cider. BUT I know it’s the right thing to do for my home, family and budget. #adulting
Even the Steelers and Patriots will both agree that “the best offense is a good defense”. And these tips to prep your home’s exterior for fall will give you the best defense in the league (which I personally think will be Buffalo Bills in 2022).
Fall Home Maintenance Checklist
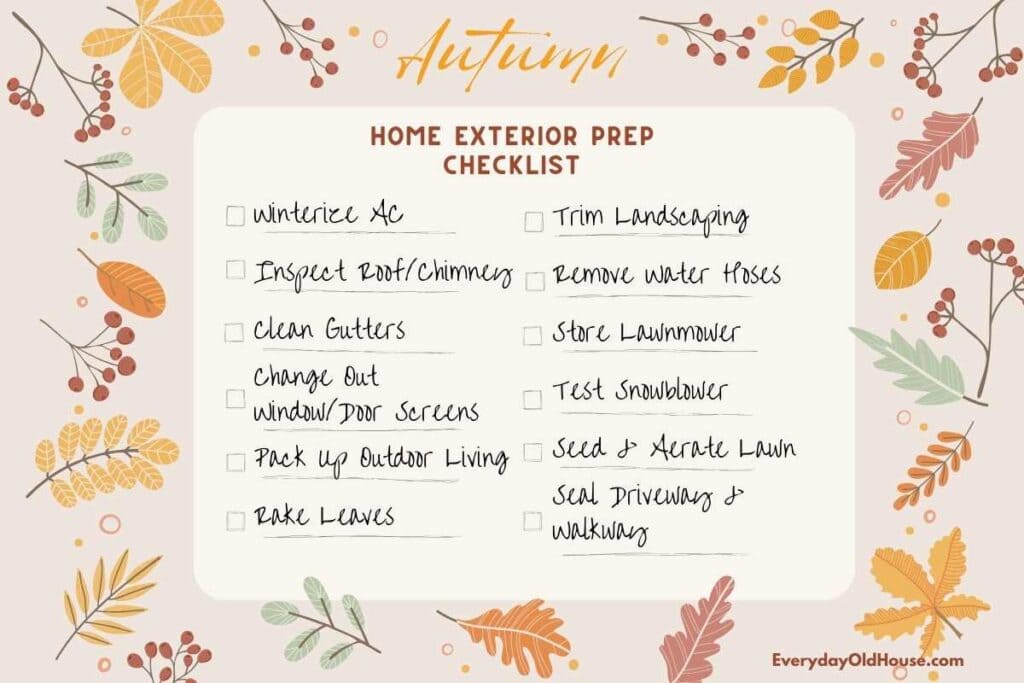
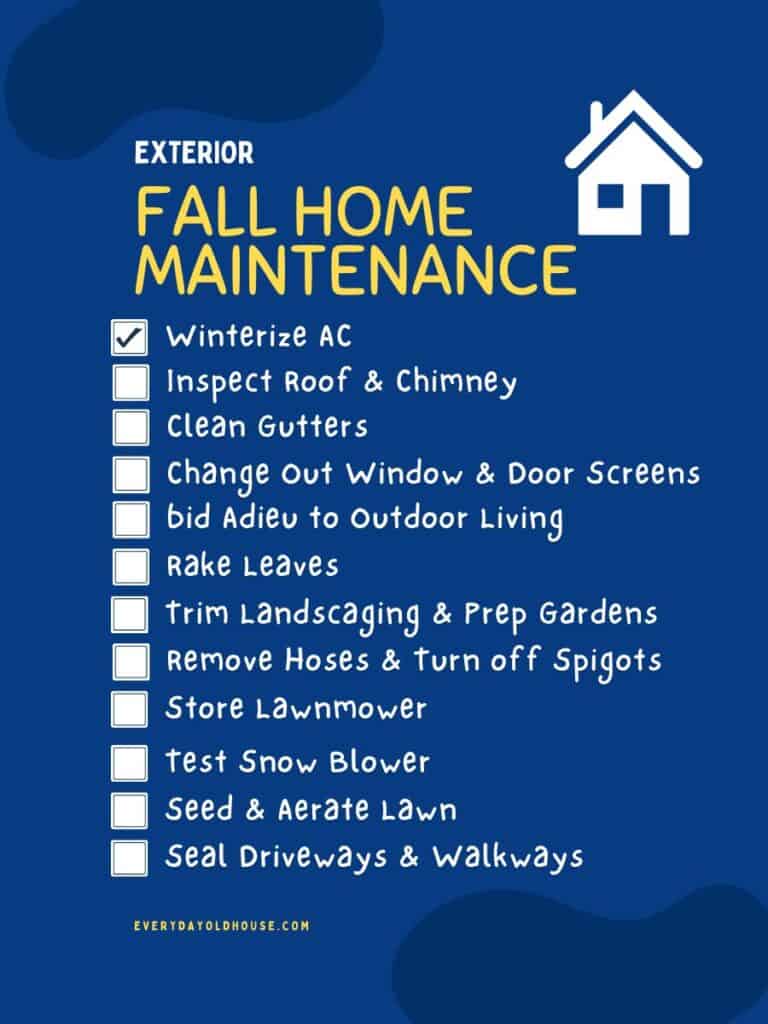
To make fall maintenance even easier for you, be sure to download my Fall Home Maintenance Checklist that coincides with these 12 tips to prep your home’s exterior for fall. It’s available in 3 different formats:
- Printable version in pdf
- Electronic versions in both Google AND Microsoft Excel
This checklist contains all the tasks needed to prep your home’s exterior for fall – before your home transitions from hot summer days to blustery winter nights.
[Note that this Checklist is divided into Outdoor AND Indoor tasks. This post focuses on prep your home’s exterior for fall. Stay tuned for a future post tackling the interior chores ?]
Before You Prep Your Home’s Exterior for Fall…
While this isn’t “officially” a tip, I’d wholeheartedly recommend organizing your garage or workshop BEFORE starting your fall home maintenance.
Sort through the piles in your garage. Clear a path to the rakes hidden behind the pool supplies. Take inventory of your leaf bags.
Get all your tools ready so that when the final leaf hits the ground, you can sprint into action.
12 Tips to Prep Your Home’s Exterior for Fall
Autumn is a wonderful time of the year – from football games to pumpkin spice latte (sidenote – I’m actually not a pumpkin spice fan). And it’s also a great time to prepare your home for the coming cool months.
And pssst….. If you are a parent, some of these tasks are kid-friendly! #yourewelcome
Fall Prep Checklists
Do you prefer your fall chores in checklist forms? Well, then if so, here’s two very different style of checklists (but with the same information).
Want a more printer-friendly version? Send me an email and I’ll reply ASAP.


Now, let’s dive into these 12 chores for the exterior of your home with some valuable tips on how to actually get things done!
1. Winterize Air Conditioning
If you are lucky enough to have central AC (unfortunately, not my house….), you should winterize the condenser to prevent wear and tear and extend the lifespan of your AC.
You can even benefit from a home warranty. This policy can protect your AC unit from unexpected failure and can help save you money on any recurring problems you may encounter.
Check out these easy steps to winterize your AC unit from a contractor in Fredericksburg, VA:
- Shut off power
- Remove any debris stuck in the unit
- Cover unit with a sheet of plywood
- Wax the outside of the unit
If you have window units (like us), it’s a great time to remove and store it, or cover it in place. Here’s a few removal tips:
- Wear gloves and closed-toe shoes for protection
- Cover the floor with a towel to catch any dripping water (made that mistake)
- Unplug the unit and tie the cord up so you don’t trip (made that mistake too…..)
- For larger units, phone a friend. AC units always seem heavier than they look
2. Inspect Roof & Chimney
Most roofers will tell you that it’s much easier to repair a roof in early fall than the winter. In the winter, the weight of snow and ice dams cause even more damage to roofs. If you wait too long to repair damages that could have been fixed in the fall, you will have a much bigger problem on your hands. And repairing a roof in the dead of winter is costly.
So, the best way is to look up and check your roof for damaged or loose shingles to ensure it is in good shape with no air leaks.
If comfortable with heights, you might be able to do simple repairs like replacing a few new shingles on your own. But if you’re scared of heights or see significant damage, call a roofer.
If you don’t have a roofer, check out these 8 Homeowner Tips for Finding a Roofer.
After inspecting the roof, don’t forget the chimney associated with a fireplace and/or wood-burning stove! Is it leaning? Cracked or missing bricks or masonry? For metal chimneys, are there any stains or signs of corrosion?
If your chimney is exposed inside the house (aka the attic) check for cracks, stains (especially water stains) or other damage. If so, call in a professional.
And if you plan to use your fireplace to create a cozy home, it’s a good idea to check your smoke detector and carbon dioxide detectors.
3. Clean Gutters
Gutters and downspouts aren’t something you think about, or talk about, often. They quietly do their job, shuttling rainwater away from your house. But when they’re clogged, you can end up with a flooded basement or damaged foundation that suddenly becomes the hot topic over dinner.
Personally, I’m scared of heights. I hire our roofing contractor to clean out gutters every year. But if you aren’t a scaredy-cat like me, hoist up that ladder and clean out the debris from your gutters. Ensure those gutters and downspouts push water away from the house.
While you are checking the downspouts, also inspect your foundation. Find any sunken areas of dirt? If so, fill those low spots with soil so that water runoff will slope away from your home.
This is also a good time to check for holes in your foundation to ensure mice or other furry little rodents can’t come inside for a long winter’s nap…..
4. Change Out Window and Door Screens
Depending on your type of windows and doors, you might need to remove the summer window and door screens. Before storing screens, clean and inspect for any tips or damages. After they are fully repaired and cleaned, store them safely until spring.
Before installing your storm windows, some folks recommend first cleaning your windows. Personally, I’m a spring-only window cleaning gal. But if you want to wash the summer fun off your windows be sure to check out these 25+ Simple Window Cleaning Tips.
And fall is also a great time to add a fresh coat of paint to your front door as well as check for drafts around windows and door frames.
5. Say Goodbye to Outdoor Living
This chore to prep my home’s exterior for the fall is the saddest part for me – saying goodbye to my patio furniture. For those of you in warmer climates who can sit outside and lounge in your patio furniture all year, I commend you (and await your invitation to come visit you in February ?).
But for those of us who aren’t so lucky….
I’m saddened to say it’s the best time to prep your outdoor furniture for that long winter’s nap. Wipe the cushions and clean any dirt or stains. If you have washable covers, throw them in the wash as per instructions. On a sunny day, hose down the furniture and give it a scrub with warm water and dish soap.
Let it all dry and then store. Obviously, a garage, shed or basement is ideal to protect it from wind, rain, snow and sleet. But if you don’t have space, don’t fret. Merely purchase covers to shield it from the winter elements.
And don’t forget your grill or outside kitchen! Winterizing your grill is essential if you live in a colder climate. For tips and a thorough tutorial on winterizing your grill and outside kitchen, check out the BBQ Guys.
6. Rake Leaves
We have two HUGE maple trees in our yard. They are beautiful in the summer, providing shade in our back and side yards. But I swear they drop at least 5 million leaves in the fall. And I hate raking. I’ve considered tying yard bags around the tree trunk in hopes that the leaves would fall right into them.
But I’m afraid that plan will never work….
Once all the leaves fall from trees, clean up your yard by raking. Want to save some time? Here’s some tips to make raking those fallen leaves a bit easier and less annoying:
- Use a quality rake
- Rake with the wind
- Rake in rows
- Consider a tarp
- Mow and mulch simultaneously
7. Trim Landscaping and Prep Garden
In addition to raking leaves, clean up your yard by getting rid of dead shrubs, bushes, and removing dead or broken branches. Trim any low-hanging trees that obscure walkways or touch the roof or house. If you live in a snowy climate, the weight of the trees from snow and ice can cause branches to hang further down, or even snap and break.
Tackle flower and vegetable garden bed cleanup. Bring in potted plants that won’t make it through the winter. Empty ceramic or clay pots that are too large to bring indoors (otherwise they may freeze and crack).
Plant your spring bulbs like tulips, crocus and daffodils.
If you want to dive deeper into ensuring your garden is ready for next spring, check out this printable Fall Garden Chores Checklist.
8. Remove Hoses & Turn Off Spigots
Disconnect all garden hoses, including any rain barrels, from exterior faucets and drain. If there is any water left in the hose, water can freeze in the hose and stretch and weaken the hose’s integrity. To further protect hoses from the cold weather, store inside in a garage or basement.
Find the shut-off valve to the outdoor spigot. Ours is in the basement not far from the exterior wall. A few years ago, we forgot to turn off the outdoor spigot that serves our backyard. And we paid the price of a burst pipe in our basement…. Yikes.
If you have an in-ground sprinkler or irrigation system, prepare your pipes for winter by draining your water lines. Water left in pipes may cause them to burst in winter months. And water damage doesn’t sound like fun, does it?
9. Store Lawn Mower
Your lawnmower worked hard all summer. Now it’s the perfect time to give it some much-needed rest. Before you store it in the back of the garage or shed, take it to a professional for a tune-up so that it’s ready to roll come springtime.
But if you want to pass on a professional winterizing your lawn mower, consider at least draining the oil and gas out of it (with proper disposal). Leaving the gas to sit in your lawnmower’s tank over the winter can cause damage and shortens the mower’s lifespan.
And don’t forget to show some love to your other lawn equipment, like your weed whacker and leaf blower, to get in good working order!
10. Test Snow Blower
Don’t be the guy or gal stuck with a snow blower that doesn’t start up the morning after the first snowfall (that’s of course a 2 foot blizzard!). Nobody wants to be THAT person…
If you have a snow blower, make sure you have it tuned-up or repaired during the early fall before cold temperatures hit. And don’t forget extra gas!
While you are at it, stock on ice melt and walkway/driveway reflectors for the winter season.
11. Seed & Aerate Lawn
Tending to your grass in the fall considering that it will look dead for the next 6 months may sound ridiculous, but it’s actually quite genius.
Aerate, fertilize and reseed your lawn, including seeding any dead spots for next year. While the blades look dead, the roots are still active. Applying fertilizer will prevent winter damage to those roots.
And fertilizer helps lawns turn greener in the spring. And who wants to be the neighbor with the best grass? You know you do!!! (My husband certainly does!)
By spring, you’ll have a revitalized lawn in good condition that will make you the envy of the neighborhood.
12. Seal Driveway and Walkway Cracks
Cracks in driveways and walkways happen for many reasons – tree root growth, heavy loads, repeated freezing and thawing, etc… Water can seep inside any cracks and when it freezes, it expands and creates even larger cracks. Water damage is never good. It’s a slippery slope from one small crack to a crumbling walkway your guests (especially those cute trick-or-treaters!) are tripping over….
Do yourself a favor and take an hour or two to do preventative maintenance. Fill up those small cracks with a concrete crack sealer. Repair those cracks to stop them before they lead to bigger problems.
Wrapping It Up….
Prepping for the next season can seem like a hassle at times. But, being prepared will help you get it done so that you can then slow down and enjoy fall. You’ll thank yourself when the leaves start piling up!
Looking to prep your home’s interior for the fall? Check out The Porch’s Guide to Fall Maintenance.
Related Posts
Want to be the first to know about new posts? Be sure to follow me on Pinterest, Facebook, Instagram or Twitter of even Etsy! Or better yet… Subscribe below!
My monthly (admittedly sometimes more, sometimes less….) emails are like receiving a unexpected letter from an old friend WITHOUT needing to put on your slippers and walk out to your mailbox…. See? I got ya, my friend!)
[Note: My posts are proudly connected to these amazing link parties full of DIY ideas and inspiration!]


