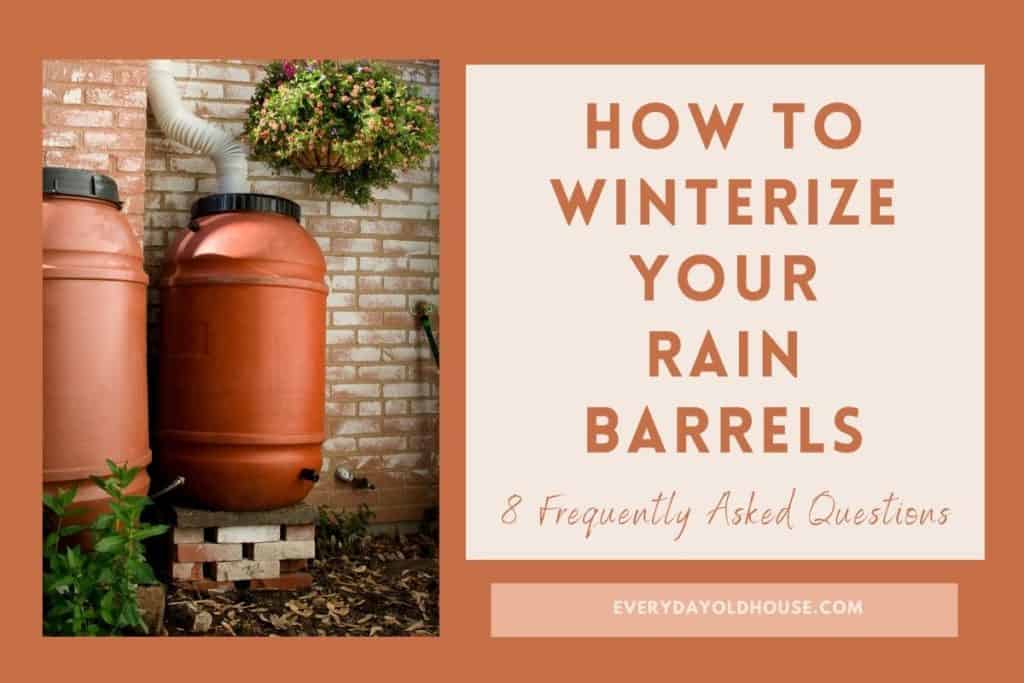
Last Updated on October 28, 2025
Fall is here and it’s time to switch from lounging in the pool to raking leaves. As a homeowner, chances are you have a lot of yard work to prep your yard for the upcoming winter months. And one of those maintenance tasks? Winterize a rain barrel. We have been winterizing our rain barrels for a few years now, and have a good handle on how to do it. But the first year, we had a bunch of questions to ensure we did it correctly, including these 8 commonly asked questions on prepping a rain barrel through the cold season.
This post contains affiliate links, including but not limited to, Amazon Associates. As such, I earn from qualifying purchases. Full disclosure located here.
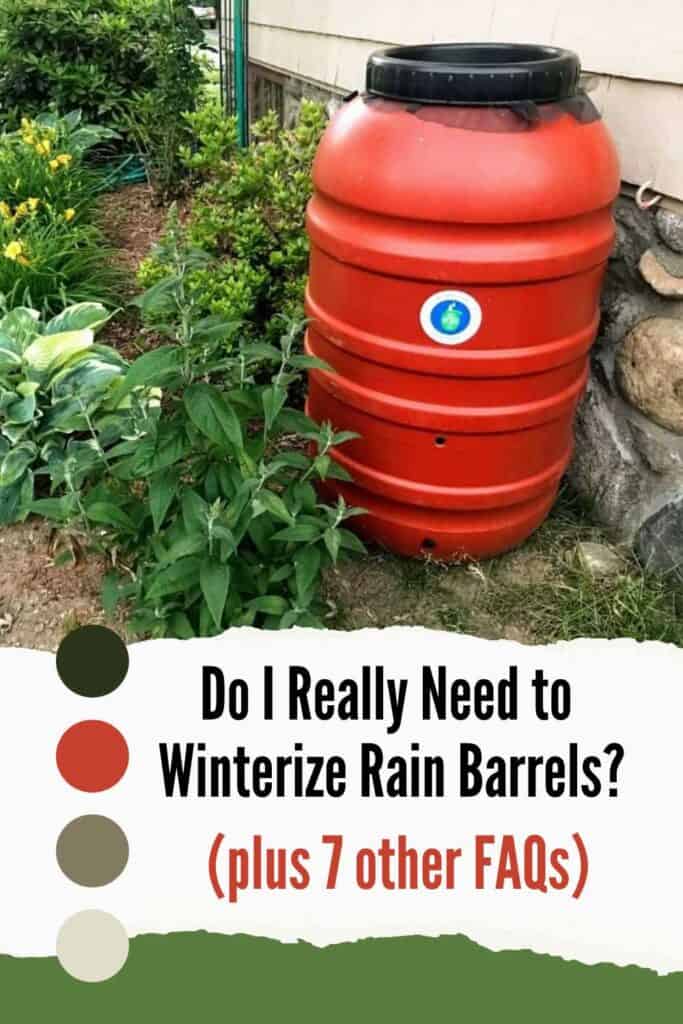
Q1. Do I Really Need to Winterize My Rain Barrel?
The answer is…. depends on where you live….
The need to winterize a rain barrel is truly reserved for cold climates. If you live in an area that experiences harsh, freezing temps, then you need to winterize your rain barrel. I know, I know, more work for people like me who live in New England.
If you live in a mild climate, your rain barrel can be used year-round. BUT if you are surprised with a cold spell, set the spigot to a slow drip. Moving water freezes slower than stagnant water. Once the sun comes back out and the temps rise back to normal levels, remember to completely shut off the tap to avoid flooding!
Q2. Why Can’t I Leave My Rain Barrel Out All Winter?
Ok, so the answer to the first question didn’t convince you (a Northerner) to protect your rain barrel from damage from freezing temperatures. So let’s answer this question and see if that will motivate you…
Low temperature digits indicative of harsh winter months can cause water inside your rain barrel to freeze. When water freezes, its molecules expand and can potentially crack the rain barrel and its associated parts.
Save yourself the inconvenience and cost of having to repair or replace a cracked rain barrel by taking a few minutes to winterize your barrel.
Q3. When is a Good Time to Winterize?
A good time to winterize is when the weather gets cooler and the growing season has ended, but before the first big freeze.
For us in Massachusetts, that is usually late October, early November. Since the barrel needs to dry, the best time is a sunny afternoon where you have time to set it out and bask in direct sunlight.
Personally, we tackle this task with the rest of our fall home maintenance, like raking leaves and prepping our vegetable gardens for the winter months. Not the most organized person? (Neither I am). Try these two options: printable pdf checklist with exterior fall home maintenance tasks or for more tech savvy, fall maintenance in Google Sheets.
Q4. How Do I Winterize a Rain Barrel?
The process of winterizing a ran barrel is quite simple. The hardest part is remembering to actually do it! What’s the best way to remember? Include it on your
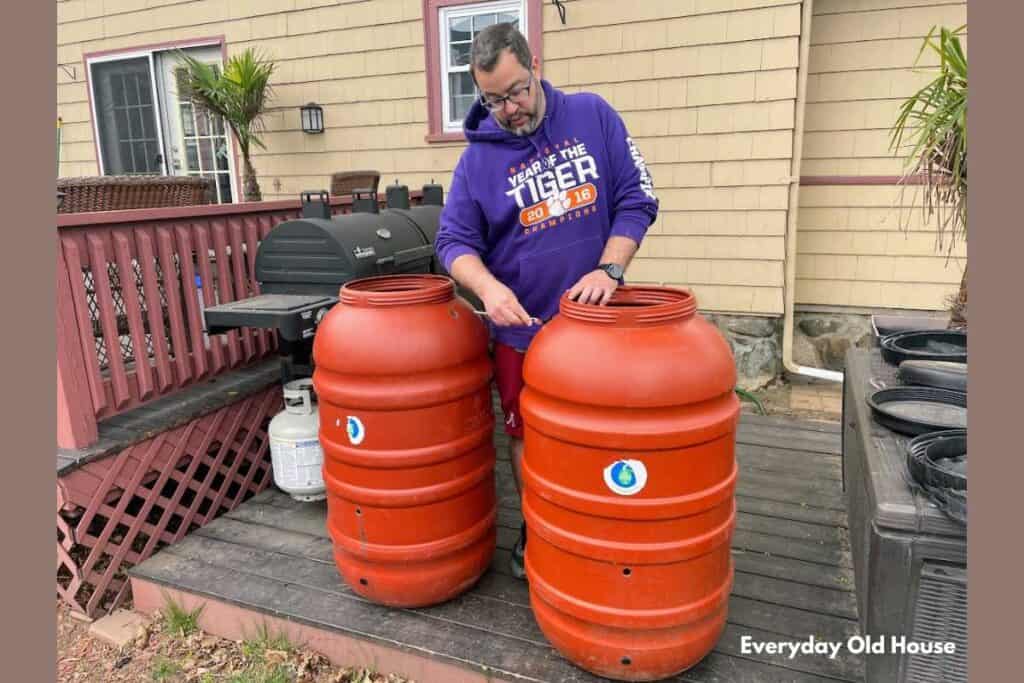
Here’s the 5 easy steps we follow to prep our rain barrel for the winter months.
1. Drain Rain Barrel
Completely drain all the water out of your barrel using the tips in Q5 below.
2. Disconnect and Clean All Accessories
Next, give some love to the accessories and parts that support your rain barrel. Detach all the removeable accessories from your rain barrel including barrel’s spigot, gutter downspout, lid, mesh, diverter, overflow valve, overflow hoses, etc… Drain, clean and prepare for storage.
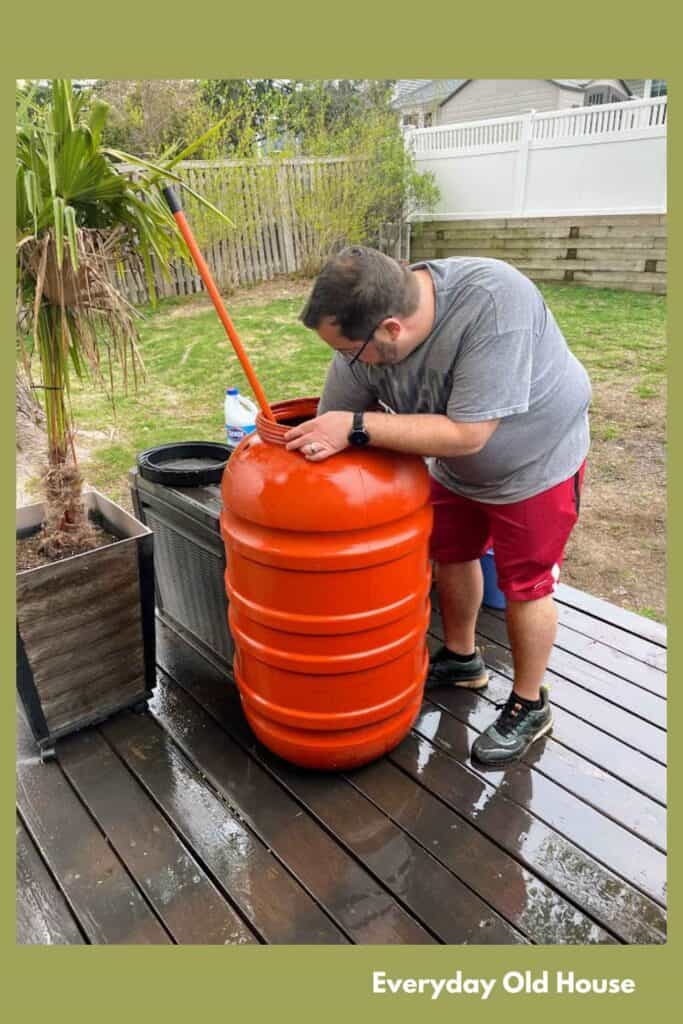
3. Clean Rain Barrel
An empty barrel is the perfect opportunity to clean out all the gunk, muck, algae and debris that has accumulated in the barrel over the summer. Personally, I’m surprised with how disgusting our rain barrel can get at the end of the season! Clean it now to reduce the chance of a stinky, smelly rain barrel next year…
4. Store Rain Barrel
Once your rain barrel and accessories are completely dried, store it inside in a clean, dry place to maximize its lifespan. Ideal locations include a garage, basement, shed.
5. Reattach Gutter Downspout
Don’t forget to re-connect the full length of the gutter downspout that you removed when you installed the rain barrel in the spring. Be sure to position the bottom of the downspout away to direct rainwater away from your home and protect your foundation.
If your rain barrel uses a particular diverter in the gutter like the EarthMinded DIY rain barrel kit, install the winter hole cover.
And while you are dealing with the gutters, you might as well take the opportunity to clean them out. Not only does cleaning out leaves and debris from gutters avoid clogs, it also minimize the risk of damage from the additional weight of winter ice and snow.
Q5. How Do to Completely Drain My Rain Barrel?
When full, the average rain barrel weighs nearly 400 pounds. So don’t attempt to move it until a substantial amount of water has been drained.
Have a full rain barrel? A great way to drain your barrel is to first plan ahead and use up the water a few days beforehand.
Then drain the barrel by opening the spigot/value and any plugs into buckets. If draining directly to the ground, consider draining over a couple of sunny days to avoid flooding the area!
Once drained, turn the barrel upside-down to empty it completely.
Q6. What’s the Best Way to Clean My Rain Barrel?
A quick swish of any remaining water and quick turn of barrel upside down can loosen and remove any muck that’s accumulated during the summer.
However, if your rain barrel needs a stronger clean, wash using a nontoxic, environmentally-friendly cleaner. To make a cleaning solution, add one of these cleaners to each gallon of water.
Cleaner #1:
- ¼ cup of distilled vinegar
- 1 tsp. of dishwashing detergent
Cleaner #2:
- 2 tsp. of castile soap
- 2 tsp. of vinegar or lemon juice
Pour the cleaner into the barrel, swish and overturn the barrel. Rinse thoroughly with the inside with a garden hose. For extra-dirty barrels, lay it on its side and give it a scrub with a mop or long-handled brush, which will help you reach the bottom of the barrel. Then rinse the inside of the water barrel again.
Q7. What if I Can’t Store My Rain Barrel Inside?
If you don’t have inside storage area, that’s OK! There’s a few options to store your rain barrels outside during the winter months that still provide additional protection from the elements. Or prevent animals from getting inside and create a cozy winter home (darn squirrels!).
- Store upside down to avoid snow or water accumulation
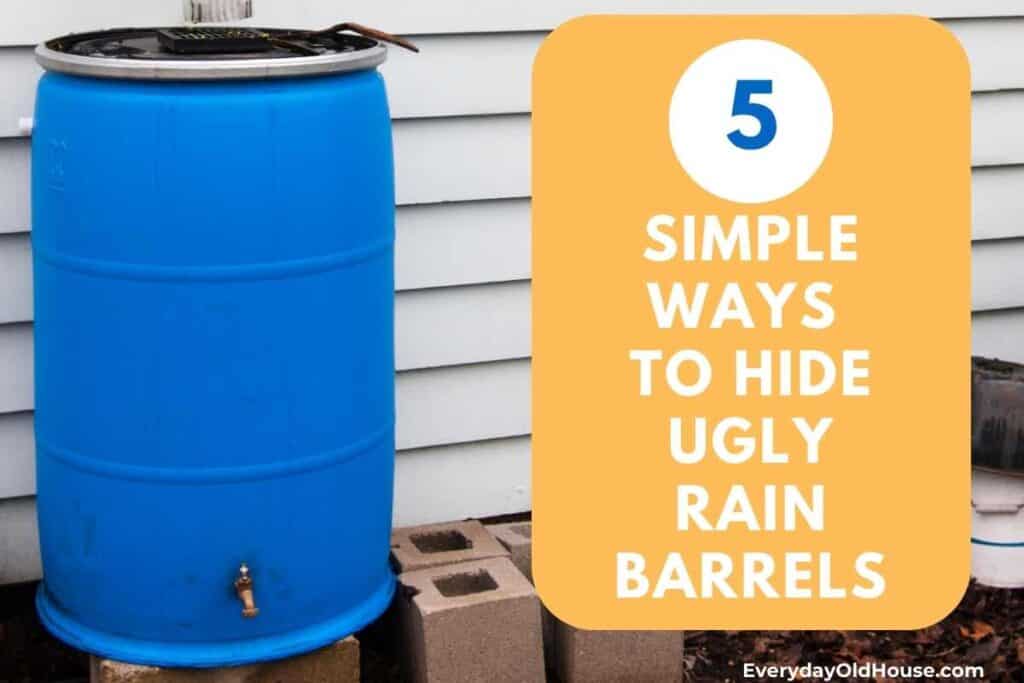
- Set up on concrete blocks of bricks to keep dry
- Secure to prevent blowing away by weighing down with garden equipment
- Cover with a tarp or heavy plastic bag
Q8. What if I’m Too Late and the Water is Frozen?
Life happens. You get busy and fall flies by. And suddenly the temps drop and snow starts to fall. That time of year for prepping in late fall is long gone and you are in the dead of the winter months. I got you.
The best way is to first open the spigot and wait for a especially sunny day – maybe you’ll experience a January thaw – to melt the ice. If not too heavy, roll it out in direct sunlight, then remove your brass tap and follow the steps above. If the rain barrel isn’t full, pour a gallon of warm water to help the process along.
Collect that free rain water in a watering can and water your indoor plants.
Unfortunately, this isn’t a sure way. Don’t be surprised in the spring if your barrel and accessories have cracked. Small cracks on the barrel can be sealed with waterproof caulking. If the accessories have cracked, reach out to the manufacturer for replacement parts.
If your rain barrel is severely damaged, you might need to completely replace. Luckily, there’s a few places to buy an inexpensive rain barrel.

Wrapping It Up
With a bit of care and maintenance including winterization, you will extend the life of your rain barrel and provide you a reliable, cheap water source for you garden.
Have any other questions? If so, feel free to reach out – I’ll try to answer your questions the best I can!
Shop This Post


Related Posts

Want to be the first to know about new posts? Be sure to follow me on Pinterest, Facebook, Instagram or Twitter of even Etsy! Or better yet… Subscribe below!
My monthly (admittedly sometimes more, sometimes less….) emails are like receiving a unexpected letter from an old friend WITHOUT needing to put on your slippers and walk out to your mailbox…. See? I got ya, my friend!)
[Note: My posts are proudly connected to these amazing link parties full of DIY ideas and inspiration!]