Last Updated on January 25, 2024
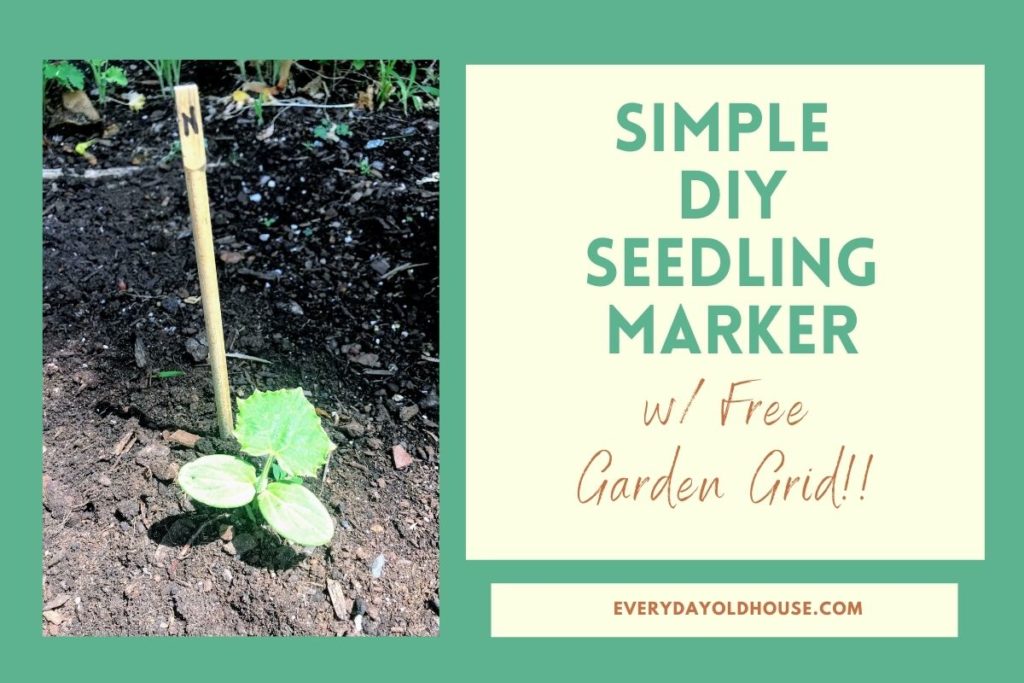
Today I’m sharing with you a quick and easy way to make free vegetable seedling markers. My secret? Chopsticks. If you’re like me, you love takeout BUT fail to use the provided chopsticks thrown into the bag. Have some chopsticks rolling around in a kitchen drawer? Then put them to use by labeling your vegetable seeds and seedlings. These DIY chopstick plant labels helped me whip my vegetable garden in shape!
Backstory
I’ll be the first to admit that I’m not the best gardener. One of my biggest challenges is distinguishing vegetable seedlings from weeds, like germinating pepper seeds. For example, I direct seed a few vegetables, including cucumbers, carrots, arugula. And I’m fairly certain that I yanked a lot of the seedlings, mistaking them for weeds (whoopsy….)
But every year, I find resources and tools that help improve my gardening game. And it shows – my vegetable garden yields more produce than the previous year.
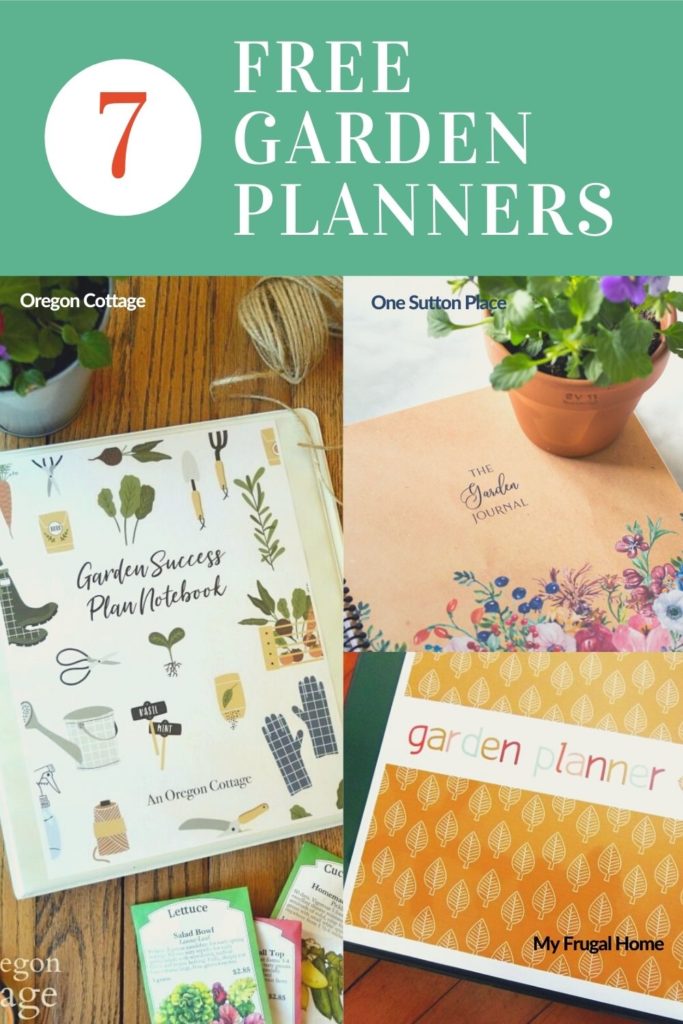
Two years ago I decided to try my first Vegetable Garden Binder. I created it using a combination of free printables from these 7 Free Vegetable Garden Planners. I learned SO much from referring to this binder throughout the growing season. My biggest lesson learned that first year was which vegetables grew well (and didn’t grow well…) in my garden.
One of my favorite pages in my garden binder is this Garden Plan Worksheet by Erin at My Frugal Home. Her worksheet is a simple, but powerful template. Basically it’s a grid perfect for drawing out the location of your plants, with a key for labeling. Here’s my (albeit messy) grid.
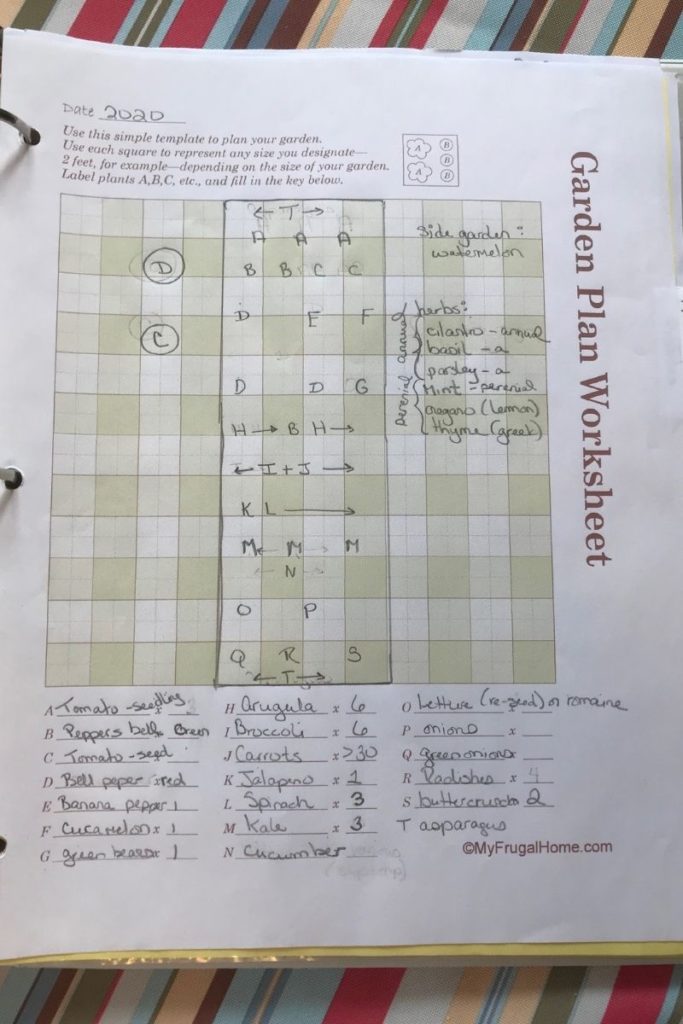
It is a perfect way for me to keep track of what was growing where in my raised vegetable garden! Thank you Erin!
Simple DIY Vegetable Seedling Markers
With this garden grid, I had a general idea of the location of my direct seeds and small seedlings. BUT it still didn’t solve my problem of mistaking them as weeds. (And a lot of weeds grow in my vegetable garden! Another problem for another day….)
So I decided to supplement my Garden Plan Worksheet with simple DIY vegetable seedling markers.
Online I found a plethora of inspiration. I had no idea that so many everyday items could be repurposed into vegetable seed and seedling labels!! Jenny at Sunny Home Creations and Anne at The Micro Gardener have amazing round up blog posts with creative and inexpensive DIY vegetable seedling markers. It’s amazing what you can use to create seedling labels – mason jars, bamboo skewers, corks, containers, shells, cans and even broken terracotta pots!
Their posts inspired me to look around my house to find items to upcycle into simple DIY vegetable seedling markers. And I found my inspiration while I was decluttering my kitchen cabinets drawers. I found a stash of chopsticks….
What?!?!? Seedling Markers Using Chopsticks?
Yup. Chopsticks. We love take-out – it’s our Saturday night ritual. And one of our favs? Sushi.
But admittedly, we don’t use our chopsticks. We just throw them into the kitchen utensil drawer. Where, admittedly, they just accumulate.
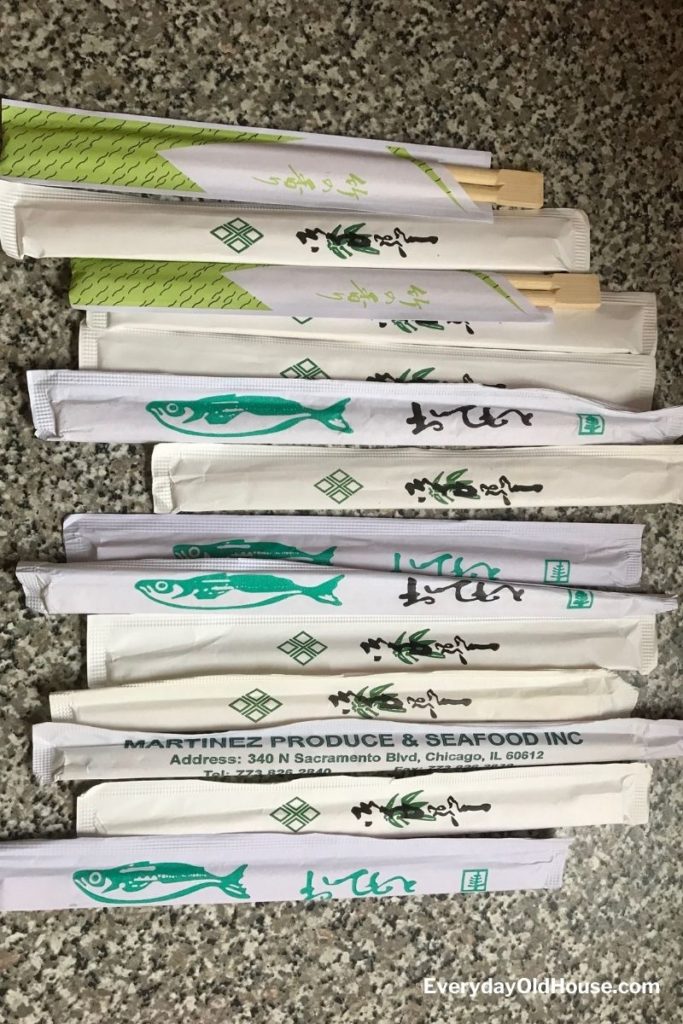
But now I’ve found a functional, creative use for these leftover chopsticks!
DIY Vegetable Seedling Markers
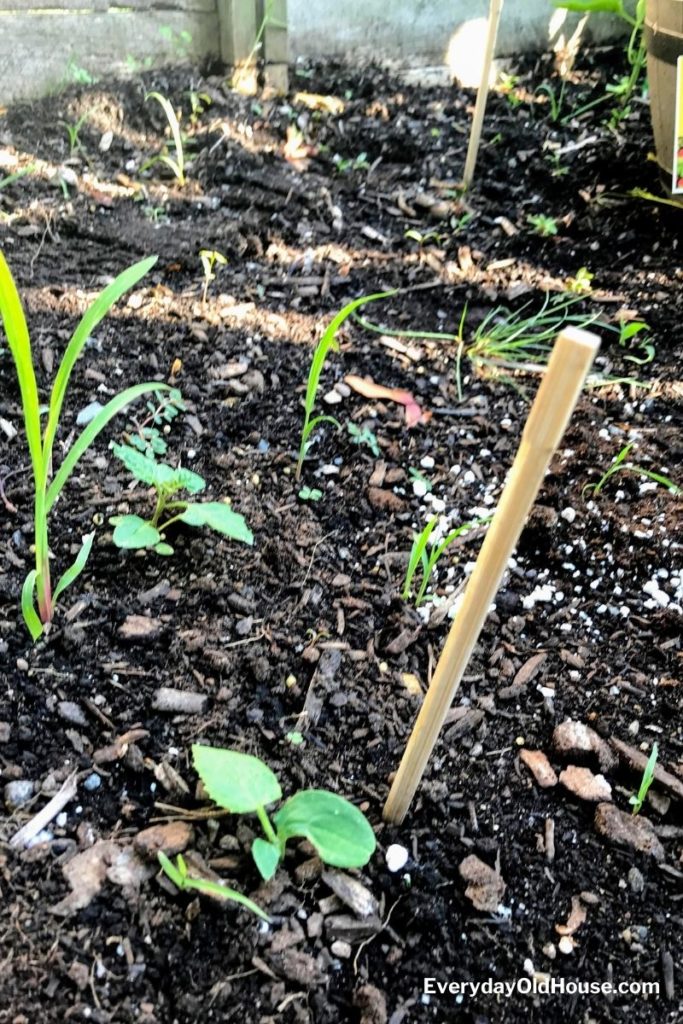
Creating a plant label using chopsticks is incredibly easy. First, plant your seed or seedling and mark its location on your Garden Plan Worksheet. Then assign it a letter or number from the key.
Next, simply use permanent marker like a Sharpie to transcribe the associated letter or number onto the chopstick, and plant. Wah-lah!
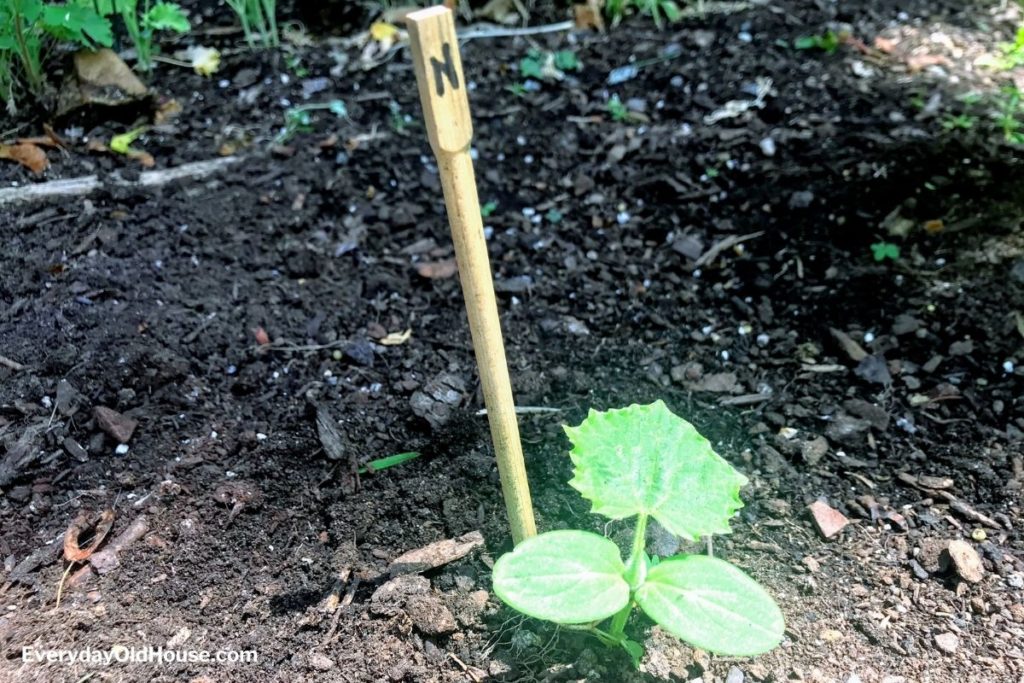
These simple chopstick seedling labels worked! I could differentiate between seedlings and weeds, which resulted in seedling NOT getting yanked and a more bountiful garden than in past years!
What Do I Love This Chopstick DIY?
Sure, these chopstick labels aren’t masterpieces of art. But they are functional, practical, and superfast to make. One day when my kids have grown and out of the house, I’ll have time to create beautiful markers. Until then, it’s about function and efficiency so that I can watch my garden grow.
And if I really wanted to take these chopstick seedling markers to a new level, I could simply just spray paint them first.
But I love these simple DIY vegetable markers for these 3 reasons:
- Free: Except for the obvious cost of the actual take-out…
- Durable: I’ve used the small plastic plant labels you find in the big box home improvement stores. And I’ve found that “permanent marker” tends to wear off by the end of the season. But not on the chopsticks. The wood surface absorbed the permanent ink. My seedling markers stood up the whole season, and are ready to be re-used for the next.
- Upcycle: Creating these markers stop a fist-full of chopsticks from ending up in the trash.
Save my garden budget for something else, like testing the quality of my soil!.
What do you think? Let me know in the comments. And I wish you the best of luck and joy with your garden this year!
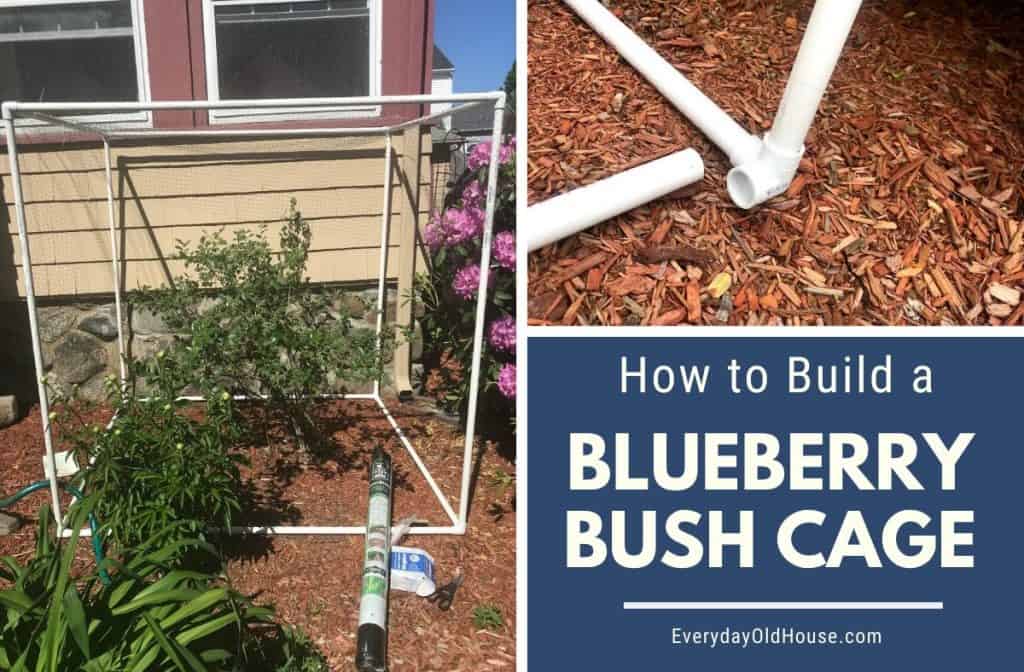
Related Posts
Want to be the first to know about new posts? Be sure to follow me on Pinterest, Facebook, Instagram or Twitter of even Etsy! Or better yet… Subscribe below!
My monthly (admittedly sometimes more, sometimes less….) emails are like receiving a unexpected letter from an old friend WITHOUT needing to put on your slippers and walk out to your mailbox…. See? I got ya, my friend!)
[Note: My posts are proudly connected to these amazing link parties full of DIY ideas and inspiration!]