Last Updated on December 12, 2025
When it comes to cleaning, you probably wipe down kitchen counter and sink on regular basis. But there are probably parts of your kitchen that don’t get the same amount of attention, like your Lazy Susan. Read below to learn how to easily clean a wood Lazy Susan, your kitchen’s turntable of awesomeness….

This post contains affiliate links, including but not limited to, Amazon Associates. As such, I earn from qualifying purchases. Full disclosure located here.
What is a Lazy Susan?
What the heck is a Lazy Susan in the first place? A Lazy Susan is a tray (commonly circular) that rotates 360 degrees to help easily access food. Lazy Susans are made from a variety of materials, but commonly wood, plastic, and glass.
When placed on a dinner table, a Lazy Susan rotates so that people can easily serve themselves.
When they are placed inside a kitchen cabinet, a Lazy Susan maximizes food storage space and makes items to visible and accessible. This is especially useful for deep, corner kitchen cabinets.
This post is specific to #2 – how to clean a wood Lazy Susan inside a kitchen cabinet.

Who is Susan and Why is She So Lazy?
Why is this fantastic rotating tray called such an unusual name? Apparently, nobody knows the real story behind the naming of Lazy Susan.
The first direct mention of a Lazy Susan is in a Vanity Fair magazine advertisement for a “Revolving Server or Lazy Susan” in December 1917. It cost a whopping $8.50 and referred to this mahogany server as “the cleverest waitress in the world”.
However, there are several theories that the Lazy Susan was invented well before 1917. For example, there is documentation of a rotating dining table in China as early as the 1300s.
Many historians trace the invention of the Lazy Susan back to the 1700s in England. With the demise of a lifestyle that depended on maids and footmen to serve meals, self-waiting tables (called “dumbwaiters”) grew in popularity.
Other experts point to Lazy Susan’s invention a product of American ingenuity, specifically crediting Thomas Jefferson or Thomas Edison. Apparently both had “sluggish” daughters at the dinner table. When Thomas Jefferson’s daughter Susan complained that she was last to be served and therefore left the table unsatisfied, he developed the “dumbwaiter” (later re-named Lazy Susan).
Honestly, this last theory sounds more legend than fact… but admittedly a good story.
And somewhere after that someone discovered that adding an additional tier to a Lazy Susan and putting her in a kitchen cabinet would be a huge organizational and storage solution.
How to Clean a Wood Lazy Susan
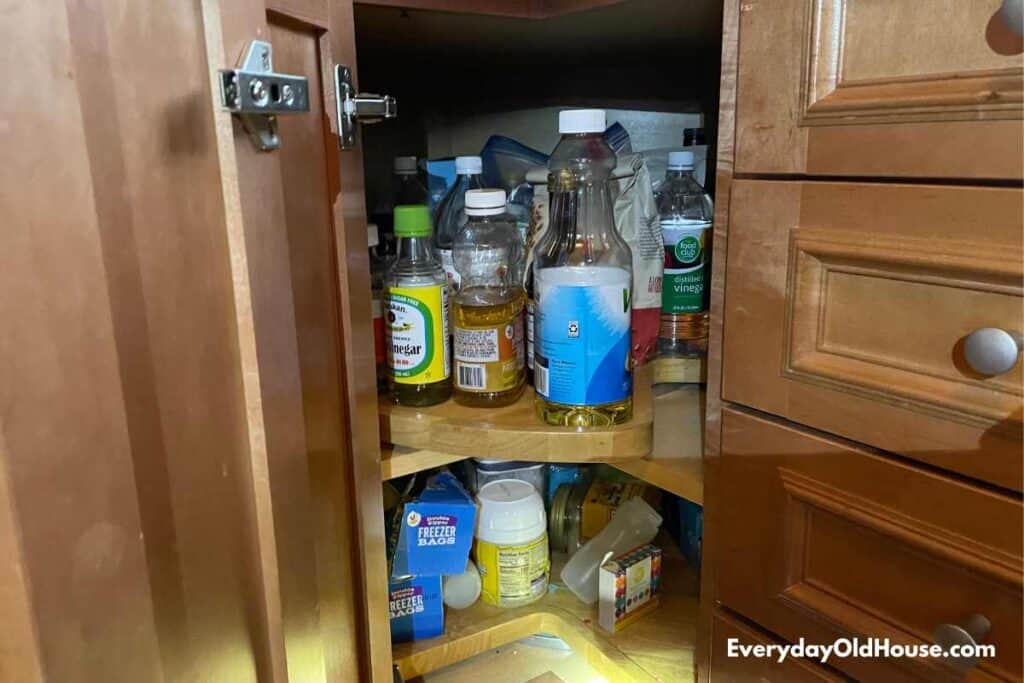
We have a wood Lazy Susan in our corner kitchen cabinet, and she is quite the opposite of lazy. She’s a workhorse. She holds an obscene amount of food ingredients and is constantly spun around so we can easily retrieve them.
Admittedly, I haven’t taken care of poor Susan. She’s gotten stuffed with more and more ingredients. And she’s gotten, well, dirty from so many half-cleaned spills.
She really should be called Poor Susan instead of Lazy Susan. It’s time to give Poor Susan some much-needed TLC.
I’m kind of embarrassed to show you how dirty she was. Luckily you aren’t friends with my mom, so you can’t tell her about the horrid condition of the interior of my kitchen cabinets. Before you continue reading how to clean a wood Lazy Susan, you must PROMISE that if you ever meet my mom, you won’t mention this post….
Deal?
Supplies
It doesn’t take a substantial number of supplies (nor time) to clean a wood Lazy Susan.
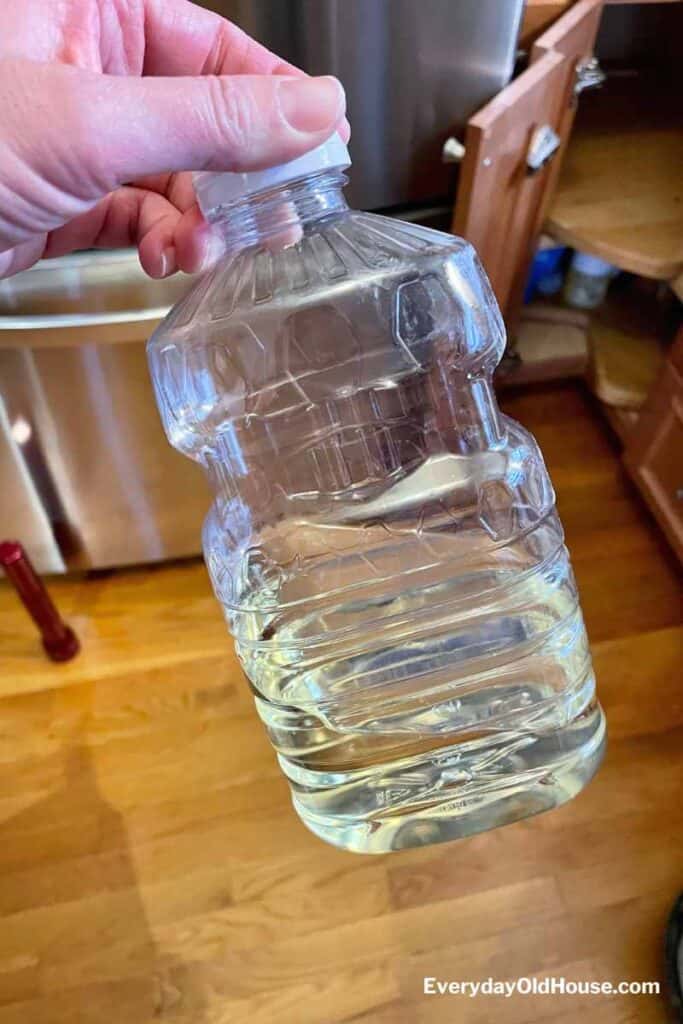
- Vacuum
- Dishsoap
- Sponge with scrubby side
- Container
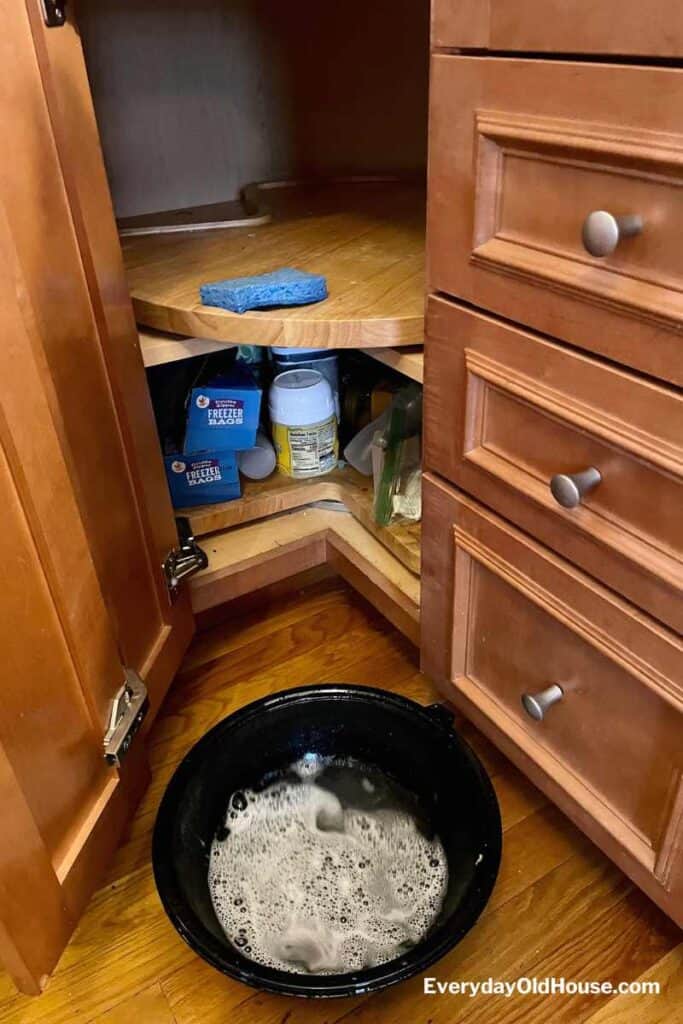
Step 1: Remove Items
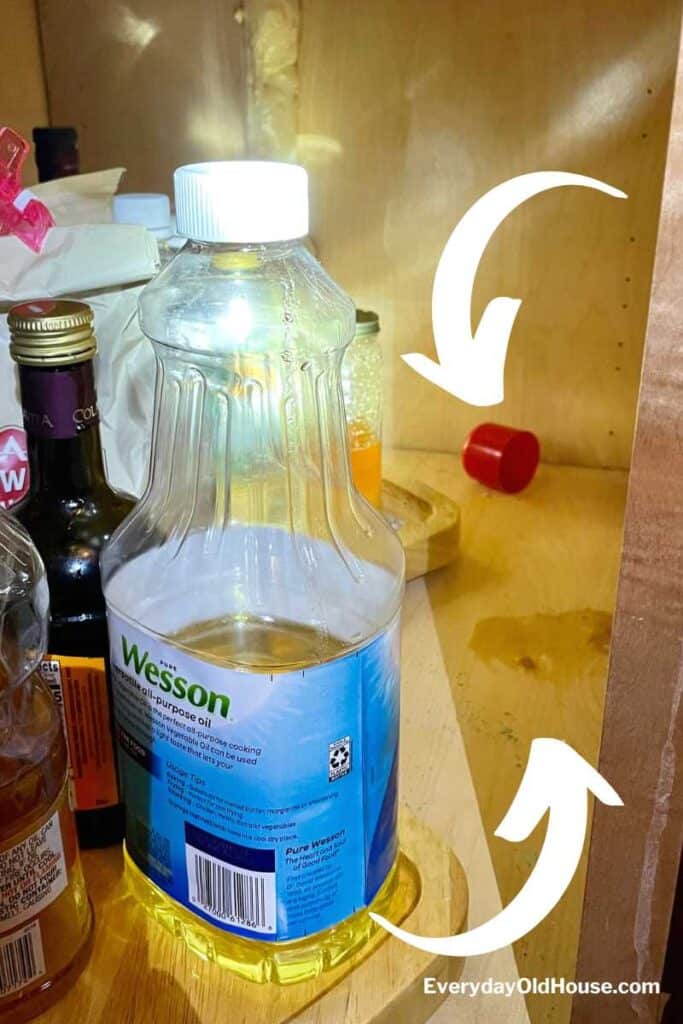
Take everything out of your Lazy Susan. Completely empty it. Now this may be easy for the items still on the Lazy Susan. But there is a high chance that there are items that have fallen off the Lazy Susan and spilled its contents. Like the red cap hidden in the corner of my Lazy Susan in the below photo.
[I’ve also pointed an arrow to the sticky, icky stuff caked next to it to show how dirty our Lazy Susan was. I’m owning up it… ]
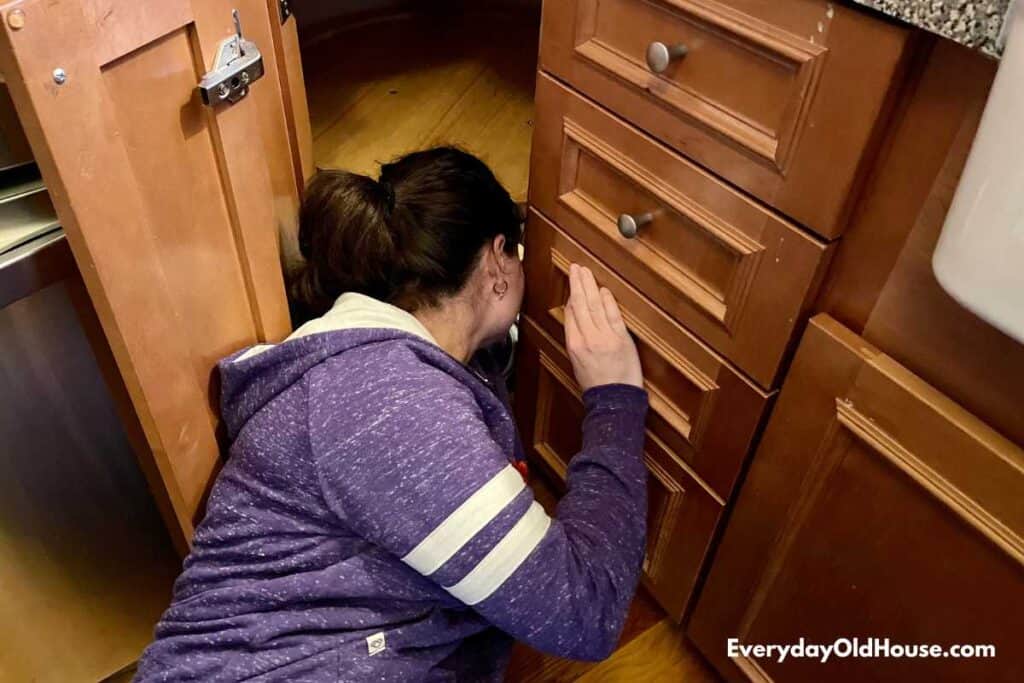
To get those items fallen in the back of the Lazy Susan, I guarantee that you will find yourself lying on the floor, stretched out in a yoga pose to reach them. And at one point, you’ll even stuck, halfway in the cabinet…. Just yell for your family to come and yank you out.
Once all the items are removed, spin Lazy Susan to make sure she spins smoothly. Feel any resistance? If so, she probably has small items like random caps that have gotten lodged UNDER her.
Carefully and slowly rotate Susan while sliding your hand underneath to remove whatever is hiding under there….
Step 2: Declutter
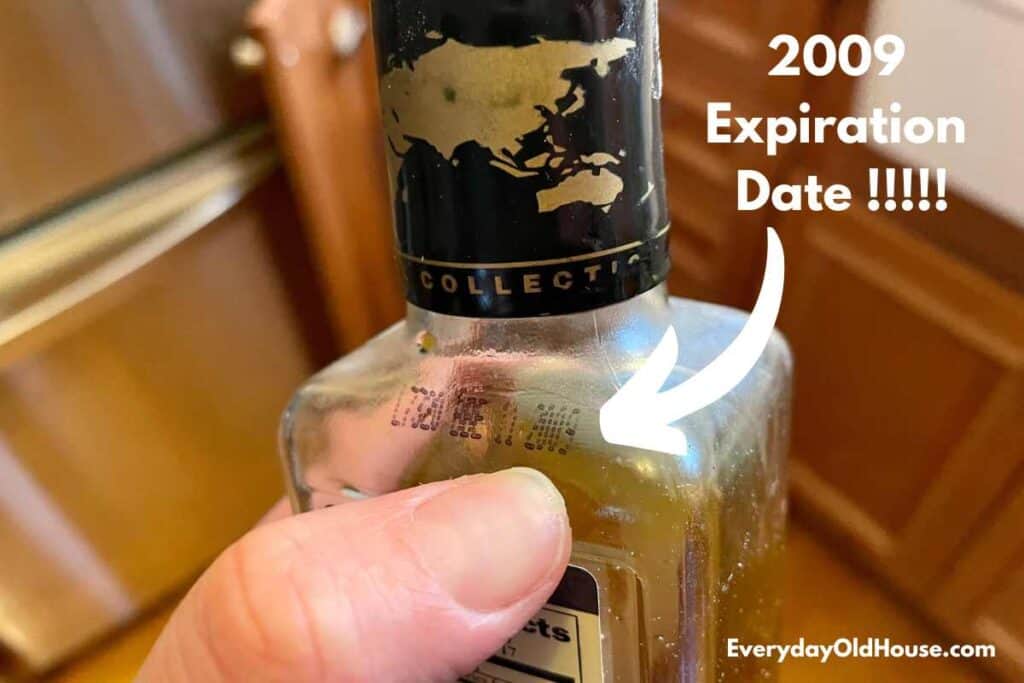
Just like the rest of your kitchen cabinets, your Lazy Susan needs to be decluttered and re-organized once in awhile. So next up, go through the all the items that you removed. Throw out (or empty and recycle) anything that has passed expiration. Or 99% of the contents have been used up.
Or items that you will probably never use again.
Remember during the pandemic when you decided to learn how to make corn tortillas from scratch because you had nothing else to do and found a YouTube tutorial video? Yeah. Get rid of the corn meal. You’re never making tortillas from scratch again.
You might even discover items that don’t even have a label on them even more. Is this peanut oil? Canola oil? Who knows??
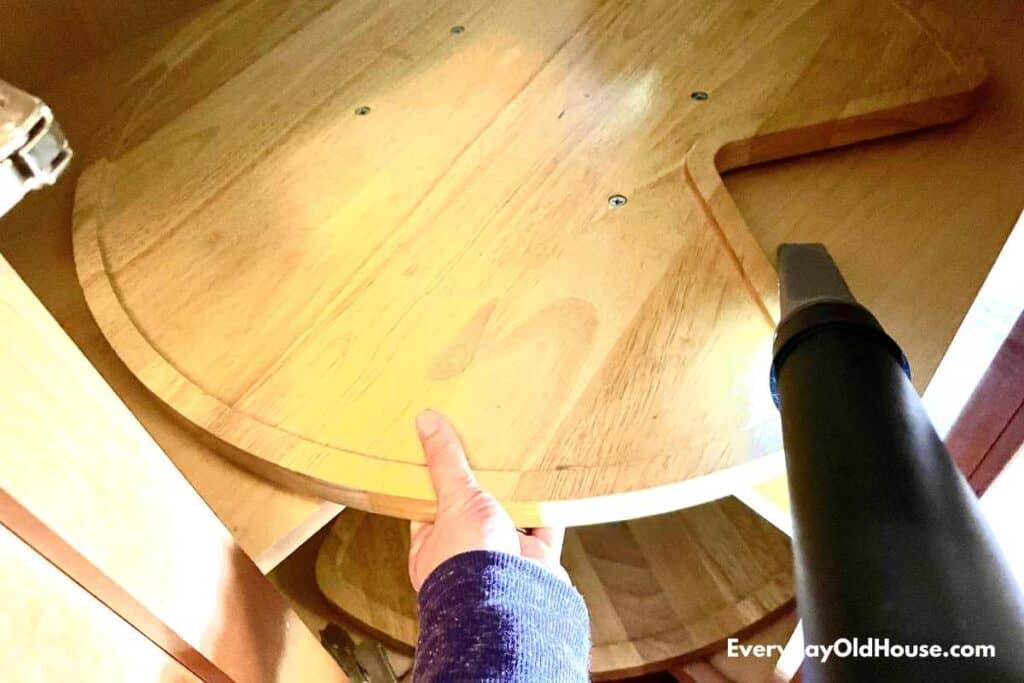
Step 3: Vacuum
Taking the appropriate vacuum attachment, clean the crumbs out the cabinet, including the corners. As you vacuum, slowly rotate the Lazy Susan to access the cabinet shelf underneath.
Our bottom shelf held all the baking decorating supplies – food coloring, sprinkles, etc.. Our kids are, uh, exuberant decorators – cookies, cakes, hot chocolate. You name it, they want to put sprinkles on it.
I could have fed a small army on the amount of sprinkles that had spilled on or around the Lazy Susan. I’m so grateful we didn’t get ants!
Step 4: Wash & Dry
Next, give Lazy Susan a shine with a much needed bath. Our Lazy Susan had randomly spilled oil, honey, and other sticky stuff that I don’t want to think about. Using the scrubby side of a sponge, I scrubbed with warm soapy water [Dove dishsoap].
For stubborn areas, I squeezed the wet sponge and let it soak first for about 15-30 min before scrubbing. While waiting, I jumped ahead to Step #5 and organized.
Once your Lazy Susan is squeaky clean and looking like new self again, let her airdry. And while she’s drying, reward yourself with an break. Or better yet, tackle another kitchen chore, like line cabinet shelves or clean the exterior of your cabinets.
Nah…. who are we kidding? Go indulge and watch some Netflix…
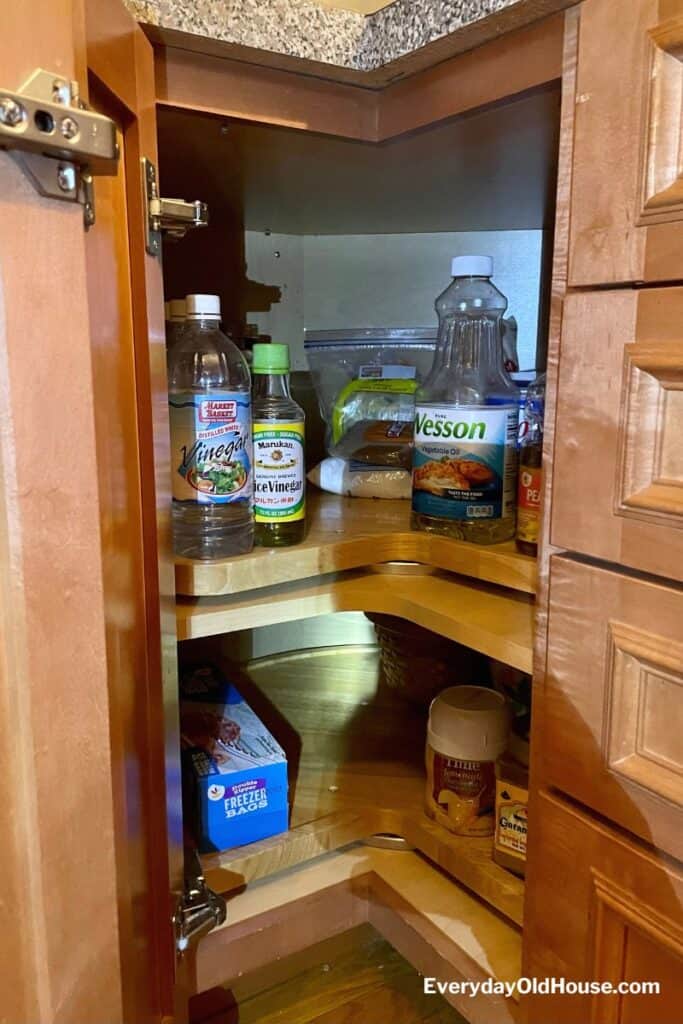
Step 5: Organize
Once Lazy Susan is dry, it’s time to load her back up with whatever items remain from decluttering. I’m far from a professional kitchen organizer so I’ll just add some highly-rated Lazy Susan organizers below and let you take it from there. My only other piece of advice is to group items in way that make sense to you.
And wah-lah! A clean and tidy wood Lazy Susan! Look at how much more room I have in there! Seriously – look at all that space on the bottom tier! Now I have room to stock up on staples and buy in bulk!!


Related Posts


Want to be the first to know about new posts? Be sure to follow me on Pinterest, Facebook, Instagram or Twitter of even Etsy! Or better yet… Subscribe below!
My monthly (admittedly sometimes more, sometimes less….) emails are like receiving a unexpected letter from an old friend WITHOUT needing to put on your slippers and walk out to your mailbox…. See? I got ya, my friend!)
[Note: My posts are proudly connected to these amazing link parties full of DIY ideas and inspiration!]