Last Updated on October 4, 2025
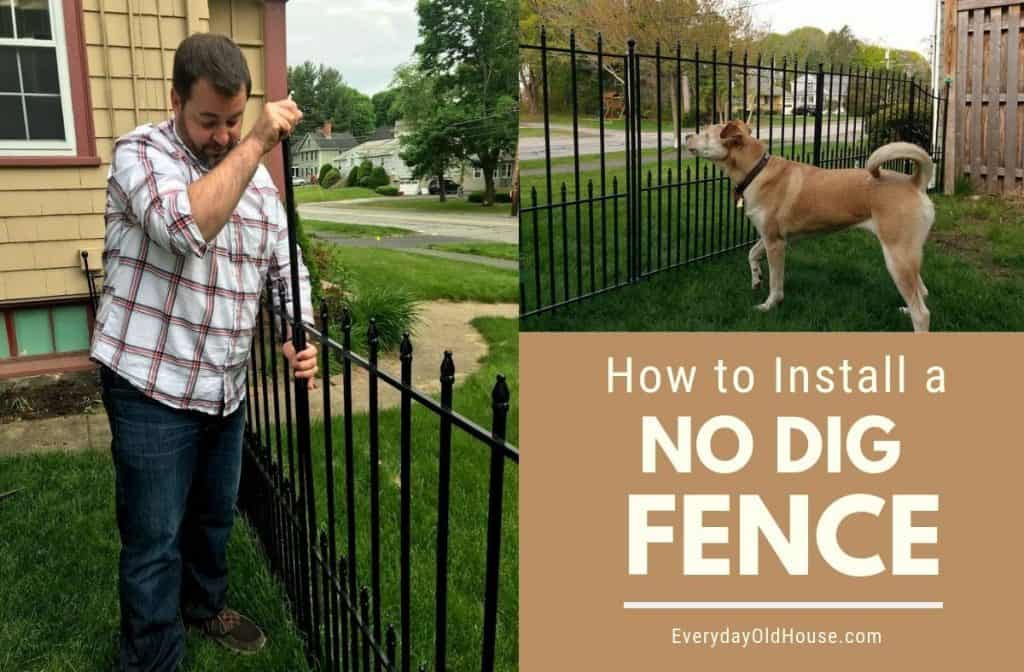
Over the last few weeks, there has been a lot of discussion in our household about the feasibility of fencing in our backyard. Why? With summer coming up, we need a way to corral our precious little monsters (i.e. 2-year old twins) in the backyard and away from our busy street. Plus we have a dog that we never felt fully comfortable tying to a lead. She deserves open space to run.
But fencing requires time and money, both of which we lack. We don’t have the budget to hire a contractor to install, and honestly, don’t have time and energy to dig and pour concrete footings.
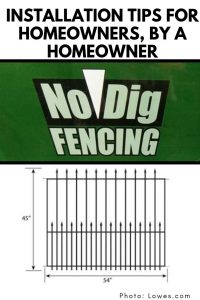
Enter the “No Dig” Fence
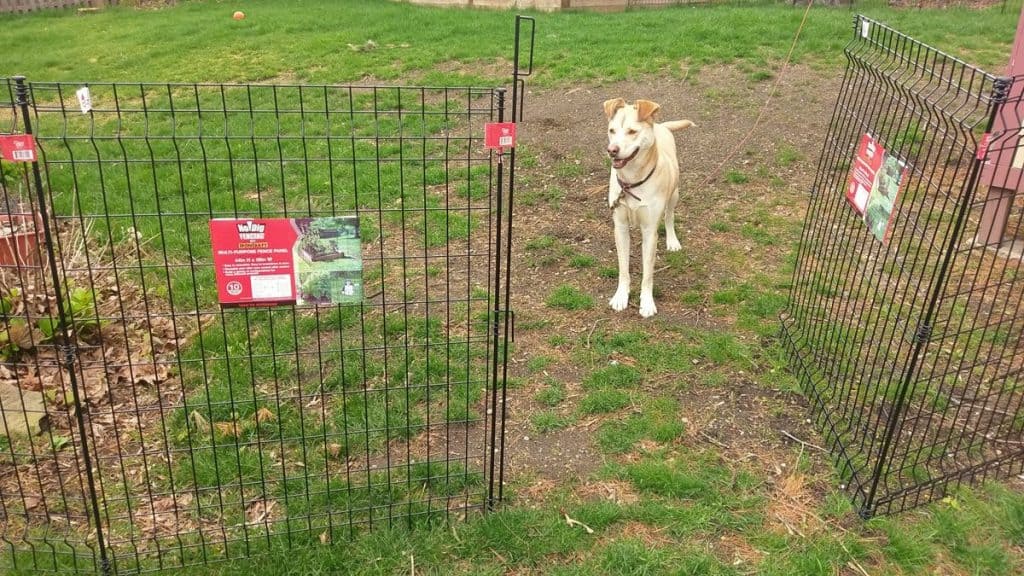
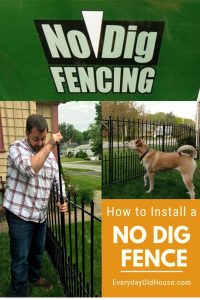
Luckily we discovered another option, the “no dig” (or sometimes spelled “no-dig”) fence. So we decided to install this no dig fence and see if it could stand up to our active family. And apparently we did an impressive job since our installation was featured in Sumo Gardener!
What is a No Dig Fence?
Unlike traditional fences, the innovative design of a no dig fence doesn’t require augering and cementing of posts. Instead, the fence is secured by merely driving steel spikes into the ground. Once the spikes are installed, fence panels are attached by connecting the panel eyelets to the spike posts. This is an easy DIY project than any homeowner can tackle.
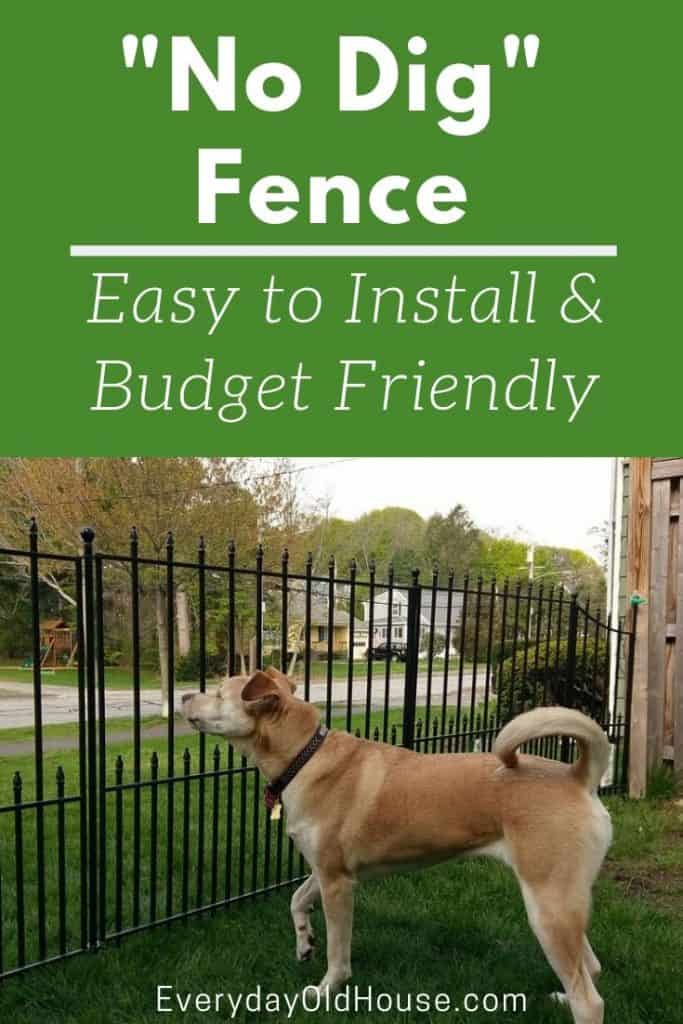
I’ll admit up front that no dig fences are not meant for heavy duty work. These no dig fences are ideal for fencing in gardens and walkways, as well as light duty child and pet containment. While our twins are active, they are small and aren’t excessive climbers. And our dog, while large, is usually not the type to jump up and push a fence over.
So if you don’t need a heavy duty fence, no dig fencing is a perfect economical option. Besides, who wants to rent power augers, dig deep holes, tear up the yard, remove excavated dirt and pour hundreds of pounds of concrete, and pay a lot of money when you can install a stylish fence in a fraction of time and for a fraction of the money of traditional fences? Overall, these no dig fences look like a good buy.
Why Buy a No Dig Fence?
There are a variety of reasons to choose a no dig fence over a traditional fence: economical, easy to install, increased curb appeal, perfect for renters, etc…. If help you weigh your options if no dig fencing is right for you, check out these 7 Pros and Cons of No Dig Fencing.
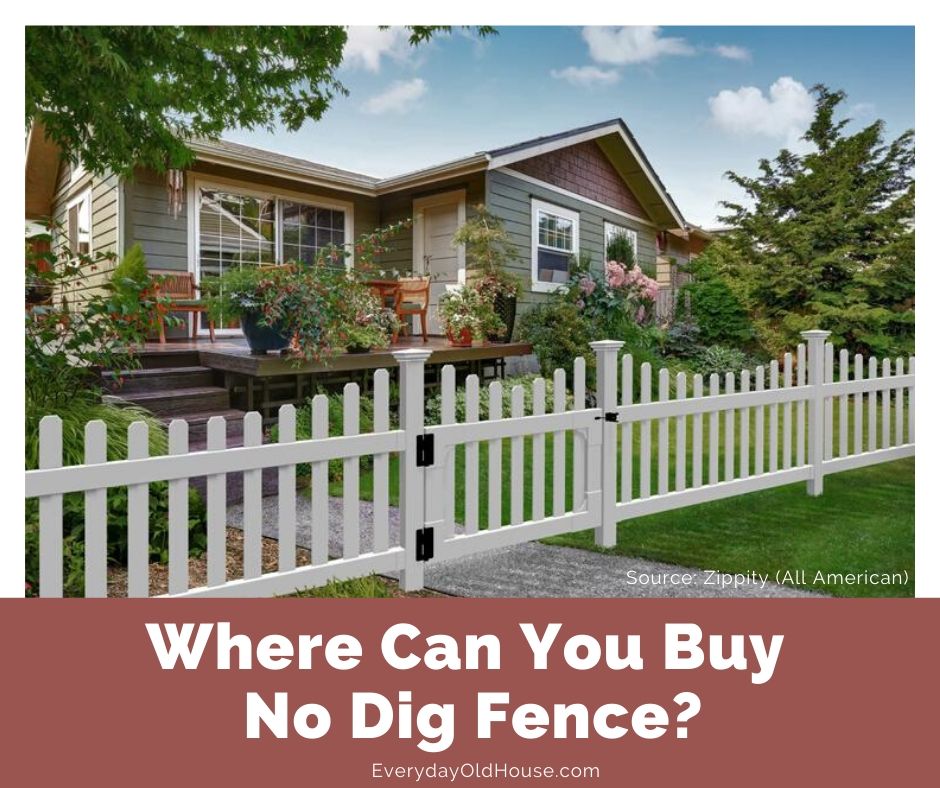
Where Can You Buy No Dig Fence?
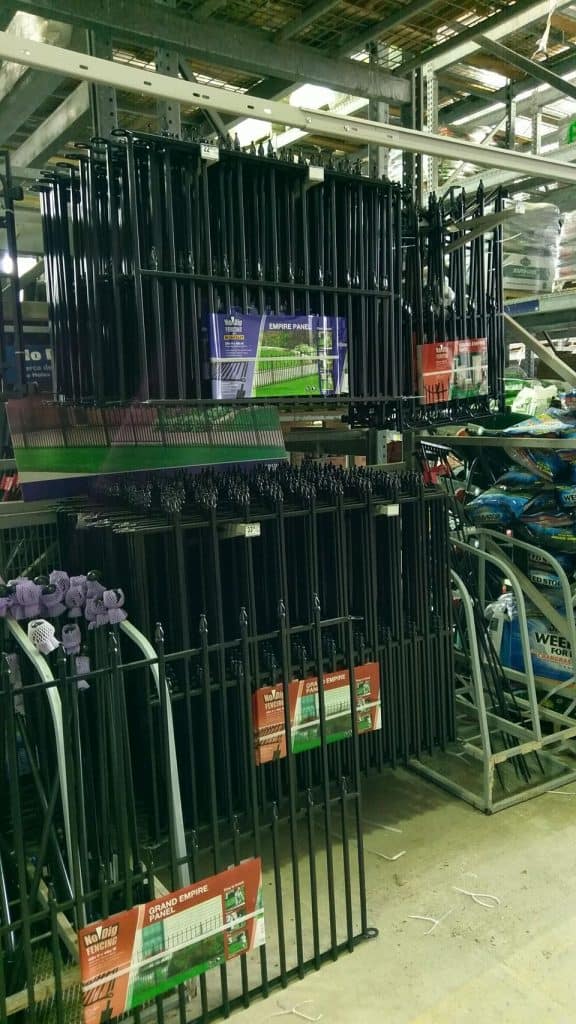
Admittedly we only looked at the usual suspect home improvement stores (Lowes and HomeDepot) for our no dig fence. After installing our fence and publishing this post, my most commonly asked question was “Where did you buy your fence?”. So I did some digging (pun intended ?) and found two additional companies (WamBam and Zippity) that also manufacture and sell no dig fence. And they look pretty amazing. I probably should have done more research before buying ours. Click here to learn more about who makes no dig fences and where you can buy them.
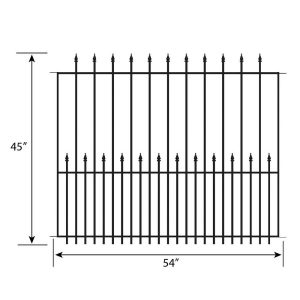
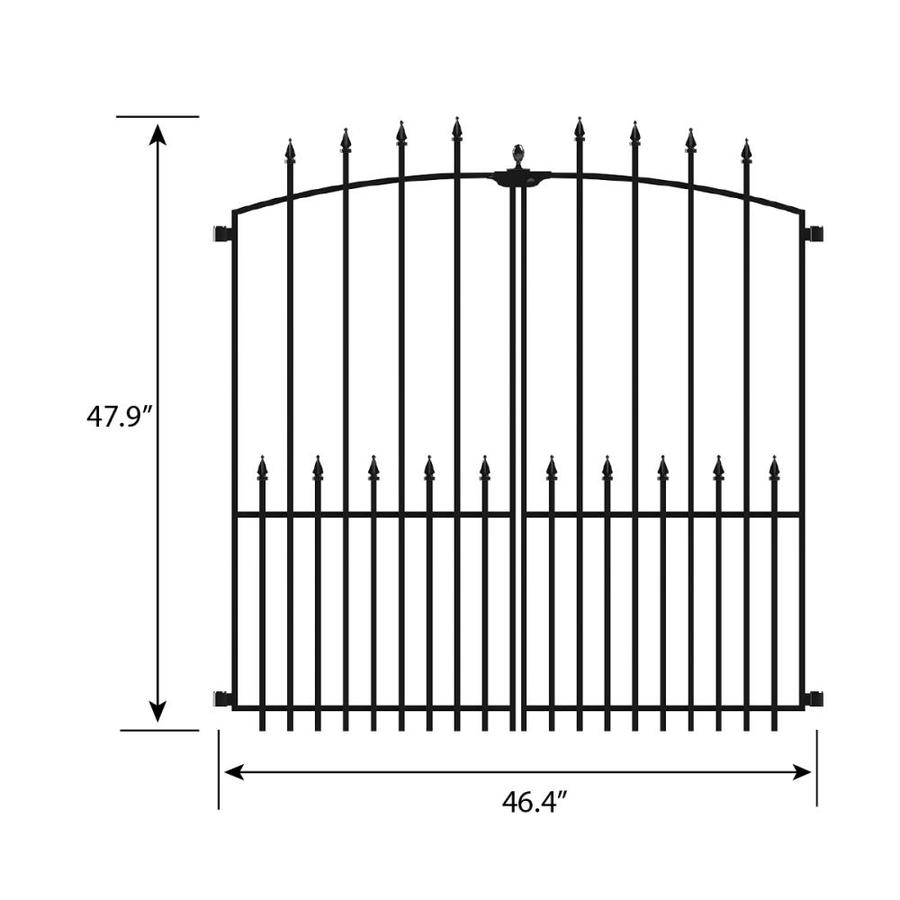
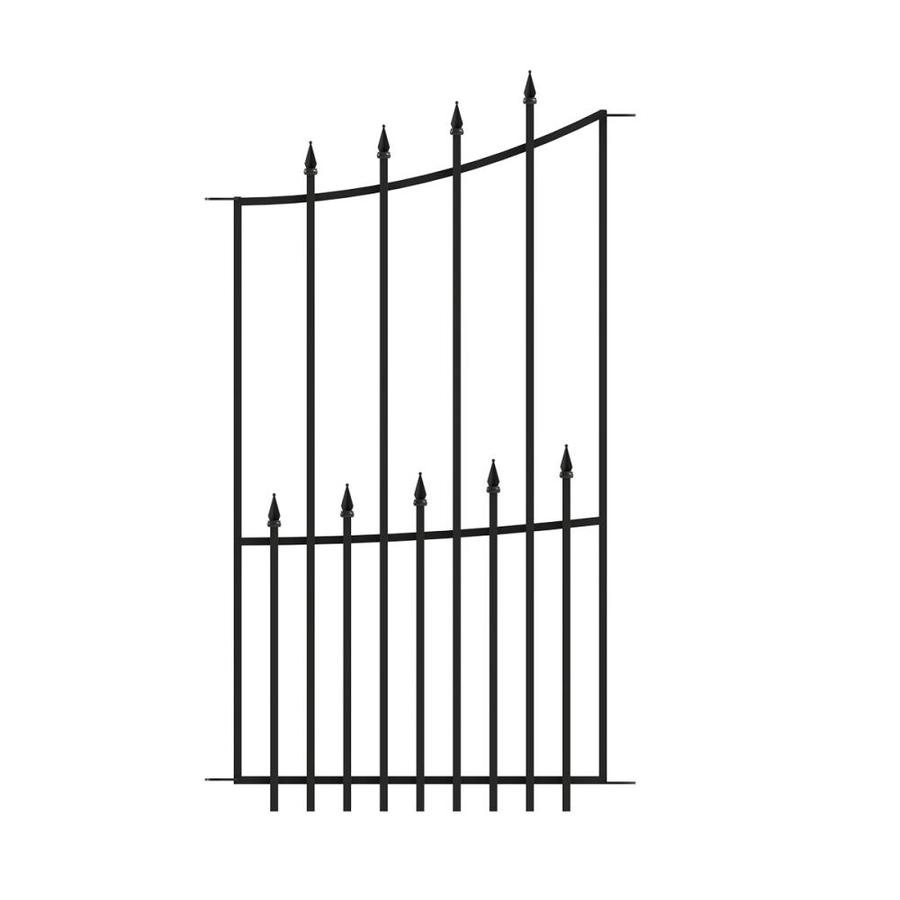
We chose the Grand Empire XL no dig fencing. It’s part of the Empire fencing series at Lowes and comes in 3 different sizes: Standard Empire, Grand Empire and Grand Empire XL. These fences are constructed of a durable powder-coated finish that prevents rusting and stands the test of time and weather. They come with a 5-year limited warranty.
When we bought this fence a few years ago it was manufactured by IronCraft who also makes traditional fencing. Since then, they have spun off the no dig fencing into a new entity – Yardlink Fences.
We debated between the Grand Empire and the Grand Empire XL. There is only about a 5 inch difference between the two. Ultimately we preferred the tall height on the Grand Empire XL – it gave us the best sense of security for our younger children and larger dog.
Multi-Purpose No Dig Metal Fence
While I’m a big fan of the style and grace of the Grand Empire XL, I wanted to mention that we decided against this particular fence in the portions of our backyard not visible from the front of our house. Instead we bought the Multi-Purpose No Dig Metal Fence, also made by the same manufacturer.

Why? Honestly budget. It was less than ½ of the price of the already economical Grand Empire XL. But on the downside, it has less style and more of a utilitarian look, and lighter than the Grand Empire XL.
This fence meets a range of needs and purposes. Installation is similar to the Grand Empire, if not easier. It’s incredibly easy to take down so it is great for road trips or in the garden year after year.
For gates, no separate panel is needed. Instead, a latch post converts the regular fence panel into a gate. Plus there is a 10-Year limited warranty.
OK, back to the Grand Empire XL fence installation…..
Supplies
- Measuring Tape
- Fence panels (gate if desired)
- Fence posts and stakes. Buy 1 more post than panel (i.e. 5 panels need posts)
- String
- Hammer
- Block of wood
- Rubber mallet
- Phillips head screwdriver
Note that in addition to the regular fence panel and post with spike, the Grand Empire XL also comes with a gate and shorter transitional panel pictured below.
Images courtesy of Lowes.com
Grand Empire Installation Steps
The manufacturer of the Empire fence, Yardlink Fences, has a YouTube video on How to Install the no dig fences broken down into 3 steps. Watch the video, it definitely helped us!
However, we homeowners know from experience that no home improvement project is ever truly simple. Let’s face it, there is always a trail and error stage. But even with a few trail and errors, the ease of installing this fence exceeded my expectations.
After going through the motions of installing our fence, I’d modify Yardlink / IronCraft’s 3 step installation into the 8 steps below. And that’s still pretty quick and easy for home improvement projects!
Step 1
Measure the length of area to be fenced to determine how many panels you need. Note that for the Grand Empire XL fencing, the lengths of the gate and transitional panels differ from the main panel.
Tip: Mix up the main panels, gate and transitional panels to get to your desired length of fencing. We installed the shorter transition pieces at an angle on either end of the fence to fully enclose our backyard with no gaps. Don’t want the kids and dogs squeezing out! Plus the transitional panels provided a classy decorative look to finish off the end of the fence.
Step 2
Using a piece of string, run a straight line along the path of the intended location of the fence. It ensures the fence goes in a straight line. If you don’t have string, you can draw a line with chalk or spray paint.
Step 3
Lay out the panels and gates along the string to confirm your desired configuration.
Tip: This seems obvious, but I’ve made stupid mistakes before, so I’m going to say it. Stay clear of installing your fence right on top of an in-ground sprinkler system to avoid potential punctures.
Tip: Be wary of installing this fence near trees with shallow roots, like maples. You aren’t going to be able to hammer spikes through these roots.
Step 4
Detach the screw that connects the spike from the post using a Phillips head screwdriver. The screw can be thrown away.
Step 5
Using a hammer and block of wood, drive the spike into the ground. Using a block of wood in between the hammer and spike will protect the spike from damage or chipped paint.
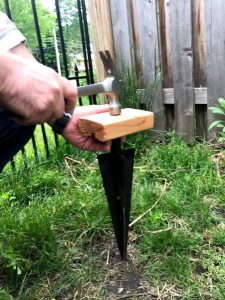
Tip: Driving spikes into moist grass makes installation easier. Schedule the installation after a rainy day.
Tip: Make sure the wings of the spike are driven level with the ground. Otherwise the fence panel will go in crooked.
Tip: If the spike doesn’t drive in all the way, there is an unexpected obstruction (likely a rock or tree root). You will have to drive the spike around the area until it successfully goes all the way into the ground. This is a bit frustrating since this adjustment of one spike causes a domino effect of having to re-position all the remaining fencing. (We had to shift our fence twice).
(Yet Another) Tip: To minimize frustrations with unexpected obstructions, start with the spikes in the area with the most limited “wiggle room”. For example, our limited area was where the fence ended up against our house. We have only about a 1-2 feet of dirt between our house and a concrete walkway where would could position a post.
Step 6
Secure panel by aligning its panel eyelets over the spike. Then, slide post through eyelets and into the spike.

Tip: This step is not as easy as it looks. This process went a lot smoother with two people – one to hold the panel while the other aligns and pushes the post into the stake.
Tip (yes, yet another tip ?): The panels and posts sometimes didn’t perfectly align up with the spike for us. How did we fix? We made adjustments by pounding the spike or post with a rubber mallet. Or (while we don’t officially recommend), we adjusted the spike by rocking it with our feet. (Hey, don’t knock it until you tried it…. it worked!)
Step 7
Repeat with the next panel as necessary to enclose area. Ensure that the end panel is secured with a post.
Tip: When connecting a panel, pull a little bit on the completed fence to ensure the this next panel will be installed with limited give. Since this is a no dig fence, admittedly the foundation isn’t as strong as traditional fences so expect some give/ wiggle if pushed. But we found pulling a little on the completed panels as we progressed down the fence helped minimize wiggle.
Tip (Final one, I promise!): Be considerate of how you overlap your eyelets. At first we did placed the eyelet of the new panel on top of the established panel as we built our fence, but then the fence looked like it was going uphill. So we staggered how we stacked the eyelets and the fence looked more level.
Step 8

Enjoy! Breathe easier that the pets and kids are corralled in their new fenced-in area. Bask in the glory of enhanced curb appeal. Wait for the neighbors to walk by and compliment your new fence.
This is a high quality fence at a reasonable cost. It’s an easy install that provides security as well as enhanced curb appeal. As a homeowner, what more could I want?
I hope sharing our experience and tips learned through our installation help yours go smoothly. Love to hear your thoughts – drop me a line in the comments section.
If you are considering installing a fence be sure to check out this post “Where Can You Buy a No Dig Fence?” to make sure you purchase the right style, color, materials and height.
Related Posts

Want to be the first to know about new posts? Be sure to follow me on Pinterest, Facebook, Instagram or Twitter of even Etsy! Or better yet… Subscribe below!
My monthly (admittedly sometimes more, sometimes less….) emails are like receiving a unexpected letter from an old friend WITHOUT needing to put on your slippers and walk out to your mailbox…. See? I got ya, my friend!)
[Note: My posts are proudly connected to these amazing link parties full of DIY ideas and inspiration!]
This is so great!! Very well done–thanks for sharing!
Thanks so much! It’s been a few months since we installed and we are still in love with it. Easy to install and easy to maintain!