Last Updated on May 10, 2023
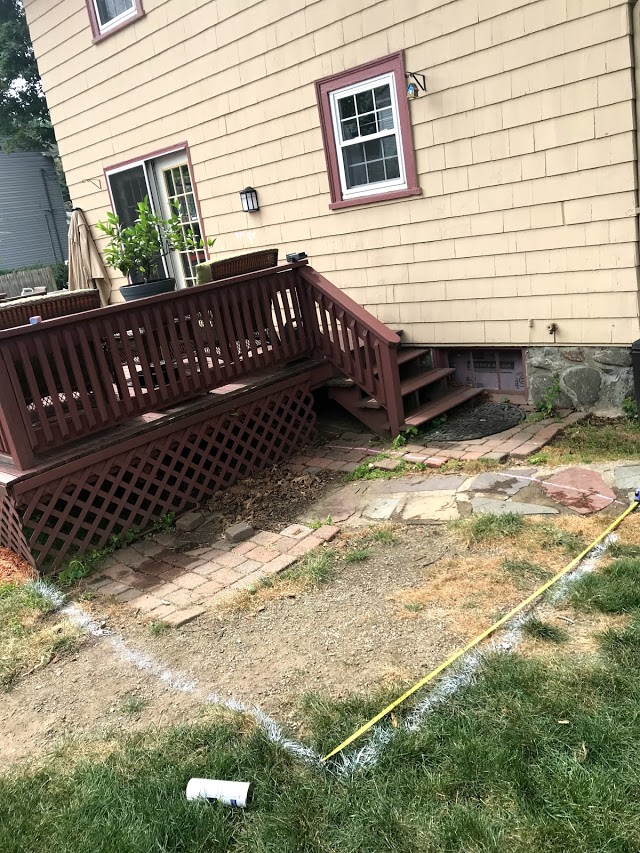
We have an ugly spot in our backyard that desperately needs to be covered up. It’s about an 8 ft by 10 ft square adjacent to our older deck. It’s so hideous that not even weeds will grow there.
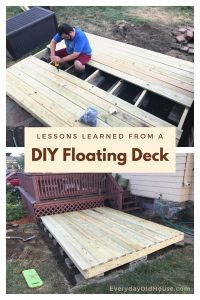
But recently, we found the perfect solution to transform this wasted space into an oasis where our family congregates. What did we do? We built a floating deck. And with all first-time DIY projects, mistakes were made, and lessons were learned…..
What is a Floating Deck?
First, what in the world is a floating deck? A “floating” deck, also called a “low deck”, “low profile deck”, or “freestanding deck” is constructed in a way that it appears to “float” on top of the ground.
Nope, it’s not magic. Instead, the wooden deck portion sits on a series of concrete blocks that most folks usually can’t see, making the deck appear to be “floating”.
Pretty clever, eh?
Unlike standard decks, low profile or floating decks are not attached to the home. So they typically don’t require a building permit (but check with your local building department to confirm!).
Plus, because they are so low to the ground floating decks don’t need footings, railings, and commonly, not even steps. Less things to make, I like the sounds of that….
The Spruce’s Floating Deck
My husband came up with the idea of building a floating deck to cover the ugly spot in our backyard AND create more formal space for us to lounge and entertain. Pure genius!
He dug through various floating deck tutorials online, and after comparing them all, he decided on How to Build a Floating Deck instructions from The Spruce, a DIY/home website.
The instructions were incredibly clear, concise and thorough. Plus, we loved that The Spruce provided the following Project Metrics.
- Total time: 8 hours
- Skill level: Beginner to intermediate
- Material cost: Between $300 and $400
These metrics gave us the confidence that this floating deck was a DIY project we could handle. It was a project we could complete within a tight timeline (i.e. within a weekend), met our skill level and was within our budget.
Update: 2023
When we built our floating deck in 2019, The Spruce had a different tutorial. However, in 2022 they updated the tutorial. I’ve updated my post to reflect their changes with these 2 things to note:
- The 2019 tutorial was for a 8ft x 10ft floating deck. In 2022 they changed it to 10ft x 12ft. It doesn’t impact the lessons learned, but I wanted to point it out to avoid reader confusion.
- The 2019 tutorial made an error on deck screw sizes. So we bought the wrong screws at the store (aka the 3rd lesson we learned). They have fixed the error in the new tutorial.
Their new tutorial is great, and highly recommend (using the lessons we learned below). But if you are curious about how we ultimately built our floating or lor profile deck, you might want to check out this post.
We Are Amateur Home DIYers….
While The Spruce’s instructions were clear and thorough, you haven’t seen Calamity Jen in action. Yup, that is truly one of my nicknames. I earned it at my first job when I ungracefully fell 6 feet into a muddy, mucky swamp inlet – a story for another time…..
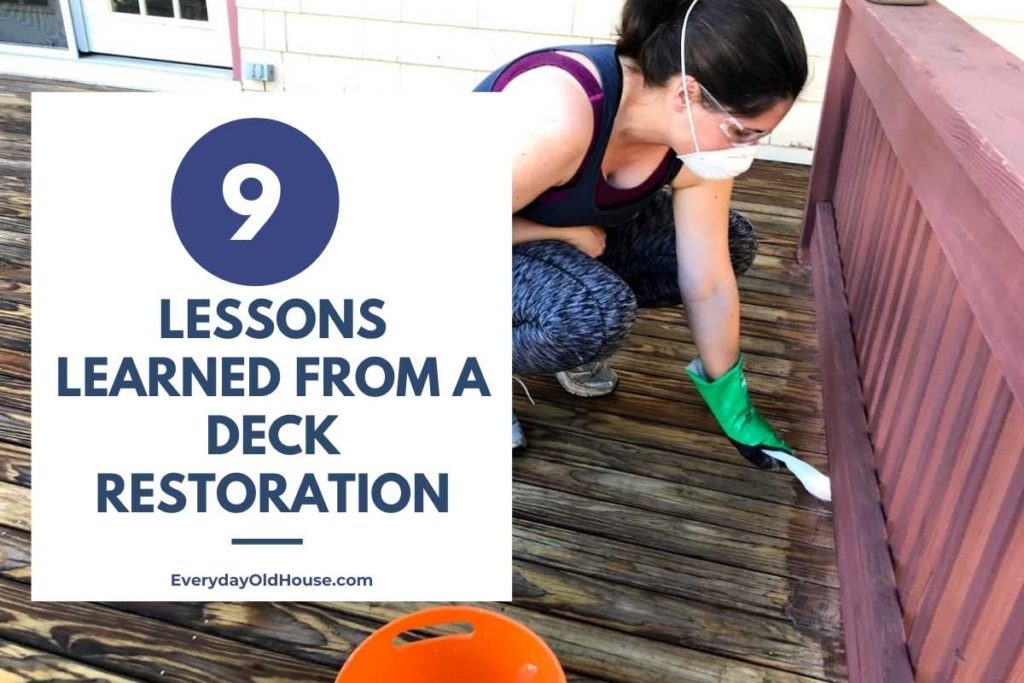
So admittedly, I’m an amateur DIYer who commonly finds a way to screw-up. Have you read our 9 Lessons Learned when we Restoring Our Old Deck? That project was a comedy and tragedy…
Luckily my husband is handier and less accident-prone… But I refuse to give up trying!
I hope you find our lessons helpful and stop you from making the same mistakes. And build an even more amazing floating deck than ours!
Lesson #1 – Clear a Bigger Space
Step 1 of The Spruce’s Floating Deck instructions (Prepare the Deck Area) calls for clearing the ground, raking and leveling the area.
Our “ugly” patch is about 8 ft x 10 ft. The Spruce’s floating deck instructions were for a 8 ft by 10 ft deck, which was perfect. Using white spray paint, I marked out an 8 ft by 10 ft area, which we subsequently cleared and leveled.
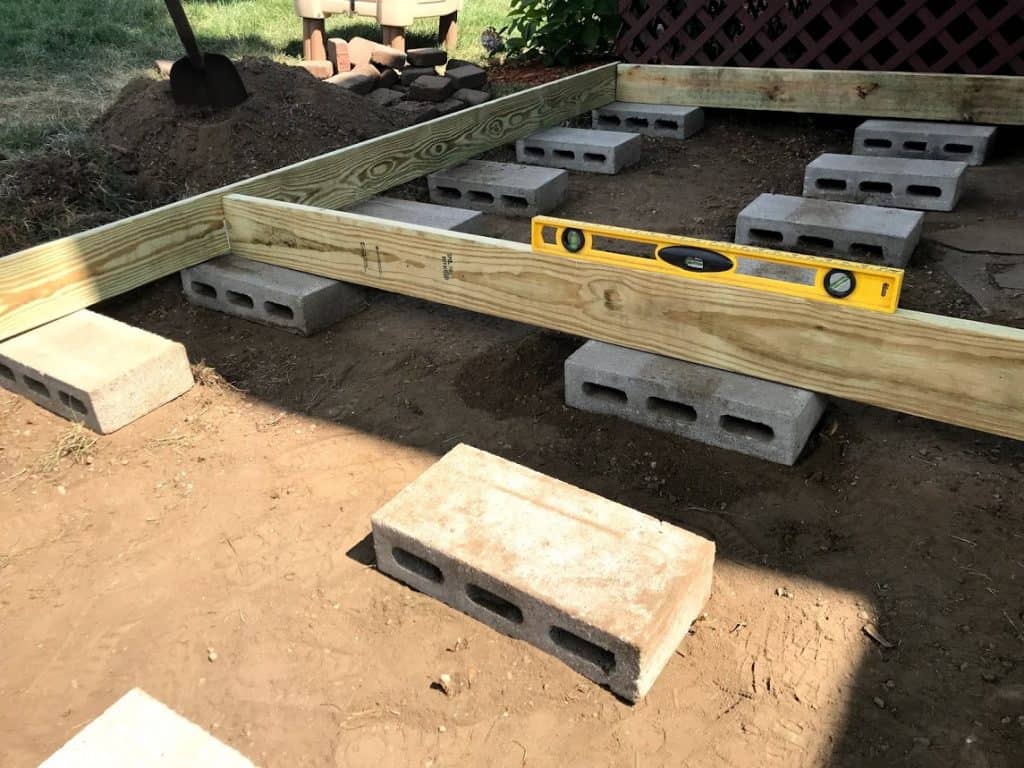
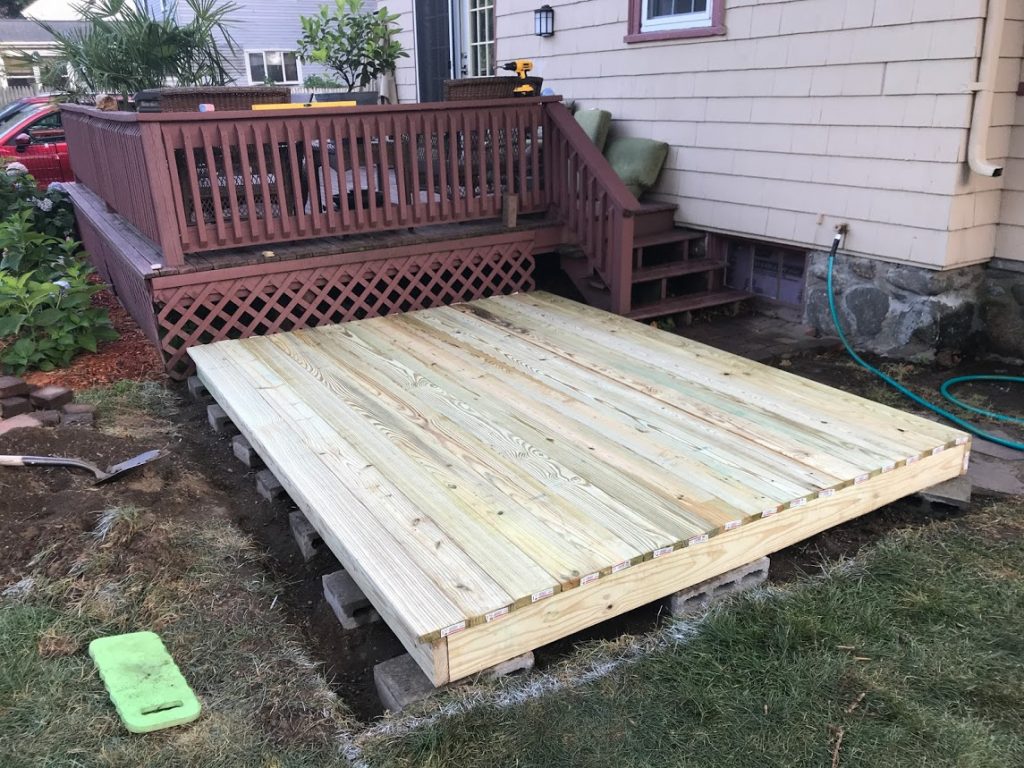
But we should have cleared a bigger area. We quickly realized our mistake in Step 2 (Set the Concrete Blocks).
The Spruce instructions were to arrange the concrete blocks in a rectangle so they are 8ft or 10ft apart, measuring from the centers of the blocks.
What does that mean? Centering the recommended 8 x 16-inch traditional concrete blocks, we ended up with about 4 inches of concrete block falling outside of the 8ft by 10ft perimeter!
Four inches of area that we hadn’t cleared and leveled.
Oops.
Admittedly this was a bit of a “duh” moment that could have been avoided if I had thought through the process a bit more. Luckily, it wasn’t a critical misstep. We just needed to go back and dig and level more area.
Sure it was only 4 inches, but it was so demotivating to have to pick up a shovel and go back to Step 1. We quickly lost momentum from this setback (which of course led to a long break with snacks and beer…)
Side note: In actuality we pushed the concrete blocks a smidge more inside the 8 ft x 10 ft area. The 4 inches on the long side jutted out a bit too much. We were worried that someone (aka our kids but mainly me) would trip over them or stub toes. So we moved the blocks so only 2-3 inches fell outside of the deck frame.
The lesson learned? For your floating deck, mark and clear at least an extra space to accommodate the cement blocks.
Lesson #2 – Lay Out the Deck Boards First
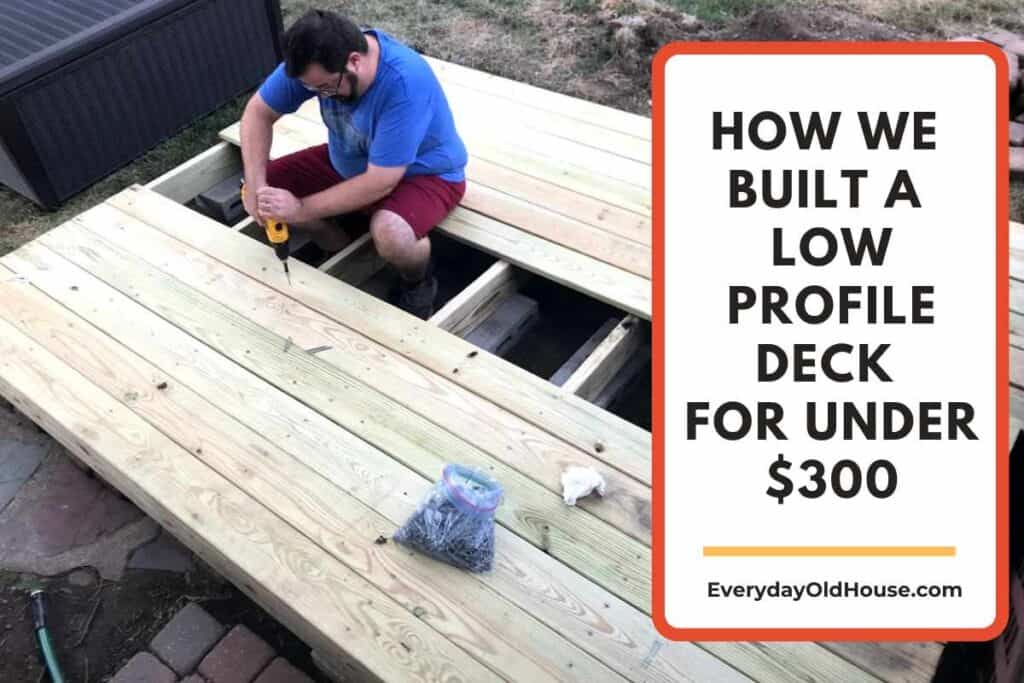
Step 7 of The Spruce’s Floating Deck instructions (Install the Deck Boards) describes how to attach the deck boards to the frame. In sum, the instructions call for the first deck board to be fastened flush (or 1″ overlap) with the outside face of the frame’s end joist. After the first deck board is secured, work your way across the deck by placing and fastening subsequent boards.
We went off script and veer slightly away from Step 7 of The Spruce’s tutorial. We didn’t fasten the boards until we laid out all the deck boards first. And it was a good move since we avoided 2 potential issues.
Imperfect Deck Boards
Actually, we did start with The Spruce’s directions. We fastened the first deck board flush with the outside face of the end joist, then placed the next deck board down and secured, etc…..
We did this for about 4 deck boards and then we ran into an issue.
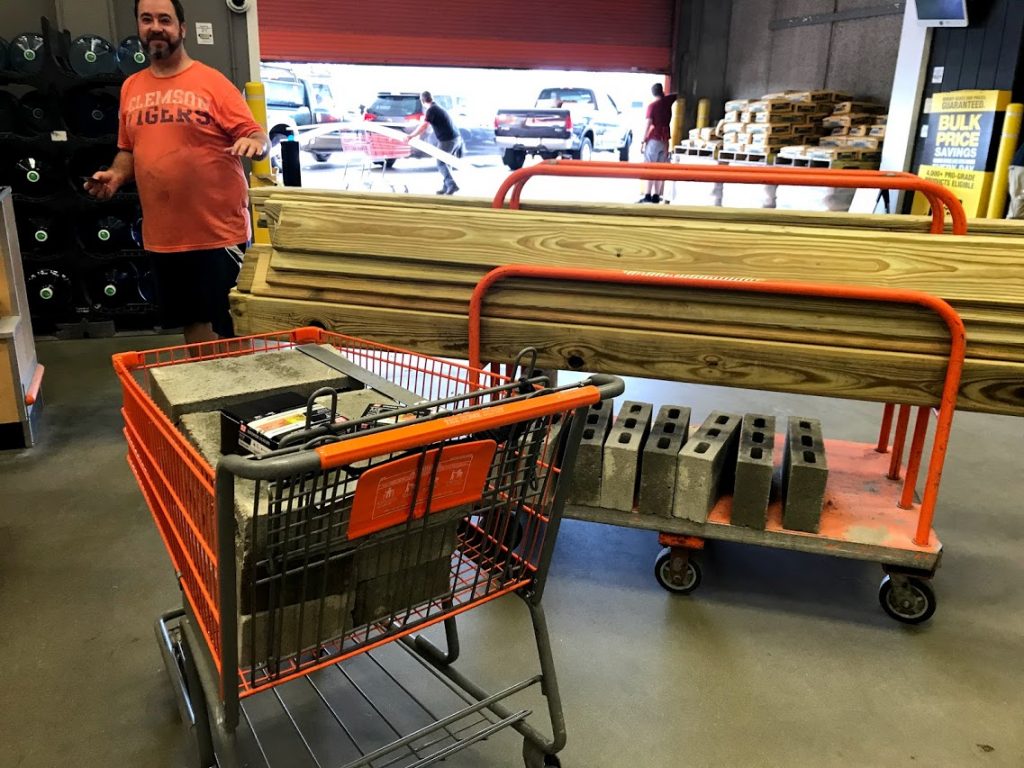
Some of our deck boards were slightly bowed. When we picked them out at Home Depot, either we didn’t notice or it didn’t seem to be a big deal. [And with the pandemic resulting in construction materials supply issues, sometimes you take what you can get….]
But when we placed the deck boards side by side, the bows resulted in inconsistent gaps. It looked sloppy.
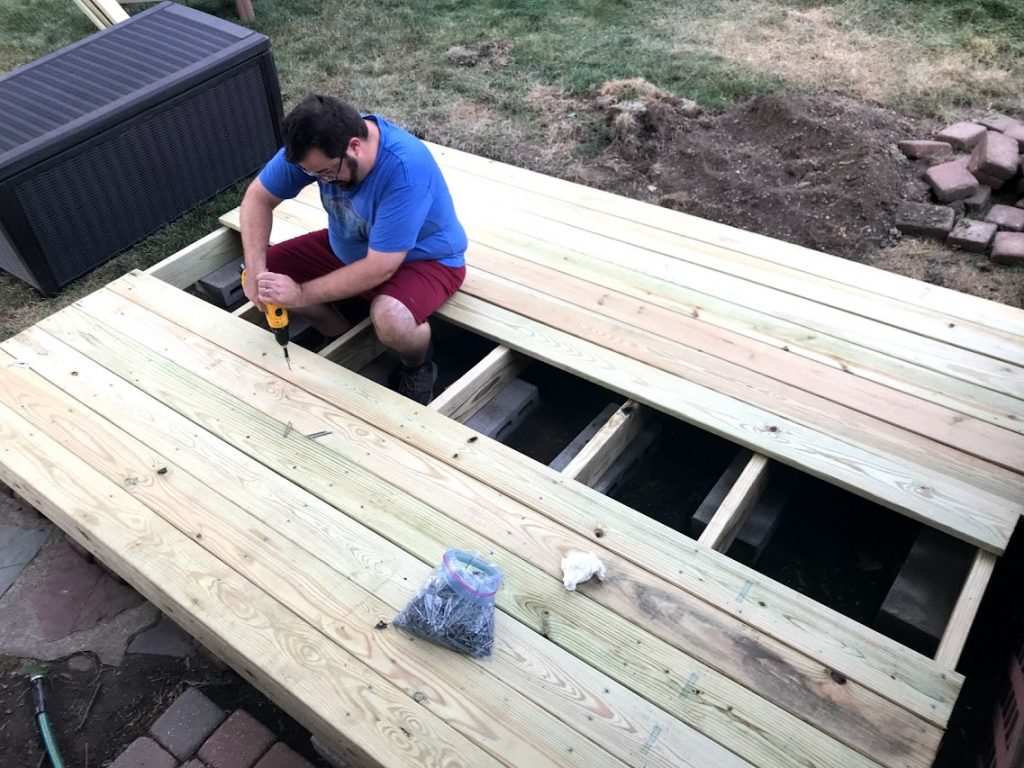
To remedy, we placed the remainder of the deck boards down FIRST before fastening. We then shuffled the boards with imperfections around until we had the best configuration where the spacing looked more consistent.
Deck Boards Evenly Overlap End Joists
Once we laid down all the deck boards, we realized a second issue. Our first deck board was fastened flush with its joist, but our last deck board overlapped the outside face of the other joist by about 2 inches.
While not a huge error, I knew that it would annoy me. I wanted the end deck boards to evenly overlap their joists. So we unfastened the 4 boards we had previously fastened, and wiggled all the boards so that the first and last deck boards had the same 1″ overlap over their end joists.
Lesson learned? Lay out ALL the deck boards first, THEN fasten the deck boards down.
This process of placing boards down and jostling them around to find the best configuration BEFORE fastening comes second nature for the professionals, but not for newbie DIYers like us….
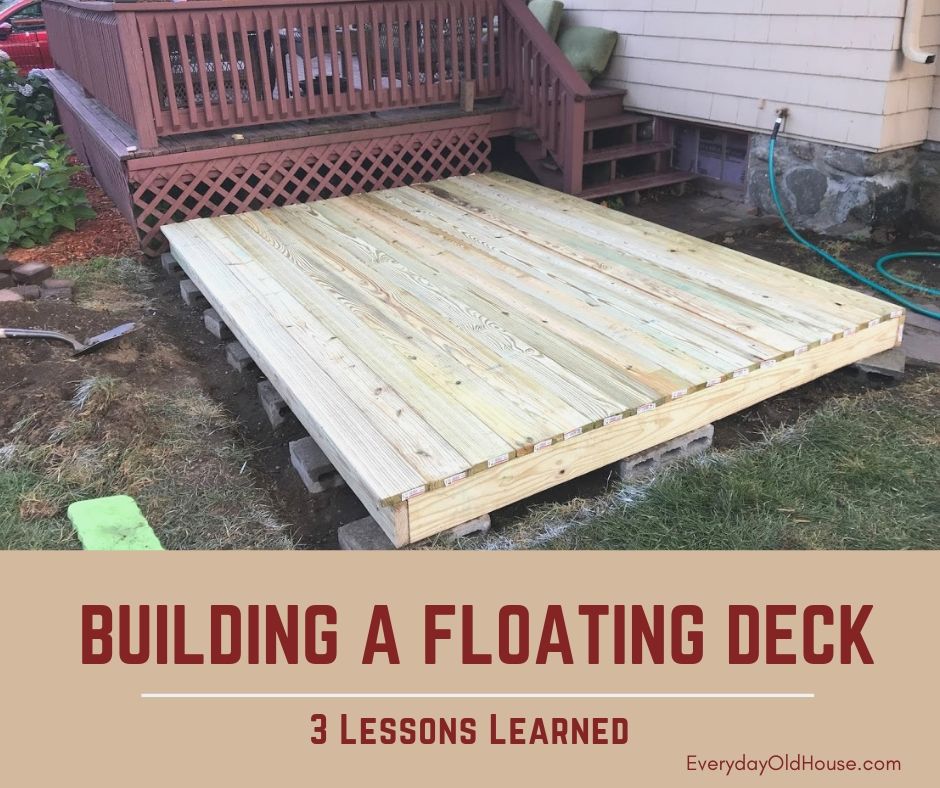
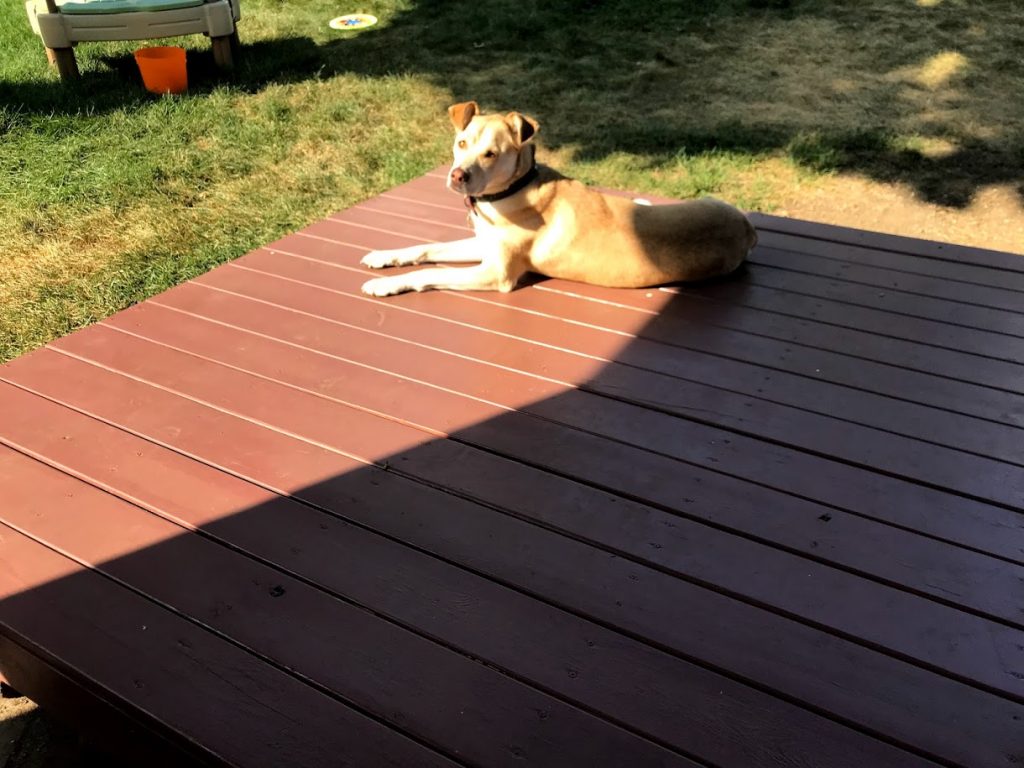
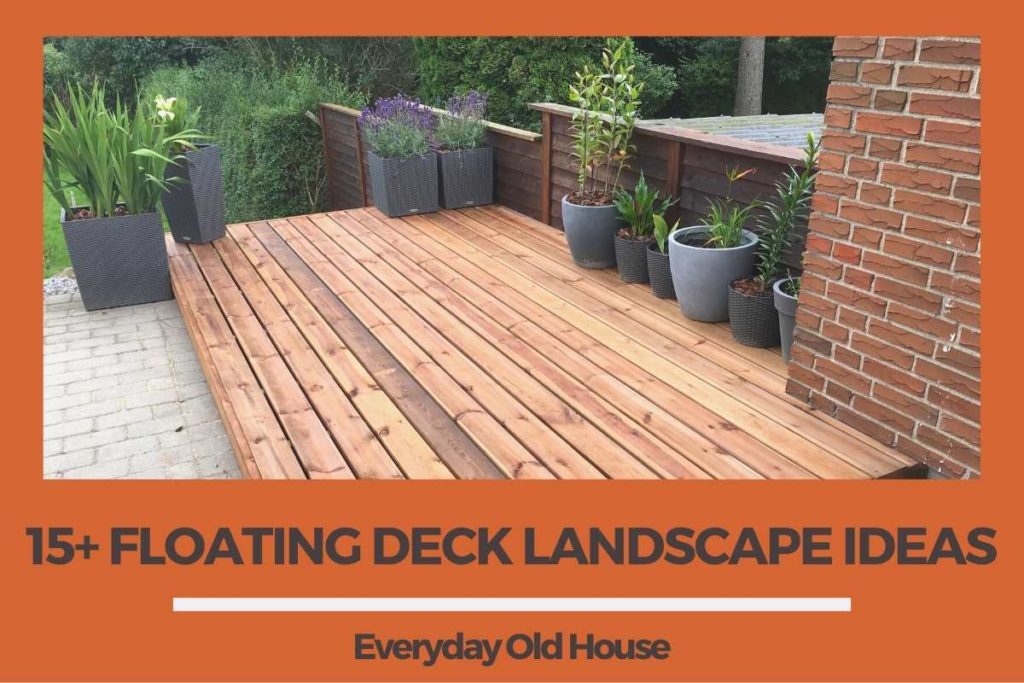
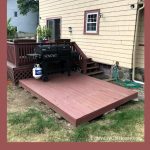
Our Floating Deck
Here’s our new floating deck – a new little piece of heaven in our backyard. Using The Spruce’s floating deck instructions we easily covered up the ugly spot in our yard. We still need to spruce up (pun intended) the landscaping around the floating deck. That’s a project for another year…

It’s only been a few weeks since we completed our DIY Floating Deck and it’s already a focal point in our backyard. The kids love it – it’s another place to congregate and play. The dog loves to lounge on the floating deck when the sun hits it. We placed our grill on one end of the deck, making it more accessible and a much more pleasant place to cook.
Floating Deck Feature!
Not only have our neighbors ooh-ed and aah-ed over our new entertaining space, our floating deck has even been noticed by home decor sites like HomeBNC, which included our deck in 21 Inviting Backyard Deck Ideas to Make Your Exterior More Fun!
Related Posts

Want to be the first to know about new posts? Be sure to follow me on Pinterest, Facebook, Instagram or Twitter of even Etsy! Or better yet… Subscribe below!
My monthly (admittedly sometimes more, sometimes less….) emails are like receiving a unexpected letter from an old friend WITHOUT needing to put on your slippers and walk out to your mailbox…. See? I got ya, my friend!)
[Note: My posts are proudly connected to these amazing link parties full of DIY ideas and inspiration!]
This is such a neat project! I love how you share the real painful lessons learned. Great job on your deck!
Martina – Thank you so much! Some of those lessons were a bit painful (and time consuming) but all worth it in the end!
Great job! You can’t even tell that you added it on later. It looks like it has always belonged there.
Debi – I’m so glad you think it’s original. It hoped it would blend with the older deck, but I didn’t think we could realistically carry it off. You just made my day!