Last Updated on March 20, 2024
I’m a sucker for vintage caned wood chairs. They are so easy to find at yard sales, antique stores, online community recycling pages. These chairs are just dying for someone to see it’s potential and show it a bit of love. They tend to be in great condition, expect for one thing. The cane seat. It’s either sagging, or broken, or flat out ripped up.
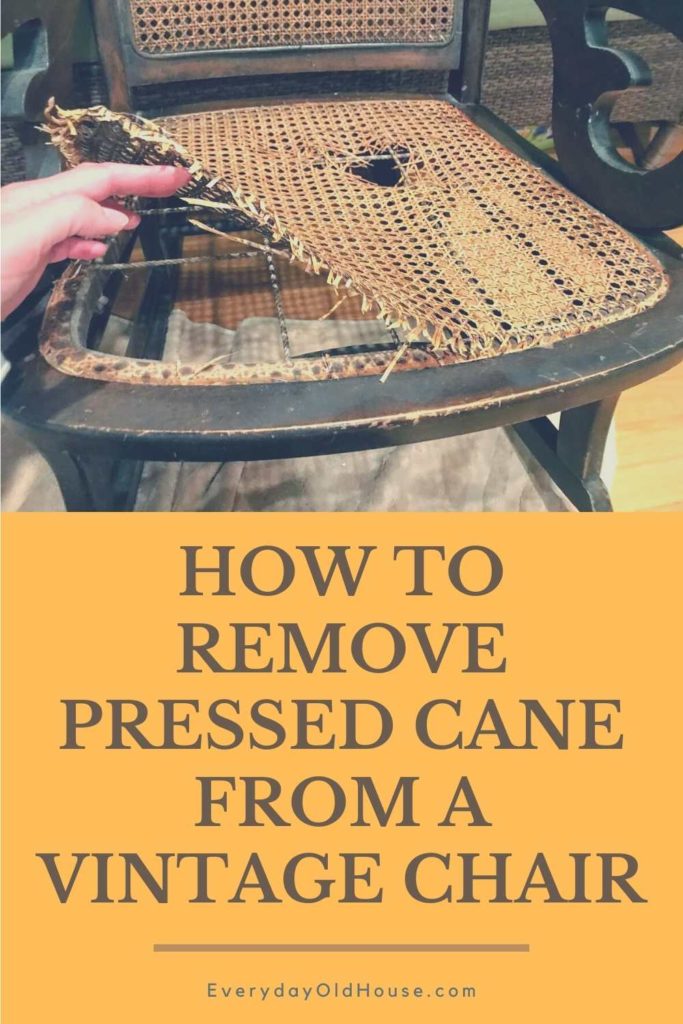
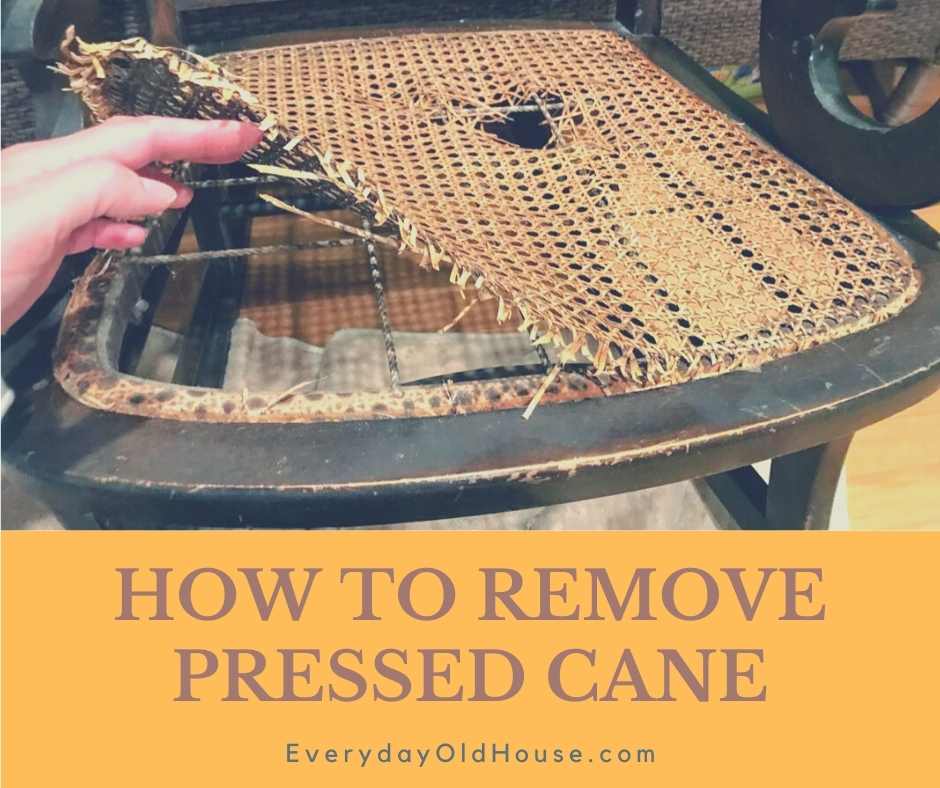
Fortunately, replacing pressed cane from a chair is a lot easier than you think. And this beginner DIYer is going to show you two ways – the Easy and Stubborn Spline Methods – to remove pressed cane from a chair!
This post contains affiliate links, including but not limited to, Amazon Associates. As such, I earn from qualifying purchases. Full disclosure located here.
Backstory
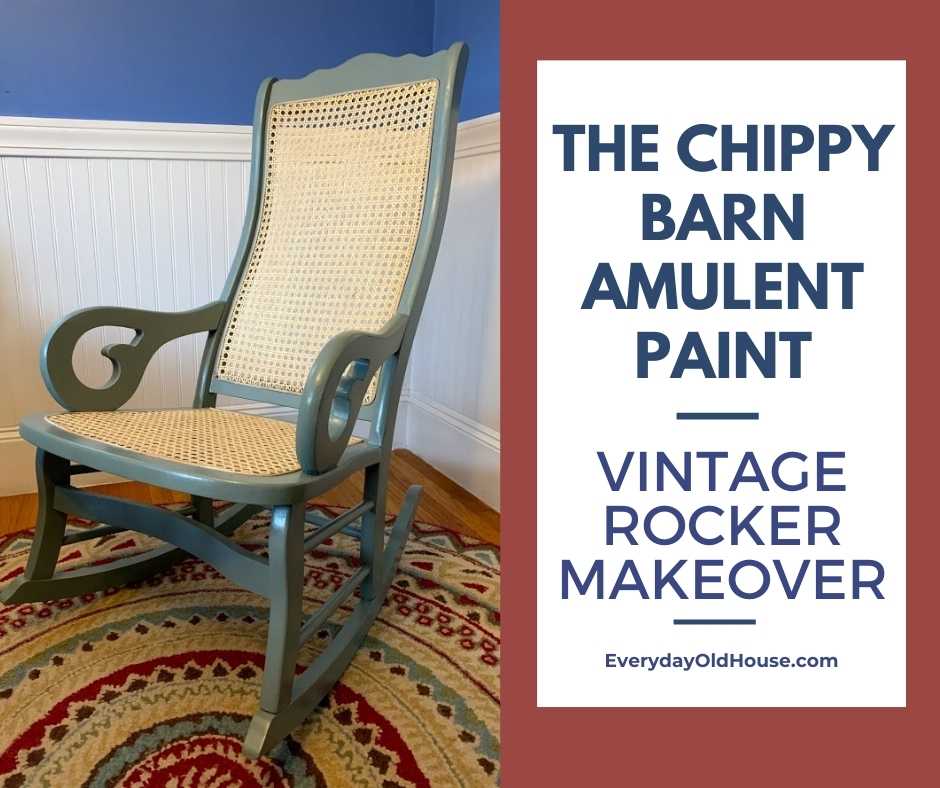
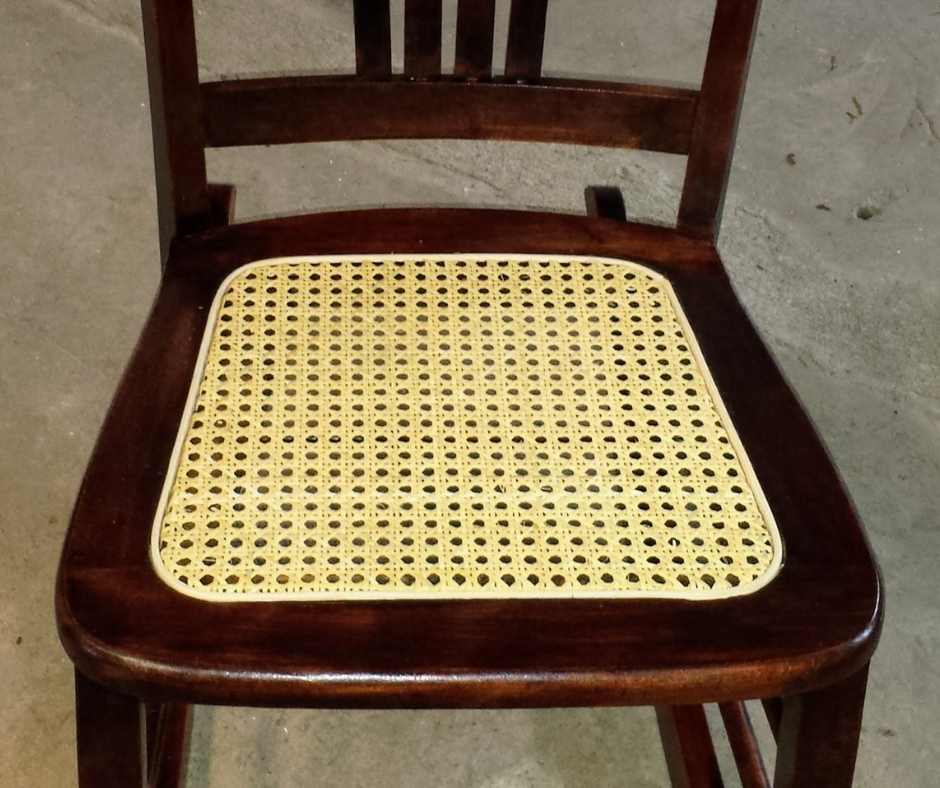
Recently I finished restoring a simple but beautiful Lincoln rocking chair I picked for up free from a Facebook community page. It was in decent condition – except for the glaring hole in the caned seat.
[FYI – don’t forget to check out my 7 Places to Find FREE Antique Furniture to DIY!]
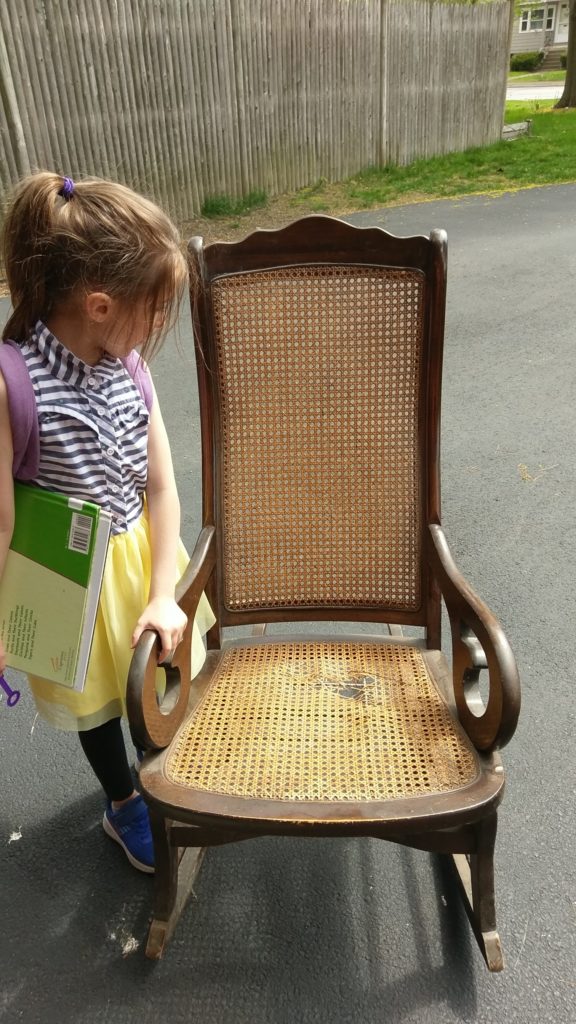
In addition to the seat, the chair also has a caned back. And it was in great condition – not a rip or tear. But if the seat needed to be replaced with new cane, then the back also had to be replaced in order to have a cohesive, matching look.
You might think that removing pressed cane from a chair (and re-installing new) is a complicated process, but it really isn’t. I’m a beginner with just a few chair caning projects under her belt, and I’ve successfully completed all my projects (to date…).
It this project didn’t take me long at all to remove the pressed cane – about one hour to remove both (and that included waiting time).
But First…
I want to go over a few beginner things about caning before you start snagging up caned chairs at the local antique store..
Types of Cane Seats
There are two types of cane seats – hand-woven and pressed. (Technically there is a third type – porch cane – but it looks completely different). This post is specific to how to remove pressed cane from a chair.
You can tell the difference between hand-woven and pressed by the way the cane is attached to the finished edge of the seat.
For hand-woven cane, the perimeter consists of the flat binder cane stitched into place with other cane. If you look underneath the seat, you will see cane coming through tiny holes drilled around the perimeter of the seat.
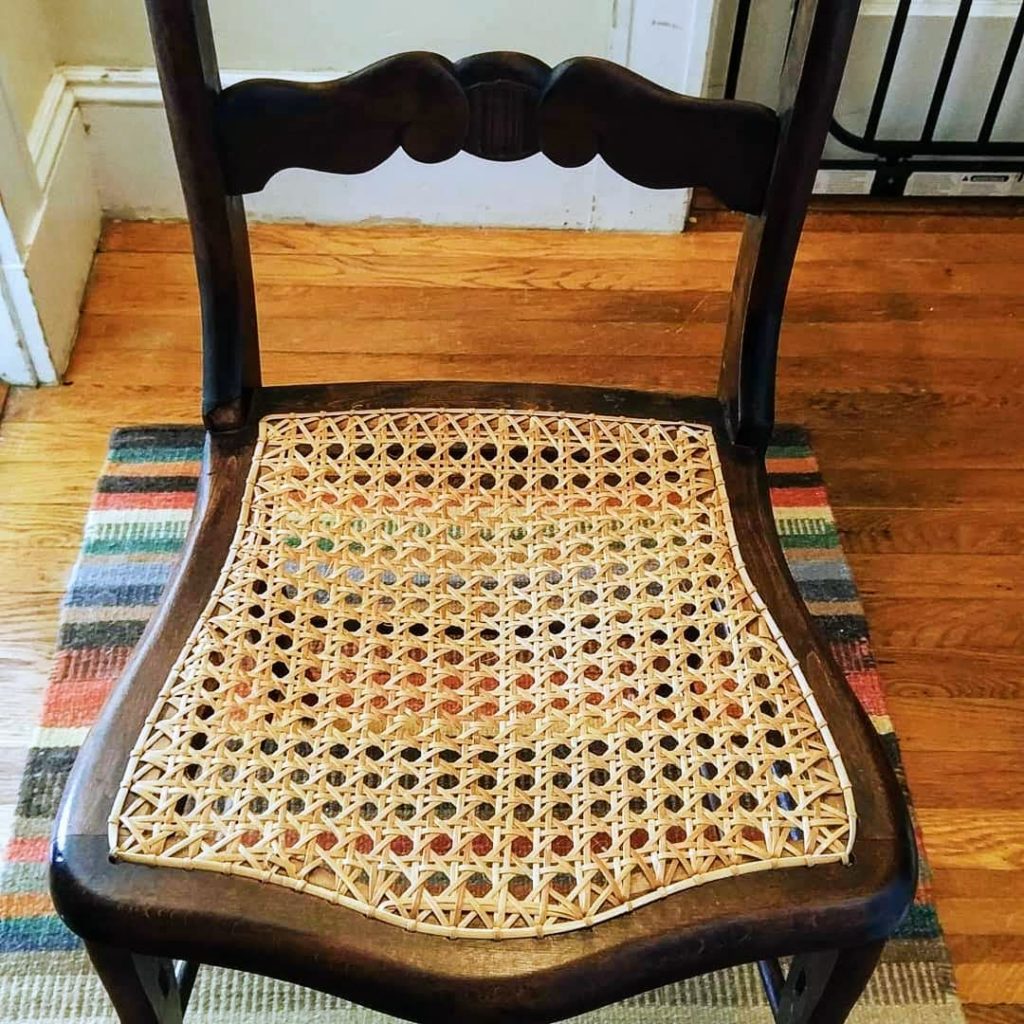
Pressed cane, also referred to a cane webbing or machine-woven cane, doesn’t have holes. Instead it has a groove in the wood frame around the finished seat edge. The pressed cane is held in place by a rounded spline (also referred to a reed or ribbon) that fits tight into the groove.
Able to Cane, a cane repair and supply shop up in Portland, ME (not far from me) has this video that goes into further detail in the differences between hand-woven and pressed cane.
How to Remove Pressed Cane From a Chair
I’m going to walk you through two ways that I used to remove pressed cane from a chair. I’ve learned most of these techniques from The Wicker Woman. Her website is a wealth of information for anyone who wants to learn about chair caning.
The first method – which I applied to the seat back – is what I call the “Easy Spline Method“. This is the method I start with on all pressed cane chairs. And it worked perfect for the back side of my Lincoln rocker.
But if the spline is stubborn and won’t budge with this method – like the bottom of this chair – I then use the “Stubborn Spline Method“. It’s a bit more involved, but sometimes it’s necessary something to get the job one and the cane removed.
Supplies
- Hammer
- Caning Chisel – make sure it’s narrower than grove!
- Dropcloth
- Drill
- Vinegar
- Spray bottle
- Cloth
- Vacuum
- Putty knife, sandpaper or steel wool (size 0000)
Easy Spline Method to Remove Pressed Cane from a Chair
When I need to remove pressed cane from a chair, I always start with this Easy Method.
Step 1
Insert the chisel where two spline ends connect and gently push the chisel in between those ends. Using a hammer, tap gently on the head of the chisel to nudge the chisel further into the groove.
Move the chisel at an angle to get under the spline and continue to tap with a hammer to nudge the spline out of the groove.
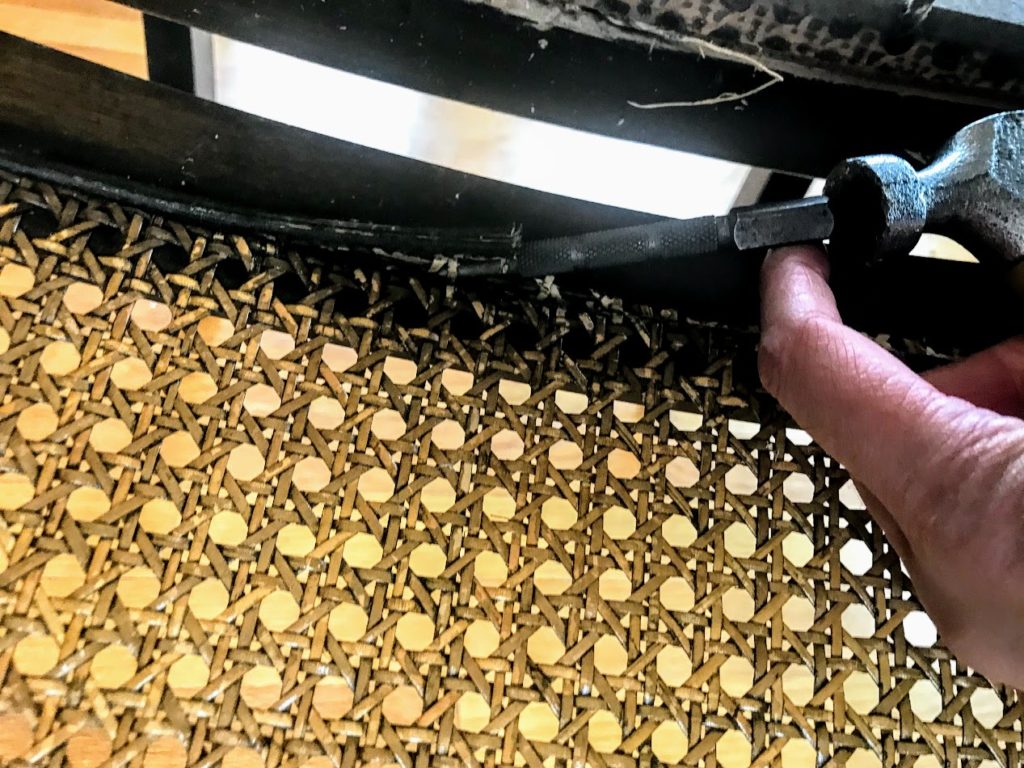
As you can see from the picture, I didn’t use a true caning chisel. I do own one – I promise! But in all honesty, I couldn’t find it. Blame a messy attic, or 3 little children who make hiding their mother’s things an Olympic sport…
So I improvised with a nail punch (and went veerrrry carefully). I don’t recommend it unless you are in a pinch. Here’s what a true cane chisel looks like.

Step 2
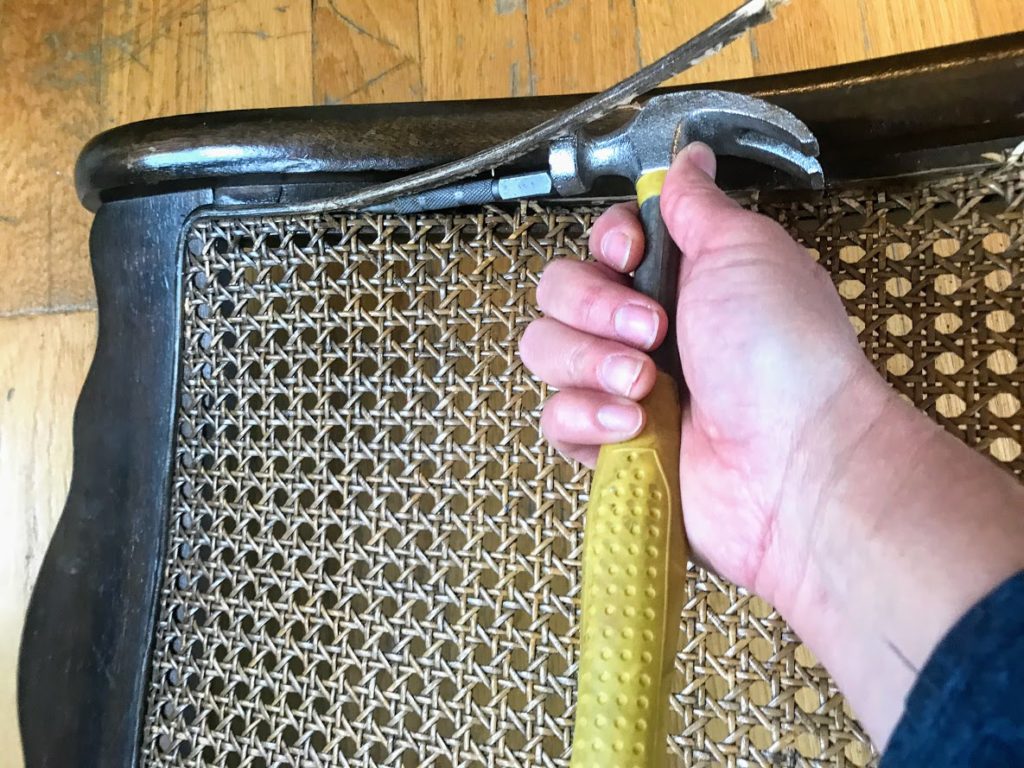
Continue to rock the chisel (or if a mom with a messy attic – a nail punch) back and forth to gently pry the spline up and out of the groove. Be careful not to let the tools slip and chip the wood frame.
Step 3
Once all spline has been removed, gently rip out the pressed cane.
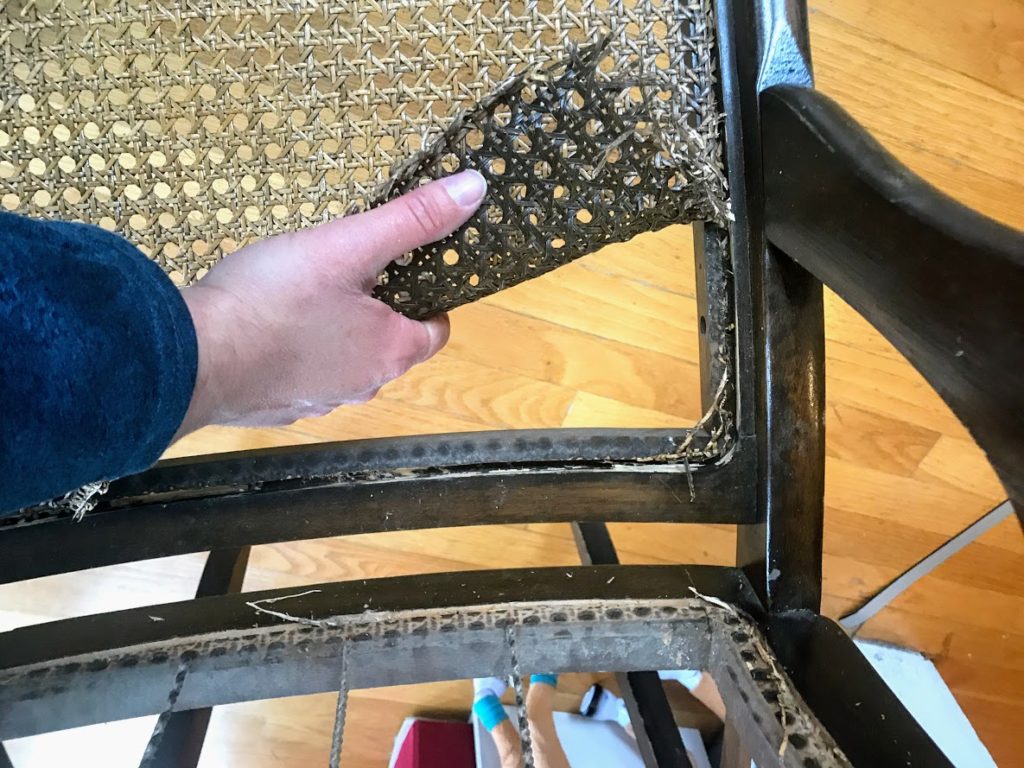
From here, scroll down to Step 7 to finish cleaning up any residual spine and glue remaining the chair groove.
To Note
I need to note that some DIYers recommend scoring between the spline and groove with a utility knife before doing Step 1 above. I tried it. But being the clutz I am, I ended up cutting into a chair’s wood frame and damaging it.
Stubborn Spline Method to Remove Pressed Cane From a Chair
While the above Easy Method has worked for me on a few chairs. But more often than not, I’ve encountered stubborn spline that won’t easily pop out with just a chisel and hammer. Either the spline is in too tight, or the glue underneath this spline is still working too well!
When that happens I use try the following Stubborn Spline Method.
Step 1
With this method you will be potentially getting your floor wet, so place an old sheet, towel or drop cloth under your chair to protect the floor.
Step 2
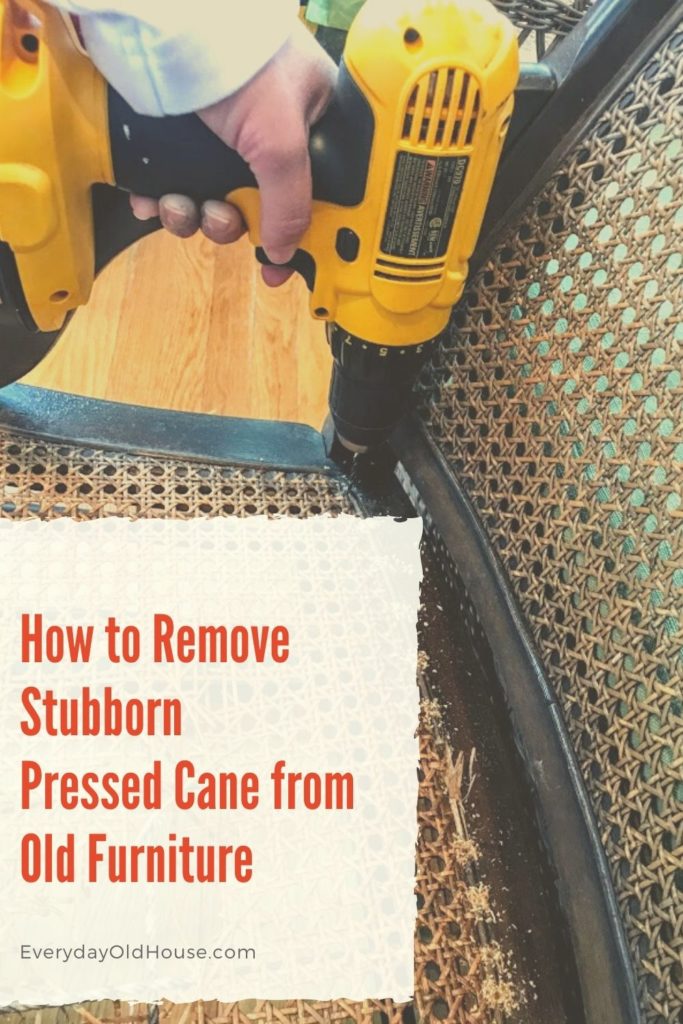
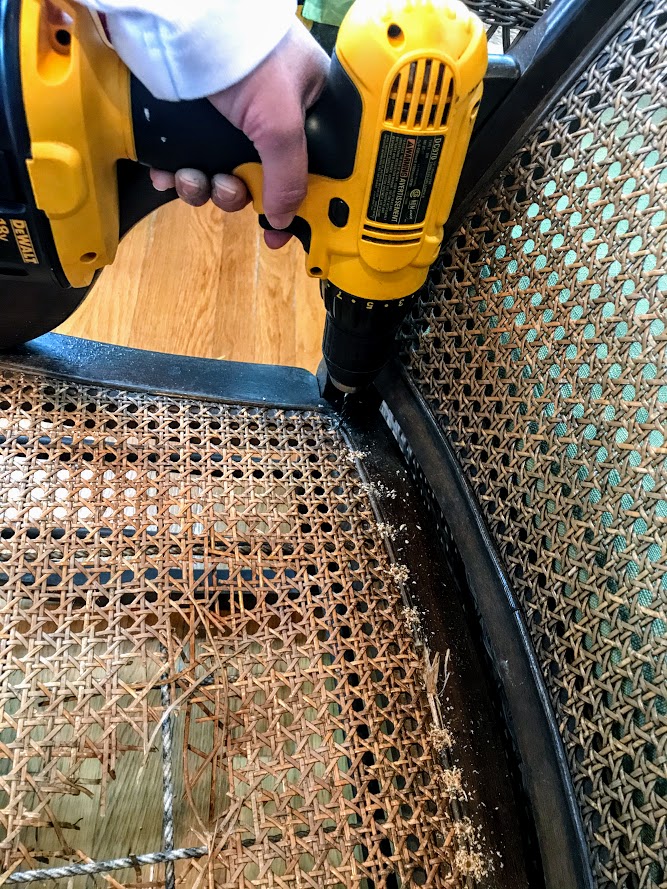
Using an electric drill (with a bit more narrow than the spine), gently drill holes along the spline at 1-2 inch intervals.
You won’t have to go too far before you feel a pop, which indicates you have punctured through the spline. It will probably only be ¼ to ½ inch deep. Spine isn’t terribly thick. Once you hear the pop, don’t drill any further!
Step 3
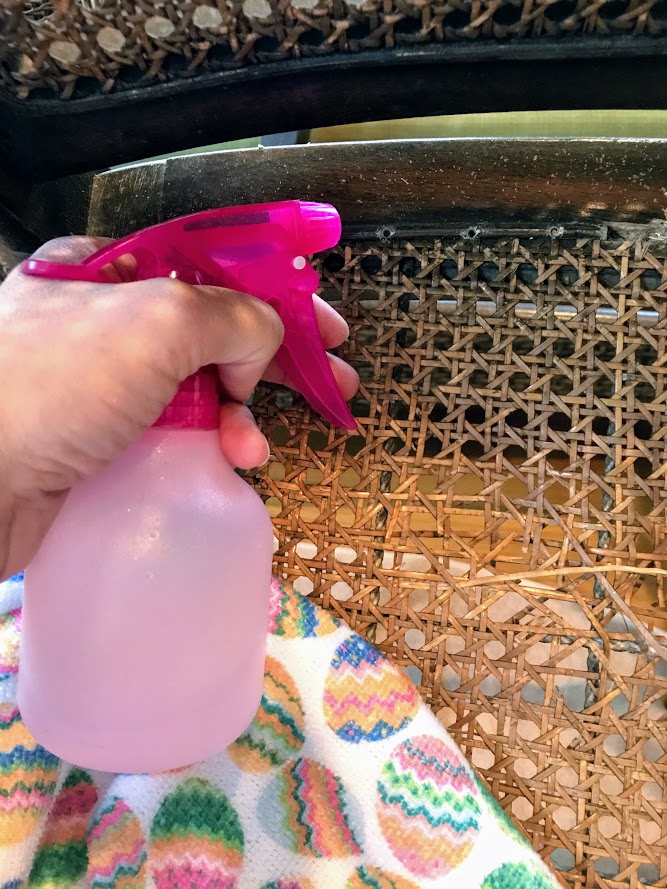
Prepare a 50/50 mixture of distilled white vinegar and warm water in an eye dropper or spray bottle. I would have preferred an eye dropper, but I didn’t have any lying around the house and I didn’t feel like heading to the store to buy one.
Step 4
Spray the mixture along the spline and into the drilled holes along the spline. I get nervous about the vinegar ruining the wood part of the chair, so I wipe the wood frame with a clean cloth.
Step 5
This white vinegar and water mixture will soften the spline and the glue underneath spline. I wait about 30 minutes and then try tapping the chisel with a hammer between touching ends of a spline again.
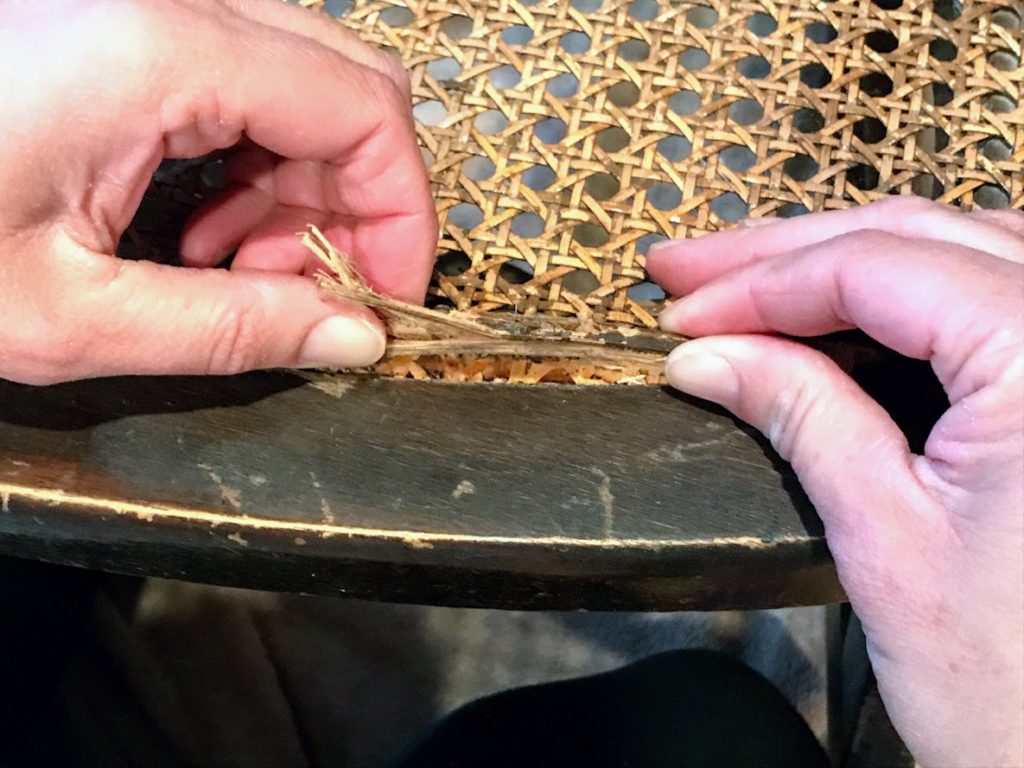
Eventually the spline will soften. Alternate hammering and rocking the chisel back and forth to pry up the spline away from the frame.
Sometimes the spline can come out without using the chisel by just pulling with your hand, as shown below.
Step 6
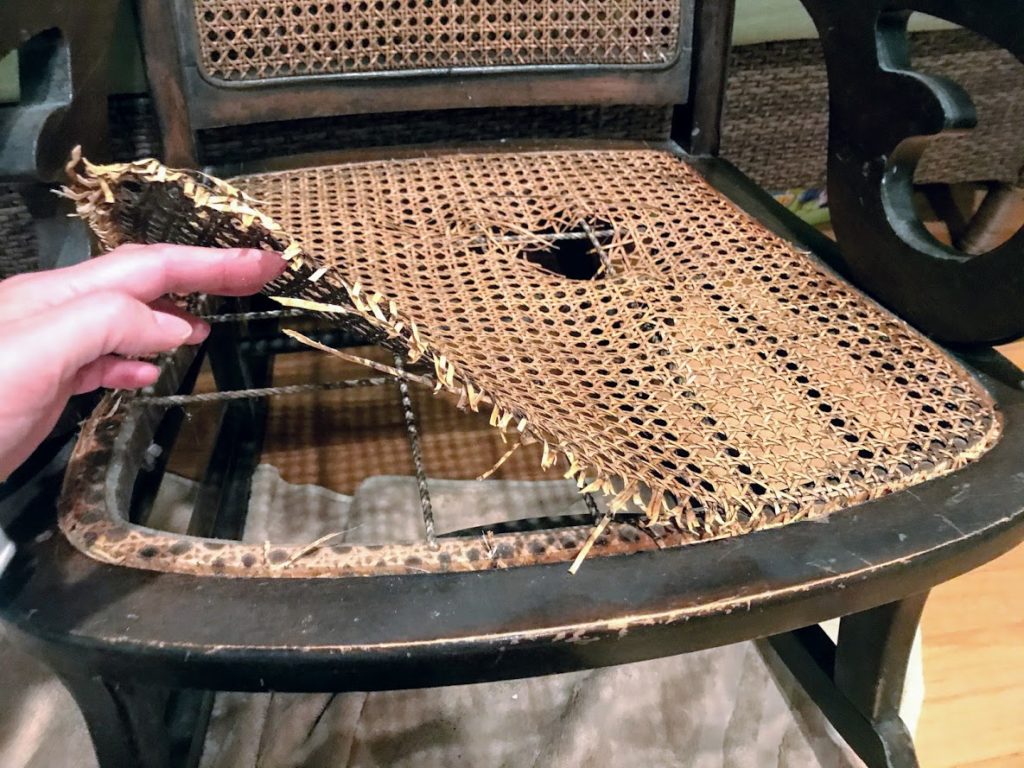
Once all spline has been removed, gently rip out the pressed cane.
Both Easy and Stubborn Spline Methods
Step 7
Likely some residual cane and glue will be stuck inside the groove, so squirt some white vinegar/ warm water mixture into the groove. Don’t let it overflow. It’s akin to filling a moat with water around a castle (this is what happens when you have little girls – you think princesses and castles).
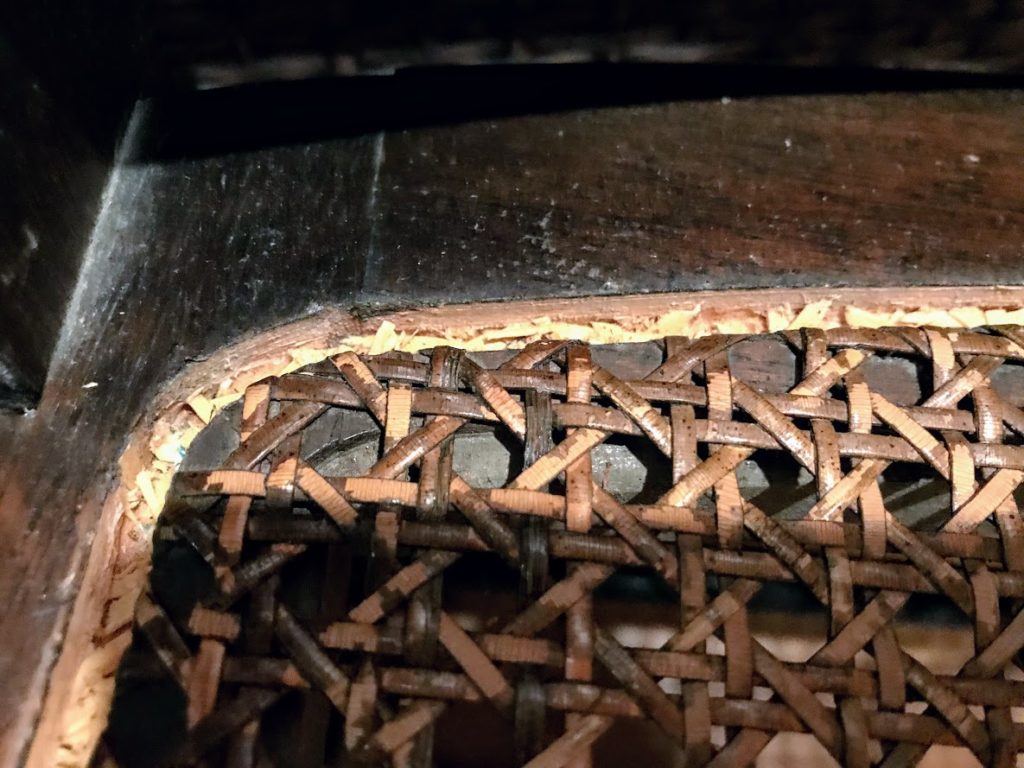
Wait at least a half hour to let the vinegar/water mixture to do its thing. Then mop up the vinegar/water mixture with a cloth or paper towels.
Step 8
Using a plastic putty knife or other tools like sandpaper, chisel or steel wool (size 0000), carefully scrape in the grooves. Not only does this remove any remaining cane and glue, it also smooths rough edges that could potentially cut or break the new cane you are about to install.
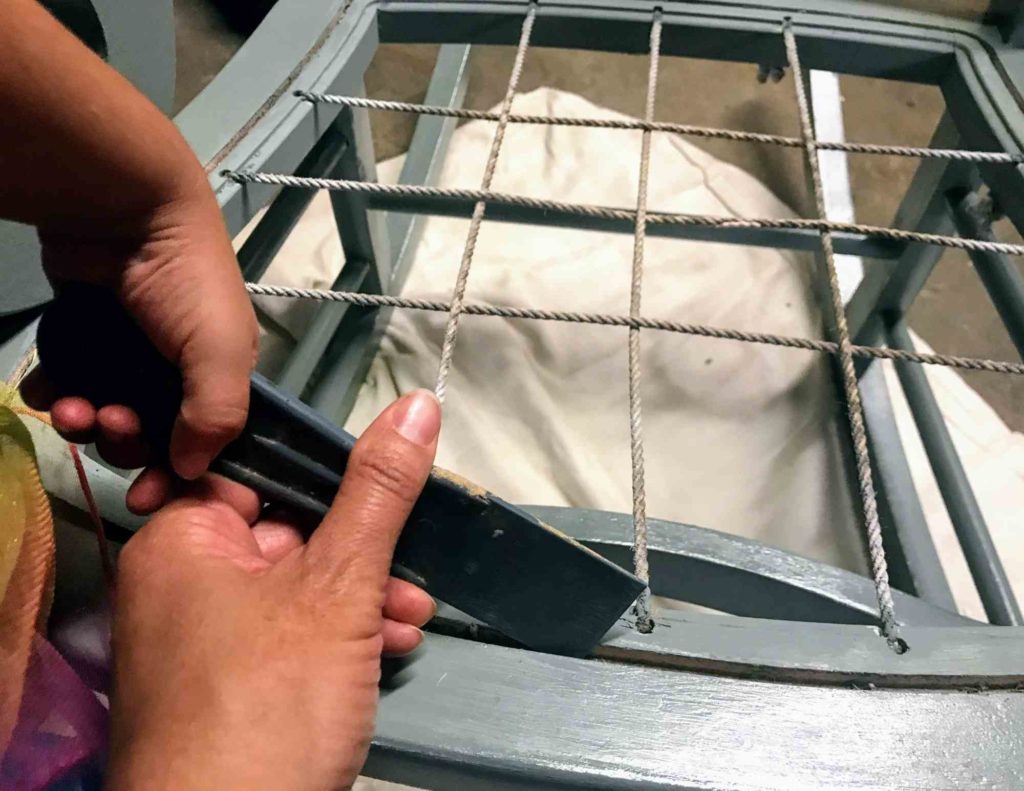
Did you notice that the chair is a different color? I did that on purpose….. I’m tempting you to read a post on how I restored and painted this chair ?. And ignore the second set of hands holding the putty knife. One of my 3-year twins sauntered down into the basement so I let her help me.
As a last step, run a vacuum with a brush attachment over the groove to collect any stray cane.
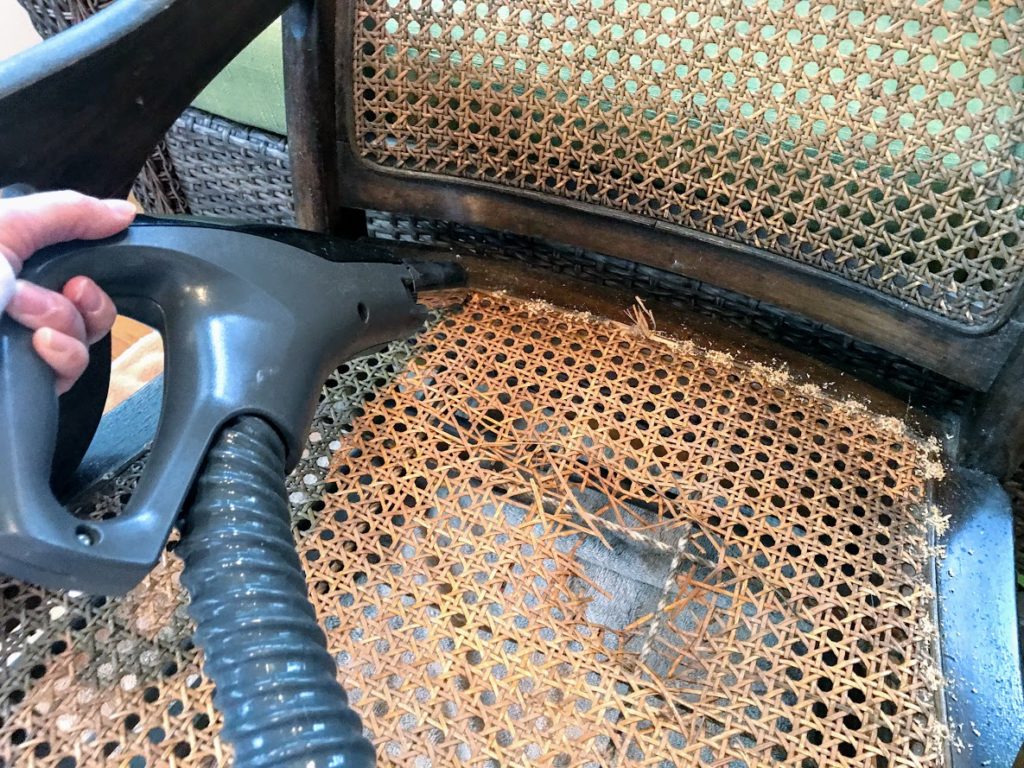
That’s it! That wasn’t too hard, was it? Give yourself a pat on the back and feel the sense of accomplishment of removing the cane.
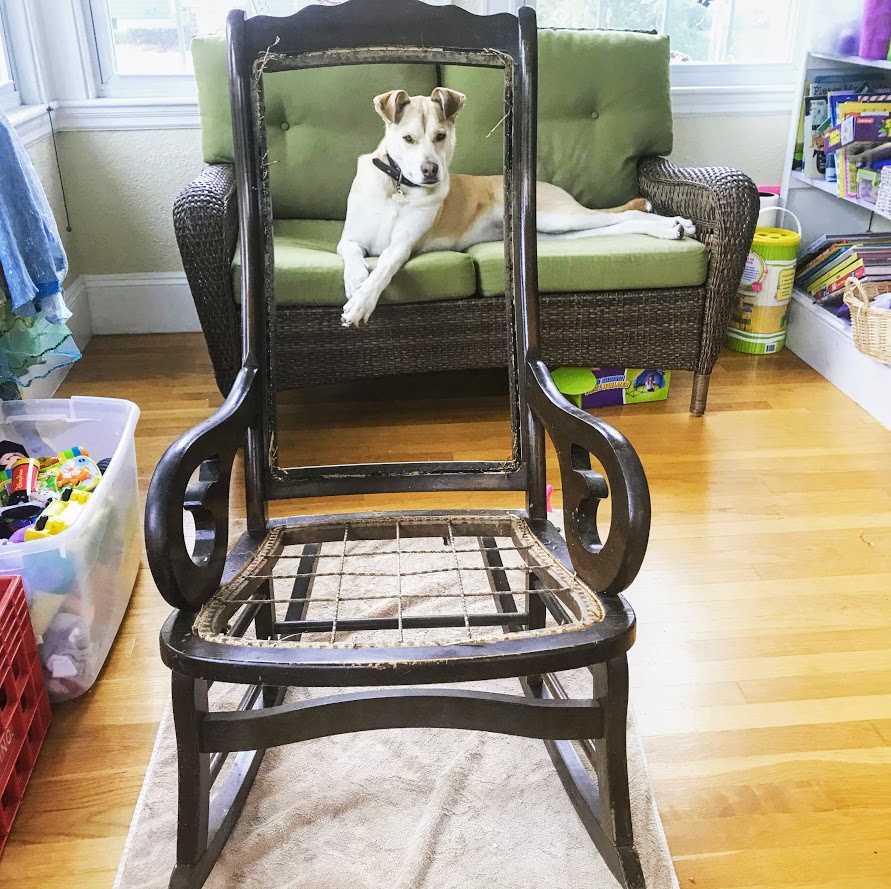
Now are you ready to install new pressed cane in a chair? I’ll be back in a few weeks with a beginner tutorial on how to install pressed cane.
In the meantime, curious how this chair turned out?
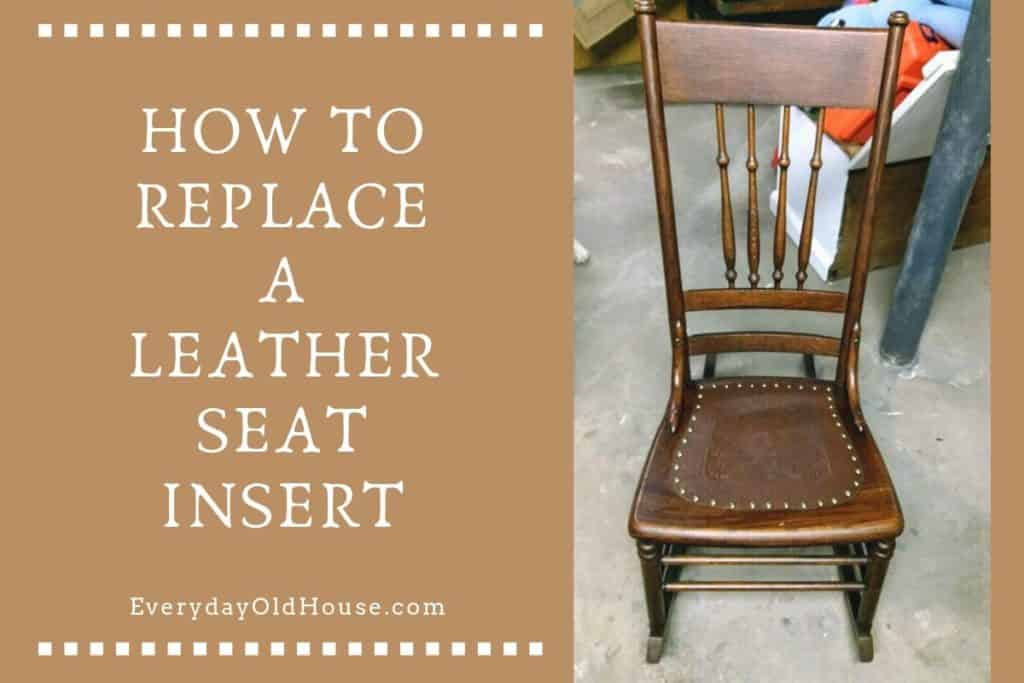
And if you are curious about leather seat insert replacements, check out one of my most popular posts – How to Replace a Leather Seat Insert.
Want to be the first to know about new posts? Be sure to follow me on Pinterest, Facebook, Instagram or Twitter of even Etsy! Or better yet… Subscribe below!
My monthly (admittedly sometimes more, sometimes less….) emails are like receiving a unexpected letter from an old friend WITHOUT needing to put on your slippers and walk out to your mailbox…. See? I got ya, my friend!)
[Note: My posts are proudly connected to these amazing link parties full of DIY ideas and inspiration!]
