Last Updated on March 22, 2024
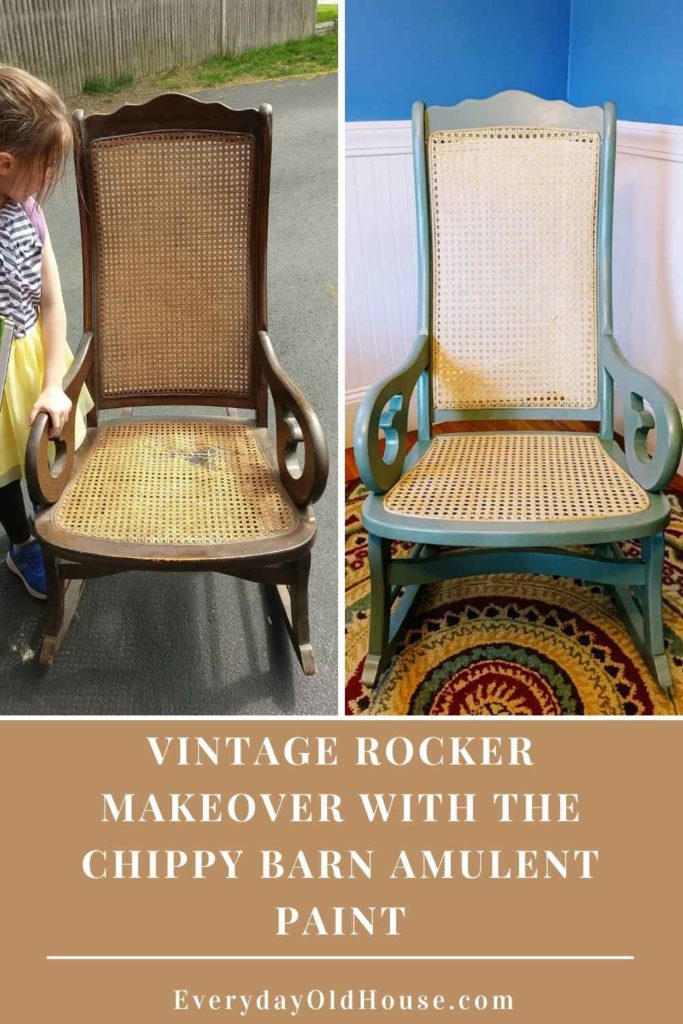
Are you a sucker for abandoned vintage chairs like me? Do you break for furniture set out on your neighbor’s curb on trash day? If so, then you are my people. Today I want to show you my latest piece – an old rocking chair with a new lease on life now that it has a new coat of The Chippy Barn Amulent paint.
Backstory
I’m also a novice furniture restorer – I bring the enthusiasm, but not quite the skills. At least not yet ?
It all started just a few years ago when I couldn’t resist grabbing an old wood chair sitting on my neighbor’s curb on trash day. It pulled at my heartstrings, begging to be rescued.
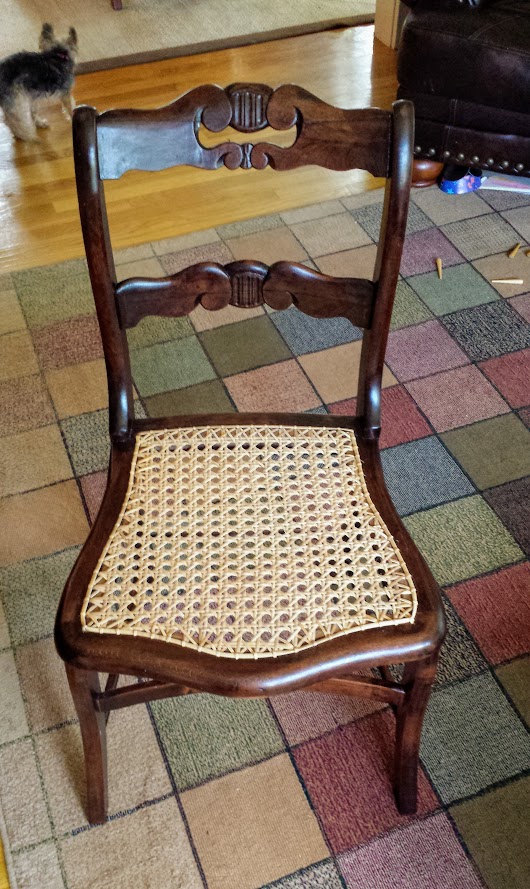
Since then I’ve dabbled here and there – learning how to replace an old leather seat insert on a rocking chair, reupholster a vintage telephone chair, or rejuvenate a side table.
But I’ve never painted wood furniture before.
Until this week.
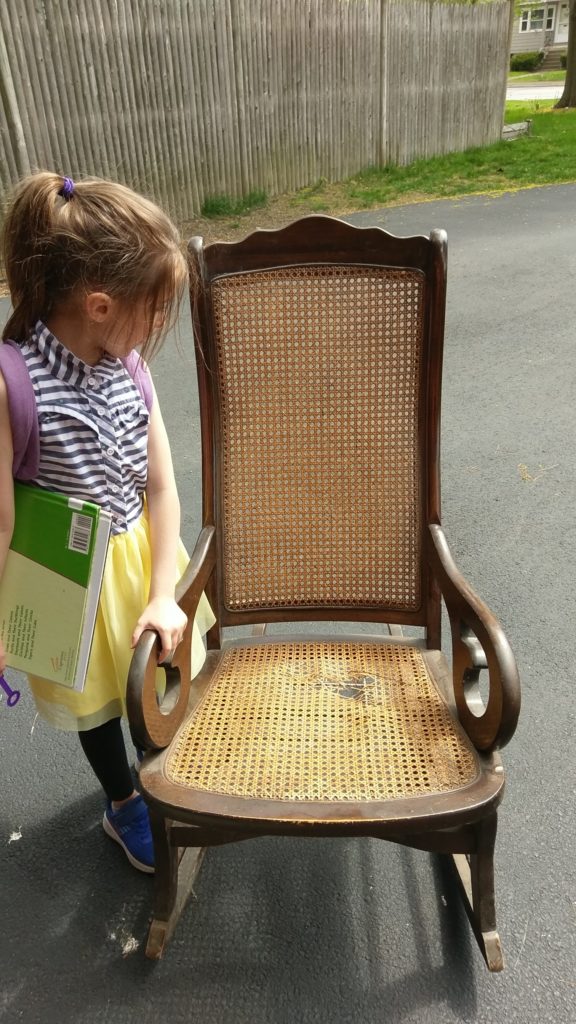
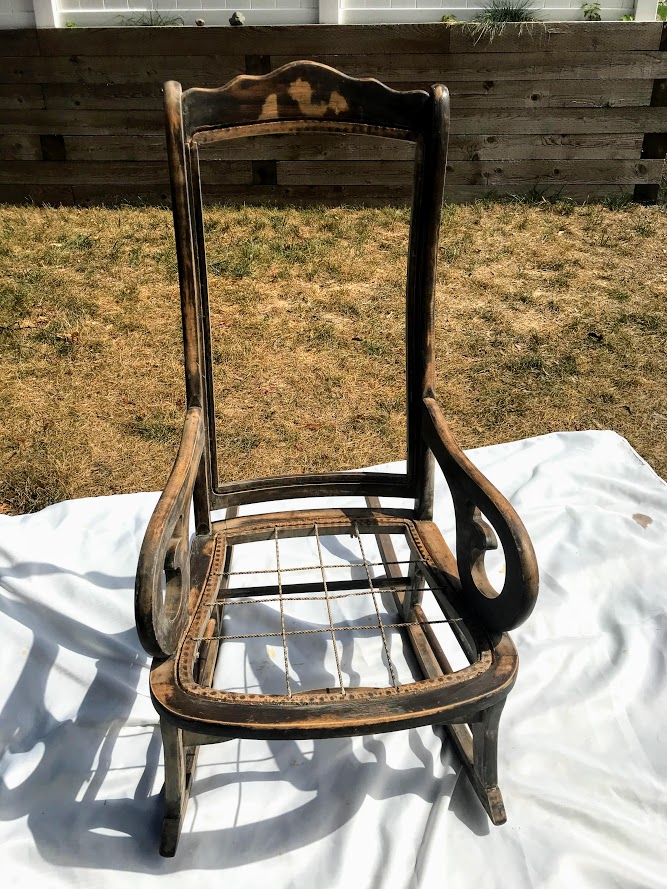
I couldn’t pass up this rocking chair for free on Facebook Marketplace. I think this is called a “Lincoln rocker” because this style was popular in the later half of the 1800s and unfortunately resembles the style that President Abraham Lincoln sat in when shot by John Wilkes Booth at the Ford theater.
Originally I intended to keep this rocker stained, but I had a bit of a mishap with my usual chemical stripper, Citristrip. Totally my fault, I let it dry up on the rocking chair.
Eventually I removed all the dried Citristrip and old varnish (you can read about my Citristrip solution here), but the residual stain was splotchy. I wasn’t sure I could re-stain it to look right again.
So I decided to try my hand at painting the rocker.
I didn’t know where to start, so I reached out to my Instagram friend Sam at Swank Surroundings (on Instagram). She recently posted two beautifully end tables restored with Chippy Barn Amulent paint that were simply gorgeous. She recommended I give their paint a try.
What is Chippy Barn Amulent Paint?
According to their website, The Chippy Barn’s Amulent paint is unique – the first ever ceramic-based furniture paint. It uses a special type of ceramic technology that allows it to have (and I quote) “excellent flow and leveling properties, strength, durability and workability that is unmatched by any of its competition”.
(To be upfront – I am not an affiliate of The Chippy Barn, nor paid for this post. I’m not that cool. ? I’m just an average homeowner trying to make her old house a bit more comfortable and functional.)
Here’s a diagram from The Chippy Barn of how ceramic paint works compared to
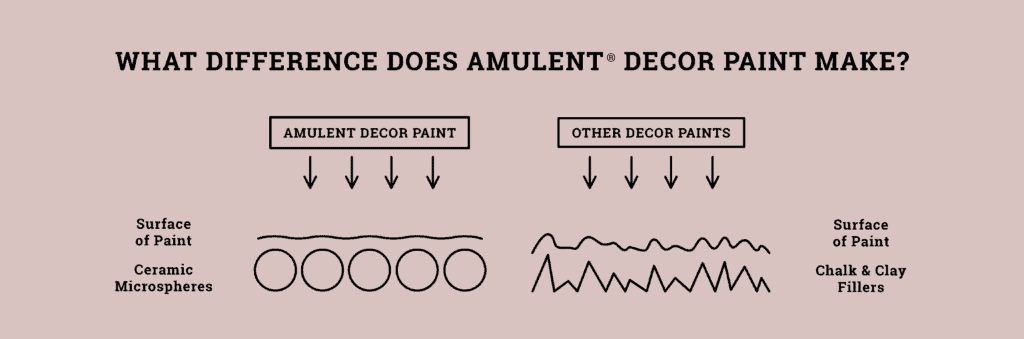
Honestly, I’m not sure what that means, but was intrigued. And I was sold to give this paint a try when I read that Chippy Barn paint is easy for beginners to use. And that would be this gal!
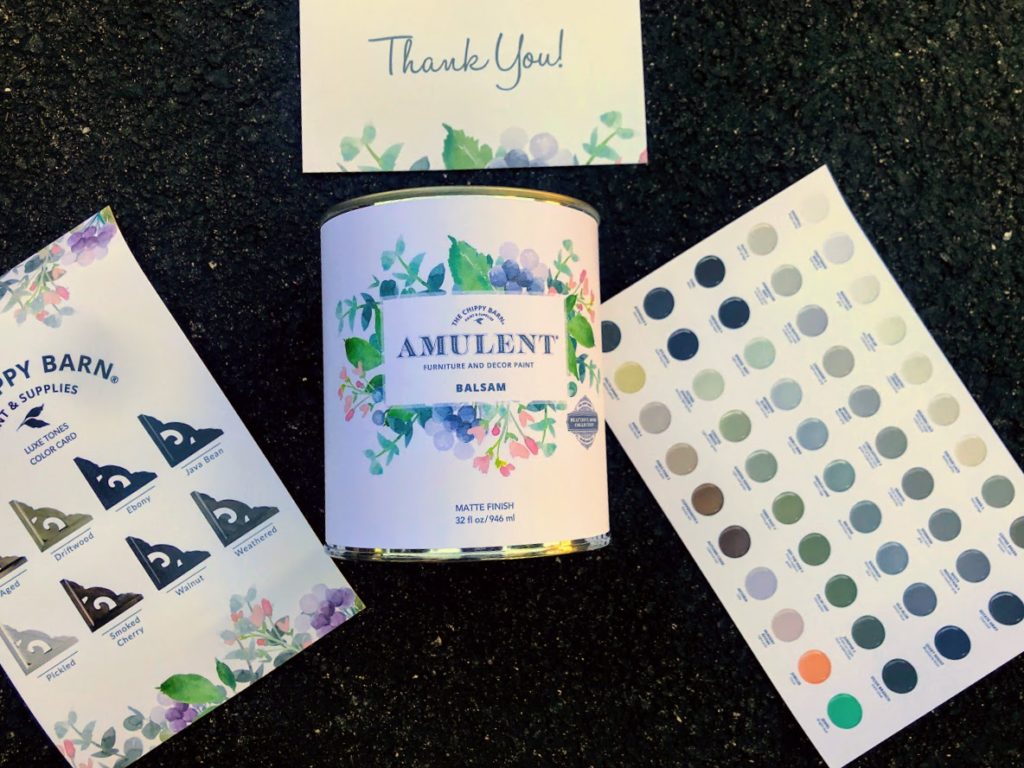
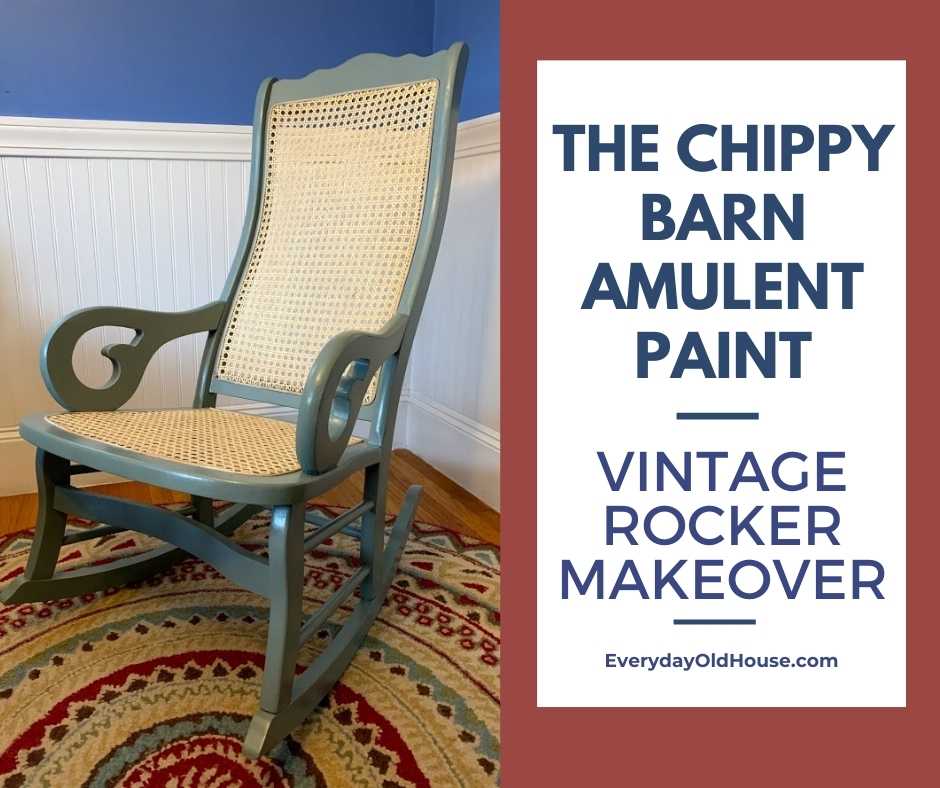
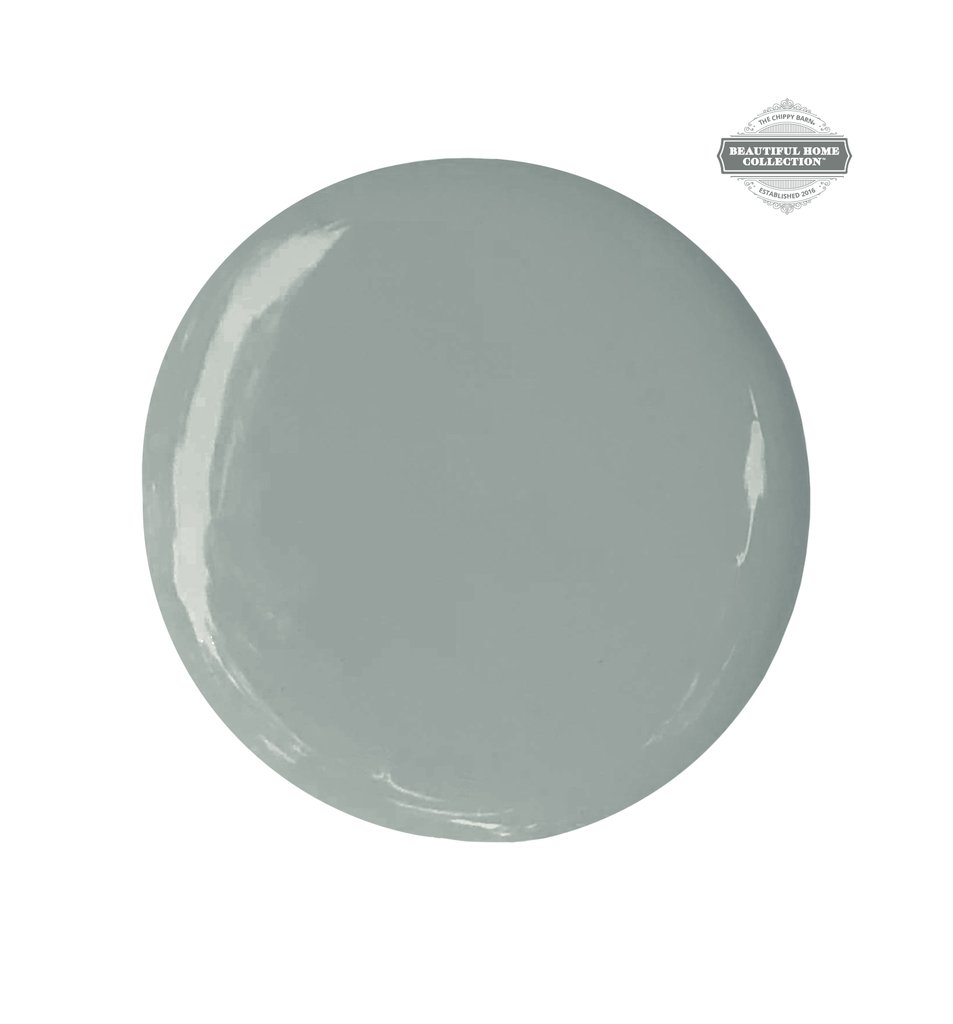
I chose the same color that my friend Sam used on her end tables – Balsam. It is described as the “perfect balance of muted blues and greens”.
I liked the idea of a color coordinating with both blues and greens. I’m not sure which room this rocker is going into, so a versatile color that will coordinate with different palates was a selling point.
DIY Rocking Chair Makeover
Wondering how I transformed this old abandoned rocking chair into something that will last generations in my house using The Chippy Barn Amulent paint? Then read on!
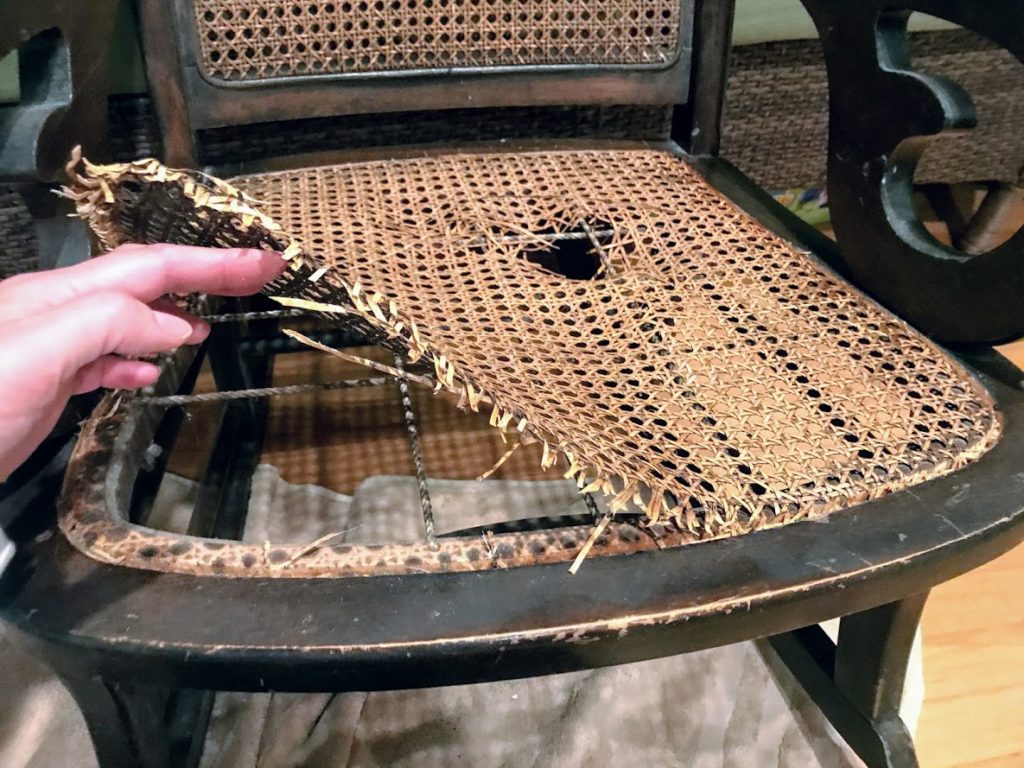
Remove Pressed Cane
My first step was to remove the old damaged cane from the chair. Usually this just involves just cutting into and then prying up the cane spline (which is the reed that holds the cane in the chair groove). But the spine was a but more stubborn that I expected. If interested, check out my beginner tutorial on How to Remove Pressed Cane from a Chair.
Strip Rocking Chair
Varnish on parts of the chair were worn down to the wood, so I needed to strip the rocker.
Eventually I was able to successfully strip all the varnish off the rocker. Once complete, I sanded the chair with a 120 grit to even out the surface and remove any residual bits of varnish. Then I re-sanded with a finer 220 grit to prepare for painting, followed by a damp cloth to remove any remaining dust.
Prime Rocking Chair
Priming furniture is not always required when using The Chippy Barn Amulent paint. But for some projects priming is recommended in order to block stains or hide previous colors.
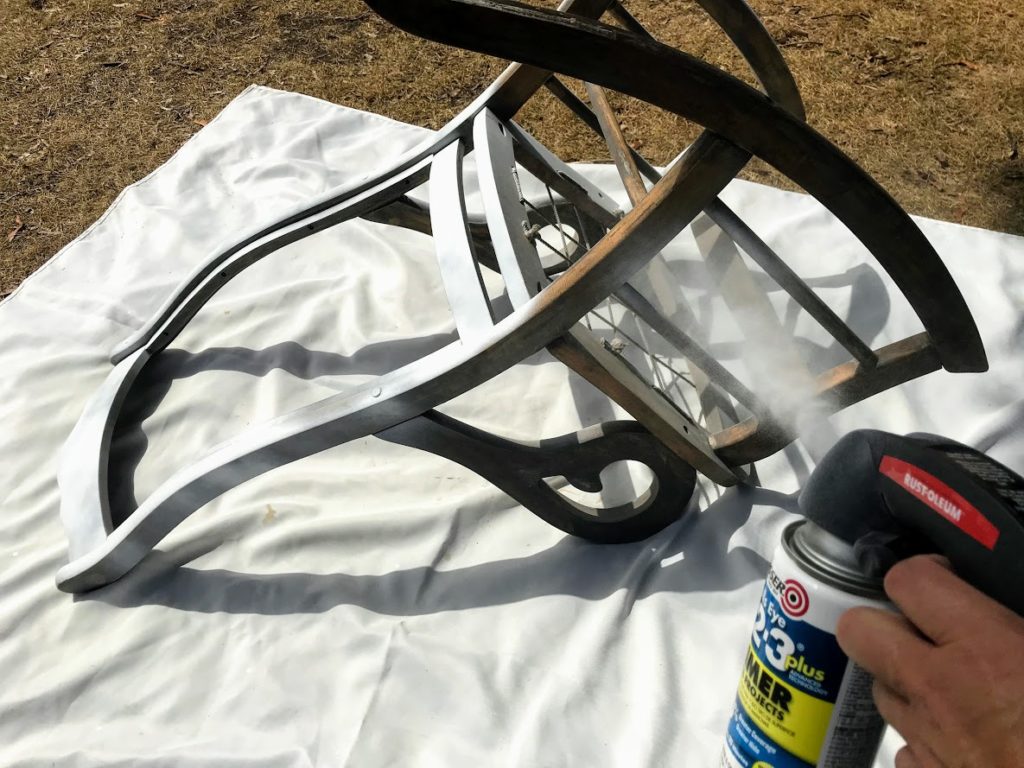
I wasn’t sure how The Chippy Barn Amulent paint would do with covering the splotchy stains on my rocker. So to play it safe, I first applied two very light coats of primer, leaving at 2-4 hours in between coats to ensure the rocker was thoroughly dry.
Instead of traditional brush-on primer, I decided to try spray paint. Earlier this year I finished two spray paint projects – a small patio side table and a playhouse – and it was remarkably fast and easy! So I decided to try it to prime this rocking chair. I’m not sure I’ll ever go back to traditional brush-on primer…
Paint Rocking Chair
Finally, the good part – the actual painting!
Admittedly, I was a bit nervous when I opened the can. There was a lot more separation of pigment than I expected.
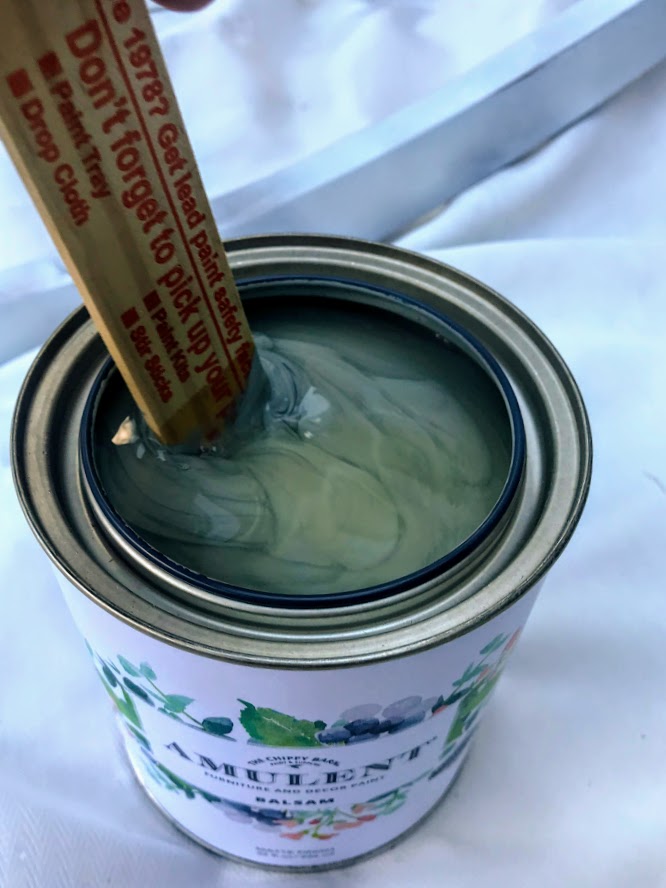
But as soon as I started stirring the paint (as the instructions read – stir DON’T shake the can!), I was intrigued. This was some seriously thick, creamy paint!
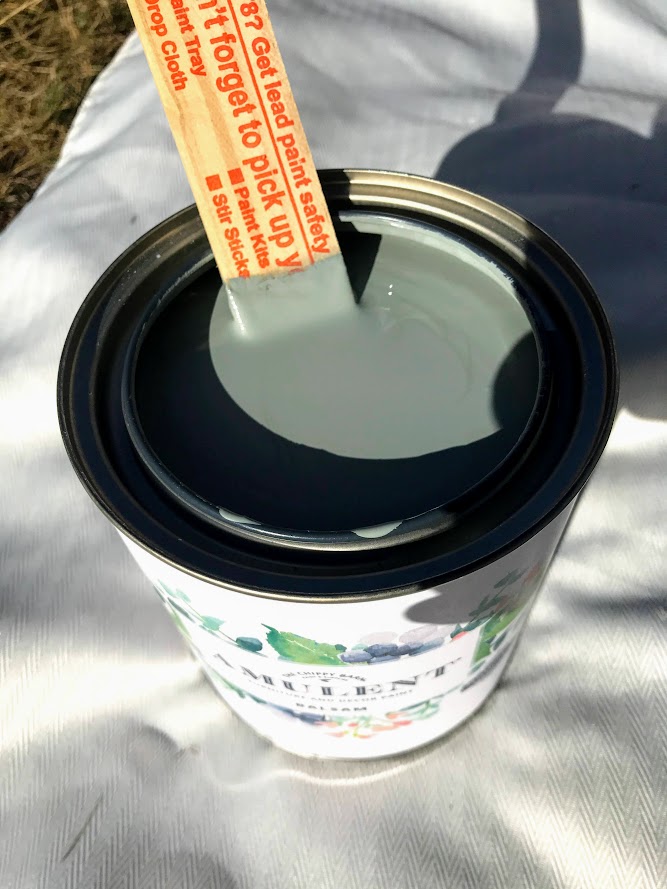
Whew! I almost broke a sweat stirring the contents. It took a lot of stirring (almost 5 minutes!), but slowly I could see a rich, beautiful uniform color. Well worth the sweat!
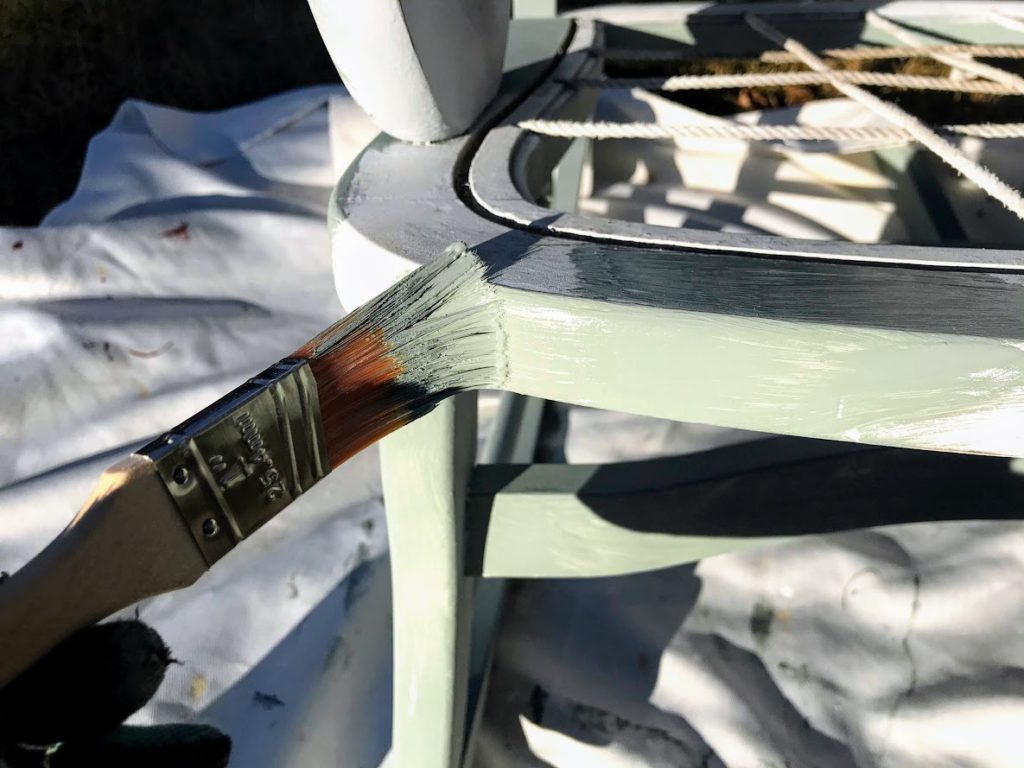
Even though it is a thick paint, it loaded onto my brush easily. I applied two thin coats of paint to the rocker, waiting a few hours in between coats. Even at the first coat, I was surprised at how great the coverage was and how smooth the paint went on! So easy to work with.
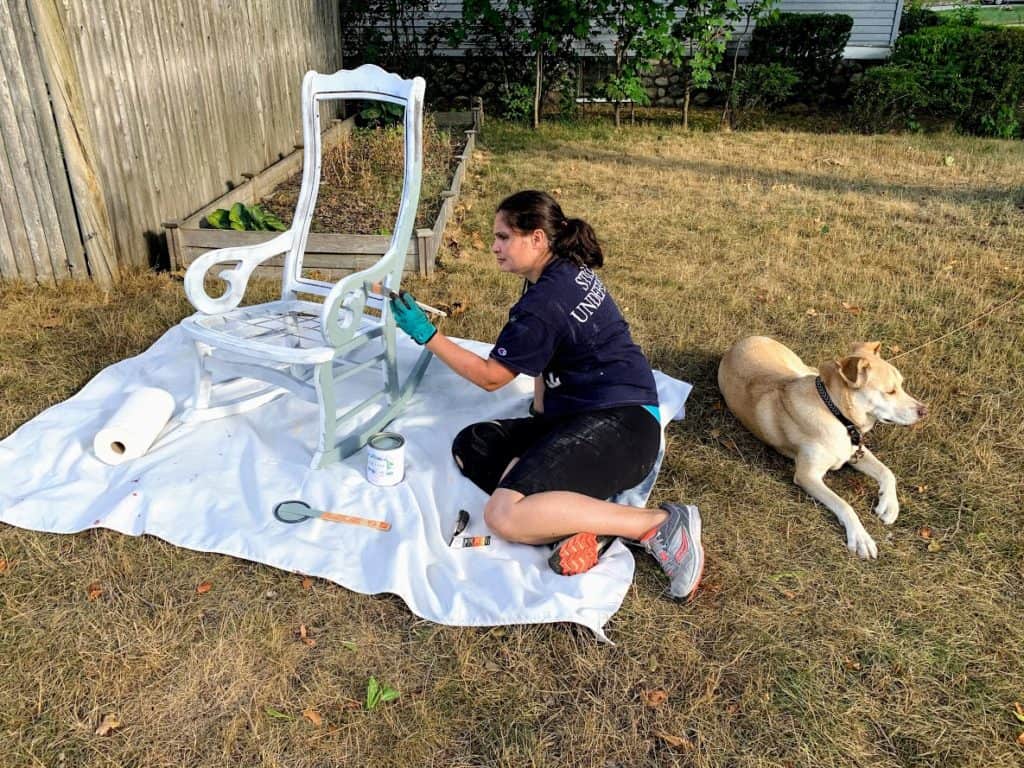
And of course like most of my DIY projects, our dog Dulce was there to keep me company.
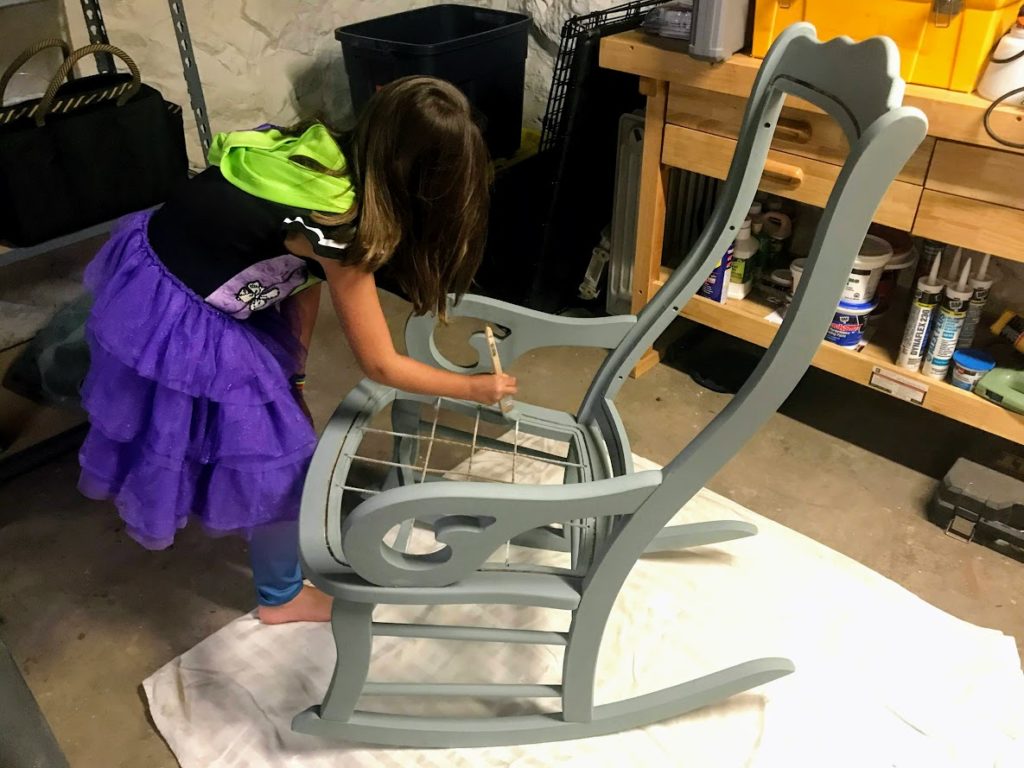
Of course the whole family is interested in what I”m doing. This DIY project caught the eye of my daughter, so I let her do some touch-ups where I missed. Those darn spindles are tricky!
Once dried, I noticed the paint performed beautifully with a perfect smooth, flat finish that looked durable (perfect when you have 3 little kids).
Plus NO brush strokes! Yippee!
It looked like a professional had done the work! I was so proud!
Seal Rocking Chair
While not required with The Chippy Barn Amulent paint, it is suggested that you use either a wax for light protection, or water-based topcoat for max protection from scratches and moisture. Considering this rocker is going in one of my kid’s bedrooms and my kids are young and a bit tough on furniture, it was a good idea to seal the rocker.
The Chippy Barn offers two sealers – our Ultra-Tough Topcoat and Specialty Wax. I’m kicking myself now for not trying one of their sealers now that I know how much I love their paint.

Luckily I had a can of polyurethane lying around, so I applied two thin coats, with recommended drying time in between coats. It gave the chair a bit of a sheen and a finished look.
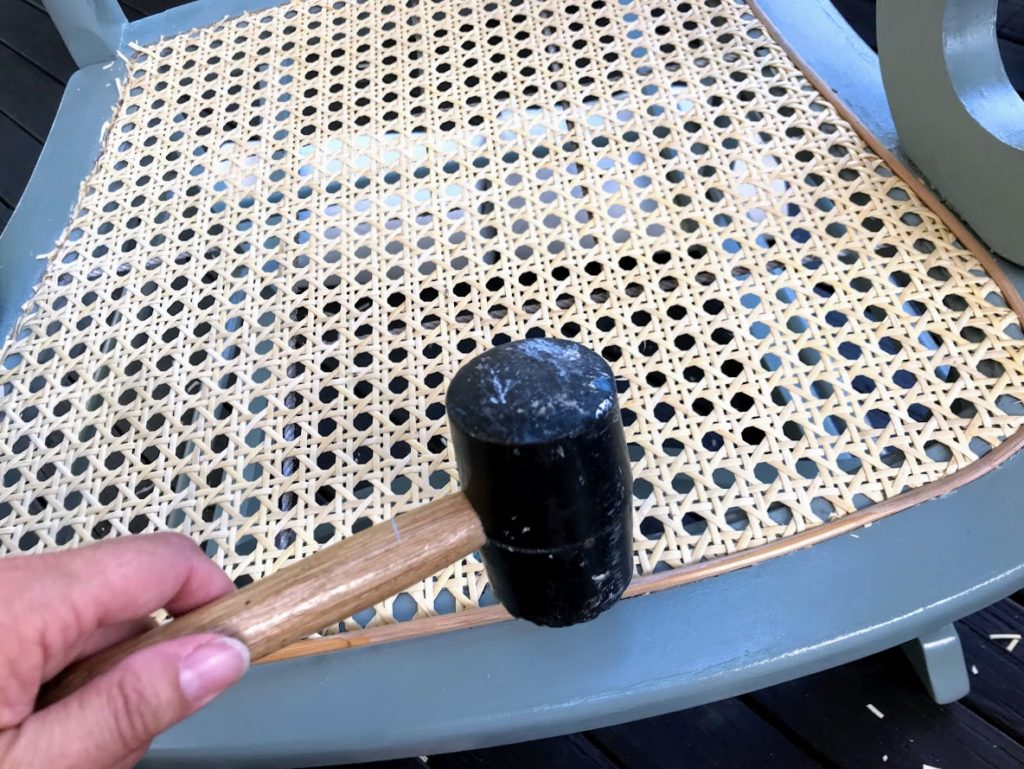
Install Pressed Cane
Once the polyurethane was dry, I fitted new pressed cane into the seat and back.
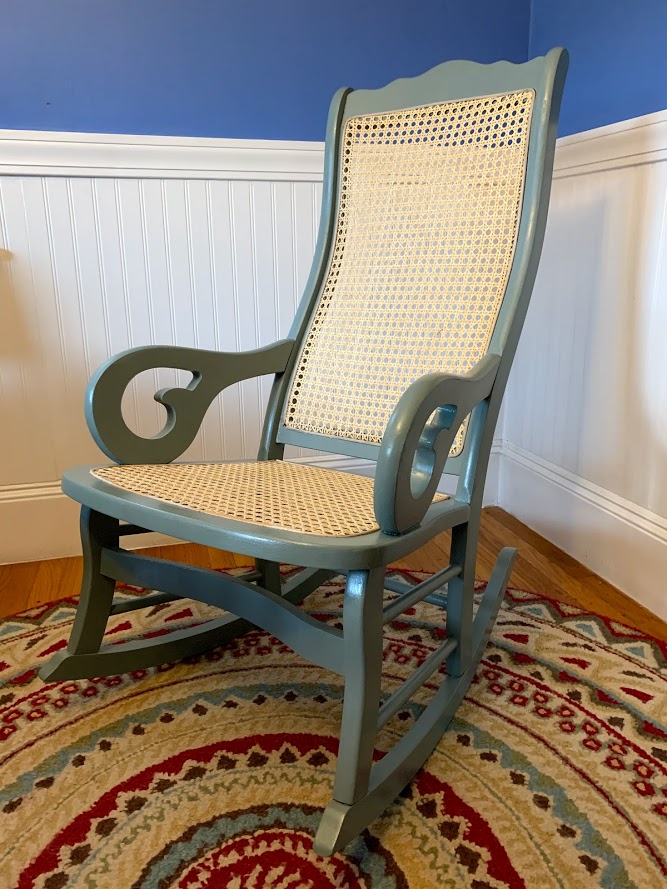
And wah-la! Complete!
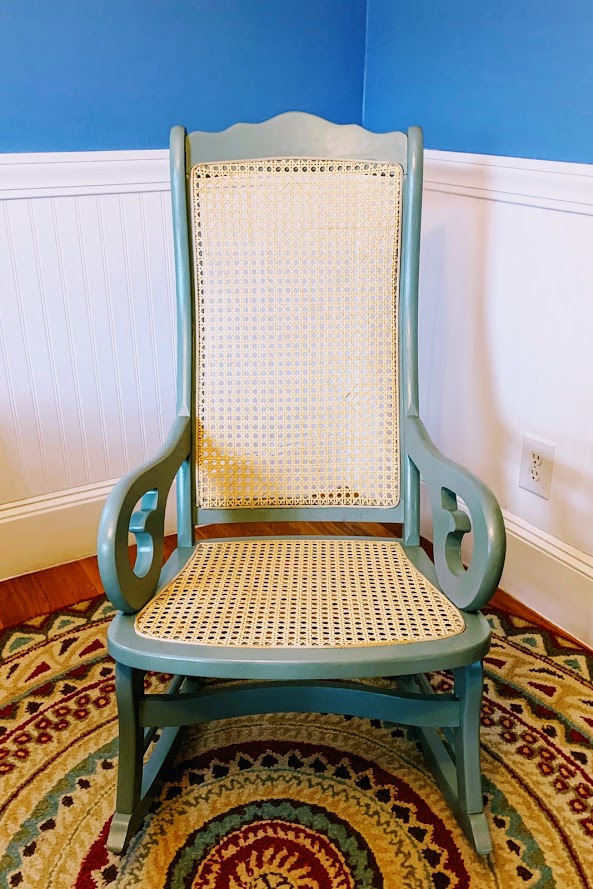
I absolutely love the chair and am happily surprised! The Balsam color is fresh and clean, with a bit of a pop, but still muted enough to match the traditional pressed cane. I couldn’t be happier!
It’s incredibly rewarding to restore the beauty to this old, tired chair for my family to enjoy for another century. And since I bought a big can of Amulent paint (and only used a 1/3rd of it for the rocker), I can’t wait for a neighbor to abandon another piece of furniture on trash day so that I can scoop it up and start painting again!
Related Chair Upcycle Posts


Want to be the first to know about new posts? Be sure to follow me on Pinterest, Facebook, Instagram or Twitter of even Etsy! Or better yet… Subscribe below!
My monthly (admittedly sometimes more, sometimes less….) emails are like receiving a unexpected letter from an old friend WITHOUT needing to put on your slippers and walk out to your mailbox…. See? I got ya, my friend!)
[Note: My posts are proudly connected to these amazing link parties full of DIY ideas and inspiration!]