Last Updated on March 20, 2024
Cast iron radiators are well-known for their amazing ability to generate a steady, cozy heat. But if your old house is poorly insulated, a significant amount of heat emanating from those radiators heads right to the outdoors.
But don’t despair! Foil reflectors are a simple and low-cost way to insulate the walls behind radiators and bounce heat back into your living space. And here’s how we did it in our old house for under $50!

This post contains affiliate links, including but not limited to, Amazon Associates. As such, I earn from qualifying purchases. Full disclosure located here.
Backstory
Our home is 100+ years old. It’s a comfy Foursquare style home, but like most old houses, has its quirks and challenges. And one of those challenges? Energy-efficiency.
In the 10+ years of owning our home, we have completed a wide variety of home improvements. Some of these improvements intended to increase energy-efficiency as recommended by a free home energy audit through our local utility. For example, we replaced our furnace, sprayed foam insulation on the rim joists in our basement and caulked around windows and doors.
Now it’s time to turn our efforts to the cast iron radiators.
Since we hope to move to a larger house in a few years, we are shying away from expensive projects that involve hiring contractors. It makes more sense to focus on inexpensive DIY methods. And that is how I came across the idea of insulating behind radiators with reflective insulation.
How Do Cast Iron Radiators Lose Heat?
Before we get into the nitty gritty of radiator reflectors, let’s take a step back and talk about how cast iron radiators work.
Cast iron radiators consist of a series of hot water or steam pipes that touch the cast iron “fins”. Hot water or steam travels from the boiler to the fins, and through convection and radiation, warms the room. And to maximize convection, cast iron radiators are usually located under windows and external walls.
But here’s the problem.
As shown in the drawing below, cast iron radiators send out heat in all directions – into your living space AND the wall behind it.
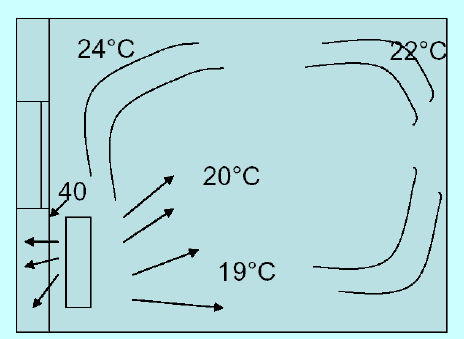
And if you happen to live in a house with poorly insulated walls, a significant account of heat (up to 40%) can be directed towards external walls. And ultimately, released to the outdoors.
That doesn’t sound terribly energy efficient. And that just won’t do!
How Radiator Reflectors Work
Luckily, there is a low-tech, low expense solution that reflects heat away from external walls and towards the people inside the house. Radiator reflectors (also called radiant barriers, radiator foil insulation) insulate behind radiators and “bounce” heat back into the room.
What is the Energy Savings From Radiator Reflectors?
I know what you’re thinking. Can I actually save on my heating bills by insulating behind radiators with radiator reflectors? Good question! And I wish I knew for sure.
Online estimates promise savings at high as 25% off your heating bill. Admittedly, I liked that number, but I couldn’t find any supporting documentation…. And honestly, 25% sounded a bit too good to be true….
BUT I did find a peer-reviewed technical study that compared savings in homes with various amount of insulation with radiator reflectors. They concluded negligible savings for homes with significant insulation in wall cavities.
BUT, for those houses with poor insulation, radiator reflectors found a utility savings of around 8%.
The takeaway here? If your walls are already well insulated, the benefits of radiator reflectors are negligible. But, if the insulation in your home’s walls is less than robust (like ours), then insulating behind your radiator with reflective foil can potentially save you money.
How much money? Not sure. But considering it only cost us about $50 in supplies, it’s worth a shot.
Fun Fact: As part of huge heating retrofit in 2010, the Empire State Building installed reflective insulation panels behind its 6,500 steam radiators and has been considered a success. If one of the most famous old buildings in the world installs radiator reflectors, shouldn’t it work for your old house?
Supplies
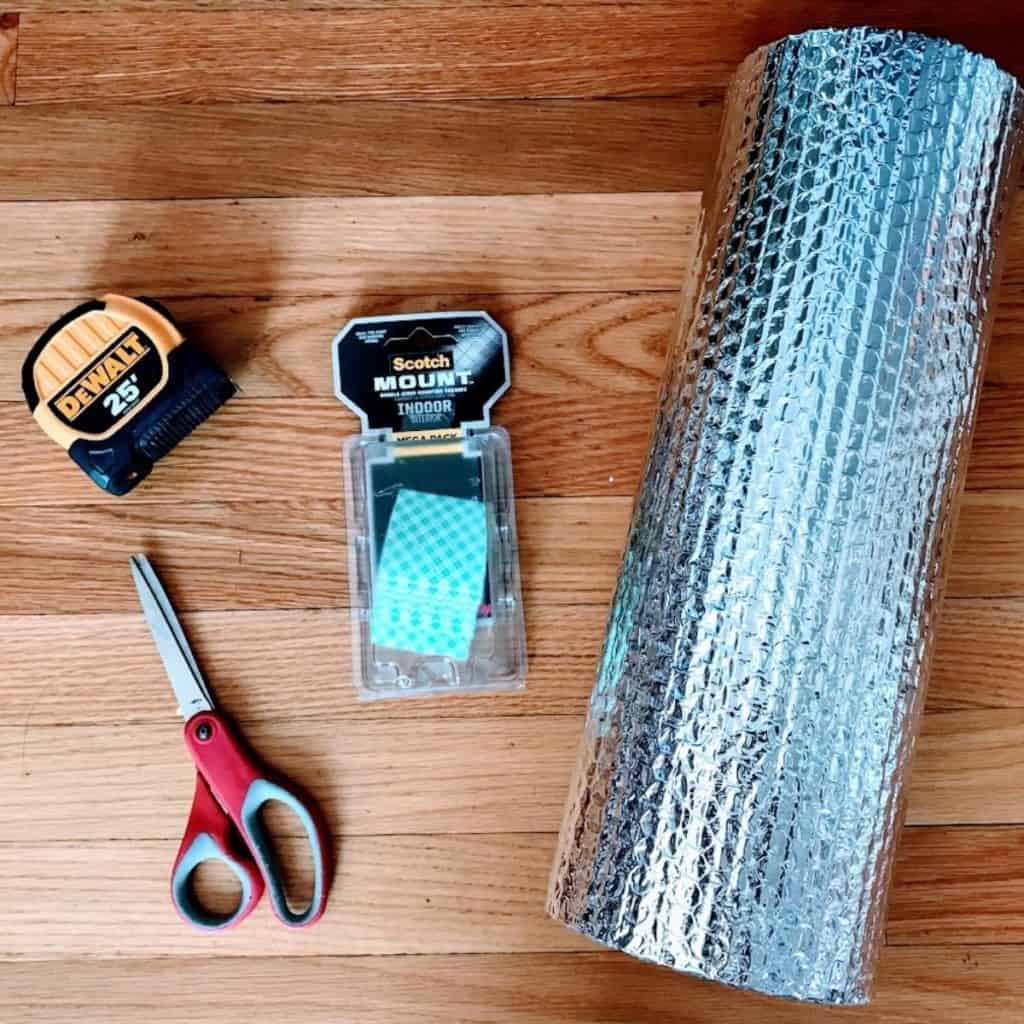
I love this project because it needs few supplies, doesn’t require any specialized tools or equipment for installation, and is inexpensive! Here’s everything you need….
- Measuring Tape
- Radiator Reflector Insulation
- Scissors
- Adhesive (see Step 3)
How Much Radiator Reflector Do You Need?
Our house has 6 cast iron radiators, so we needed only 1 roll of radiator reflector and 1 set of adhesive mounting squares, which we found at Home Depot for under $50. You may have a larger house with more cast iron radiators so needs may be different. If so, at the end of this post I’ve listed options available on Amazon, some which are over $50.
Reflectix Reflector Insulation
Based on web research and availability in the US, we bought the Reflectix brand of reflective insulation. Headquartered in Indiana, Reflectix manufacturers a variety of insulation and radiant barriers known for their ease of installation, cost-effectiveness, and diversity of applications.
Reflectix reflector insulation consists of 2 outer layers of reflective material, bonded to two layers of heavy gauge polyethylene bubbles.
I’m going to call it the Reflectix Double Bubble since, let’s face it, “double bubble” is fun to say…. ?
Reportedly, this double bubble insulation bounces at least 96% of heat directed toward the wall back into the room. Sounds impressive, right? And for those who are into “R-values”, this double bubble is a R-3.
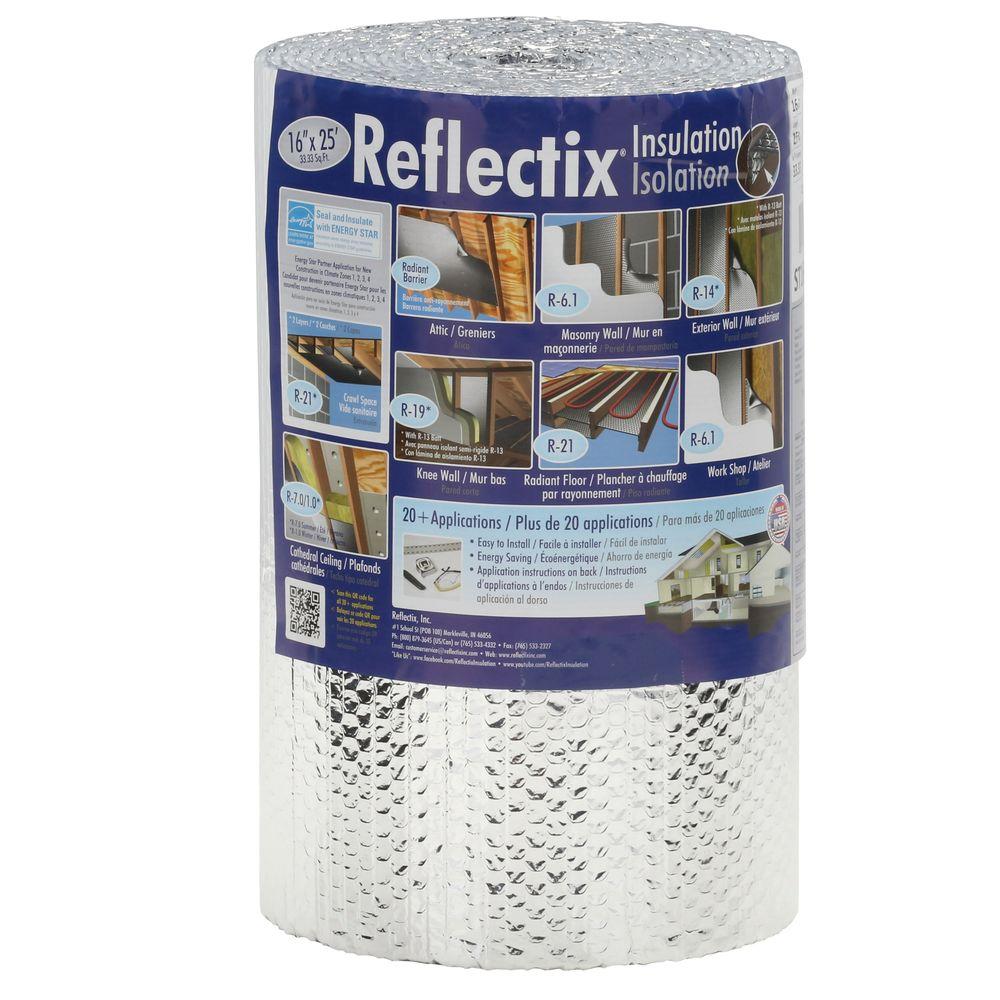
Spooled rolls of Reflectix double bubble are available in various widths and lengths. On their website, Reflectix recommends two sizes for radiators (24” x 25’ or 48” x 25’). We bought a slightly smaller size (16″ x 25′) and it suited our needs just fine. We were able to insulate behind 6 radiators using only 1 roll.
Reflectix is available at most hardware stores (we bought ours at Home Depot) as well as limited inventory on Amazon.
Prepping the Radiators
Before installing radiator reflectors, there’s a few steps to prep the radiators.
1. Clean Radiators
Dust and clean radiators (including the wall behind it). If your house is like mine, you’ll likely find more cobwebs than you’d like to admit…
2. No Obstructions
In order for radiator reflectors to efficiently work, ensure your radiators are not obstructed by curtains or furniture.
3. Heat Off!
Ensure your radiators are turned off before installing radiator reflectors to insulate behind radiators. No need to burn yourself….
4. Radiator Covers
The installation tutorial below is for radiators without covers. But if you have radiator covers (like these DIY ones), don’t worry. Installation is even easier. Simply lift the cover and attach foil insulation on the back with foil tape.
How to Insulate Behind Radiators
Step 1: Measure Radiator
First, measure the width and height of your radiator. Then consider how much you want to see the foil extend beyond the top and sides of the radiator.
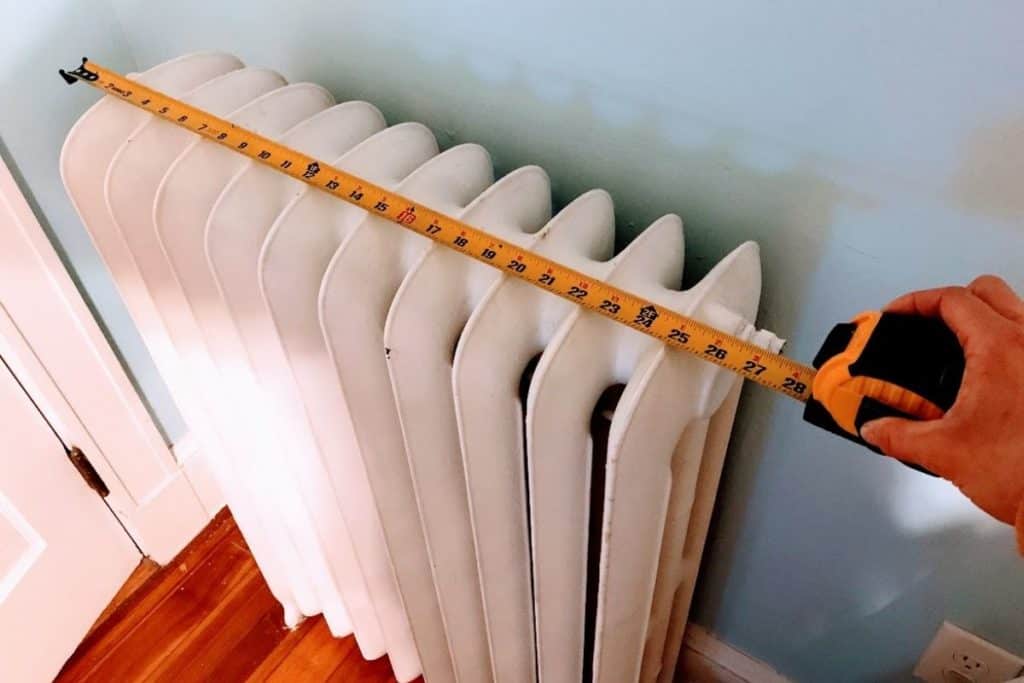
For our home’s “public spaces” (aka the living room and dining room) we cut the reflector insulation just shy of the radiator dimensions so the foil wouldn’t look obvious to guests. But for more private areas, like upstairs bedrooms, we extended the foil 1-2 inches beyond the radiator dimensions to maximize heat reflection.
Step 2: Cut Foil Insulation
Cut the radiator reflector to the right dimensions using scissors. Luckily, the bubbles are positioned in rows along the foil insulation, which make it easy to cut straight (a skill I have yet to master….)
Step 3: Apply Adhesive
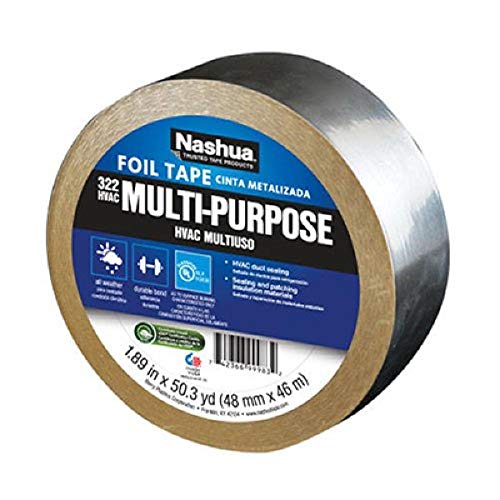
Lay the reflector insulation on the floor and apply your preferred adhesive. Reflectix recommends double sided tape, Velcro strips, spray adhesive or staples. Some homeowners use foil tape or even wallpaper paste (just ensure paste has dried before turning the radiators back on).
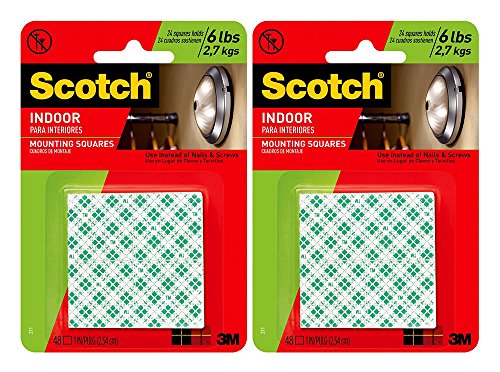
Honestly, I tried a few different adhesives that just didn’t work. Some adhesives won’t stick to cold external walls. Some adhesives will melt being too close to the radiator heat. Finally I found one that truly stuck – Scotch Double-Sided Mounting Squares.
My advice? If you are unsure if a particular adhesive will work, install behind just one radiator and wait a few days to ensure it sticks before installing the rest of the reflectors.
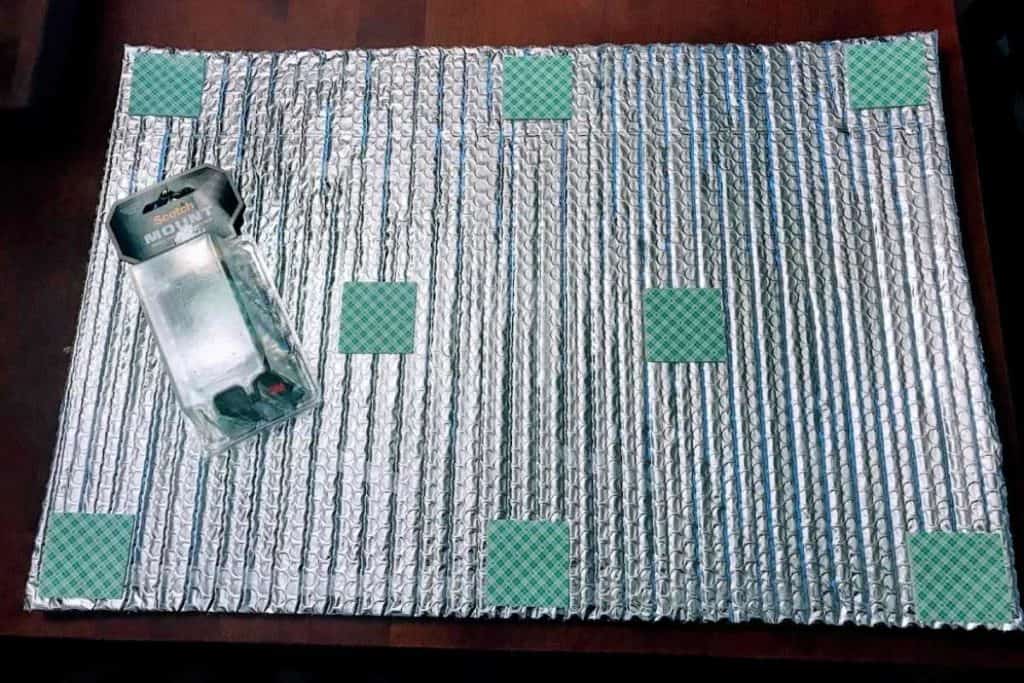
If you do use these mounting squares, apply to the corners of the reflector as well as a few squares across the middle. They work best if you push on the tape for a few seconds to ensure a good seal with the reflector insulation.
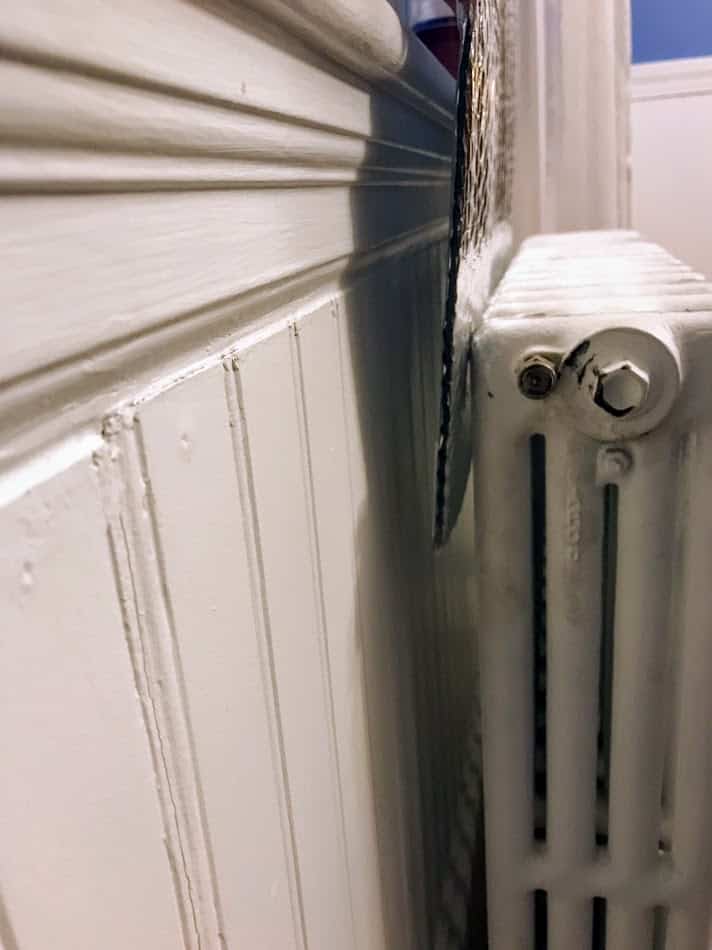
Step 4: Install
Lastly, remove the green backing on the double sided mounting tape and install the radiator reflector flush to the wall behind the radiator. There should be no contact of the reflector with the radiator (otherwise it won’t work effectively.)
To avoid “premature sticking” of the reflector to the wall, slide the non-sticky side of foil insulation along the radiator (as shown in the photo below) until it is parallel to the external wall where it should be secured.
Next, secure the radiator reflector to the external wall. Starting at one corner, run your hand down and across along the the reflector to ensure a close seal to the exterior wall. And if using mounting squares, press along the foil for at least 30 second to ensure a good “stick”.
If your arm can’t reach between your radiator and wall (and it probably can’t….) use a broom, ruler, or even a Swiffer mop to press the reflector insulation against the wall.
Does Tin Foil Really Work as Radiator Reflectors?
Admittedly I’m a frugal person. Initially I seriously considered the ultra-inexpensive option of wrapping tin foil around pieces of cardboard. But after some online research about tin foil’s efficiency, I decided against it.
And for under $50 in materials, it just wasn’t worth wondering if the ultra-frugal option of tin foil would be worth it. Plus I didn’t want to wait a few weeks until I had collected enough cardboard boxes to fit behind my radiators.
Wrapping Up
If your home is poorly insulated, a quick investment in reflective foil can prevent heat loss and decrease utility bills by bouncing heat back into your home.

Related Posts
Want to be the first to know about new posts? Be sure to follow me on Pinterest, Facebook, Instagram or Twitter of even Etsy! Or better yet… Subscribe below!
My monthly (admittedly sometimes more, sometimes less….) emails are like receiving a unexpected letter from an old friend WITHOUT needing to put on your slippers and walk out to your mailbox…. See? I got ya, my friend!)
[Note: My posts are proudly connected to these amazing link parties full of DIY ideas and inspiration!]