Last Updated on December 11, 2025
Have you ever looked up into that dead zone between the top of your kitchen cupboards and ceiling and noticed how dusty and grimy it is? It can be downright disgusting. While this isn’t exactly the most thrilling task, it’s important to clean the top of kitchen cupboards to keep your kitchen clean and healthy. Lucky for you, I’ve got some tricks up my sleeve to make this fast and painless. Read on!

This post contains affiliate links, including but not limited to, Amazon Associates. As such, I earn from qualifying purchases. Full disclosure located here.
Why Is There a Gap Between My Ceiling and Kitchen Cupboards?
First, let’s discuss a question that has been on my mind since I started this post. Why is there a gap between my kitchen cupboard tops and my ceiling?
Apparently, here’s the scoop. The biggest reason is cost. Most kitchen cupboards are built in standard sizes. And chances are these standard cupboard heights don’t match your wall measurements. So when these standard-sized cupboards are installed in your kitchen, it likely leaves a gap of a few inches to a foot between the cupboards and ceiling.
There is option to order custom-made kitchen cupboards that sit flush with the ceiling. But that means a significantly higher renovation budget.
And another reason – just for my old house owners and enthusiasts. If you own an old home, you likely have uneven or sloped ceilings. Therefore, you might find uneven spaces to order for the cupboards to be level.
Backstory
A few weeks ago, we had family coming into town. And I hadn’t been on top of my cleaning game in some time. Life gets in the way, am I right?
On the Saturday before they arrived, I sat at the diningroom table making my cleaning to-do list. As I was creating my list, my eyes wandered into the kitchen to the tops of my kitchen cupboards.
And I noticed just how much “stuff” was sitting in the space between the cupboards and the ceiling. Small kitchen appliances we have never used. Random boxes for gadgets we have been using for years and have no plans for returning. A gorgeous glass bowl that never gets its due notice.
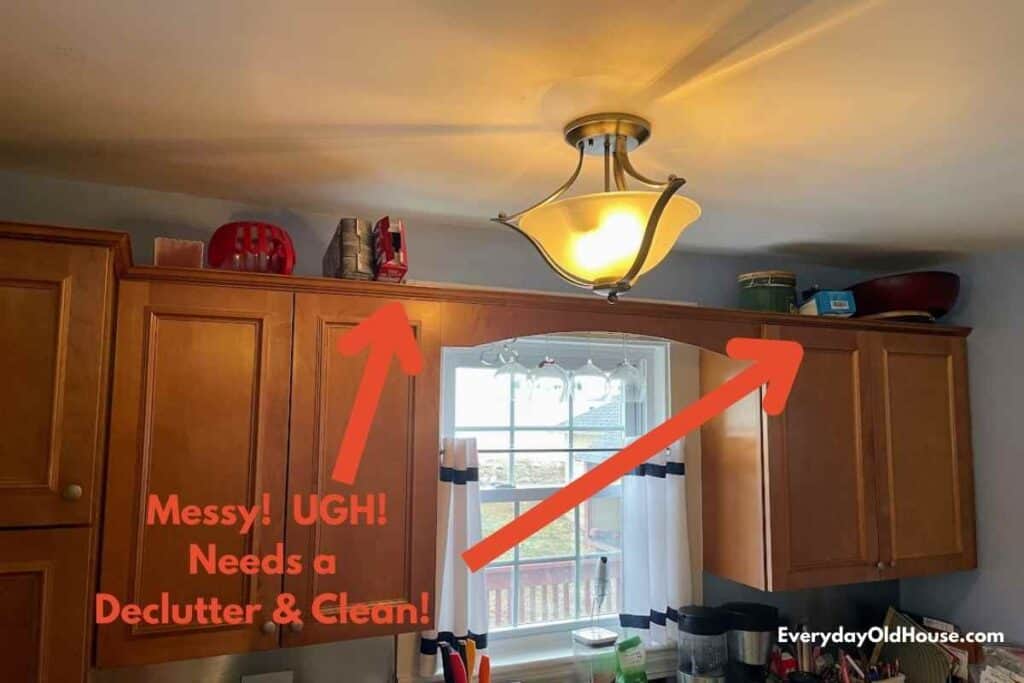
It looked messy, cluttered, and dirty. I couldn’t remember the last time I looked up there. It was time to get up there, declutter and clean.
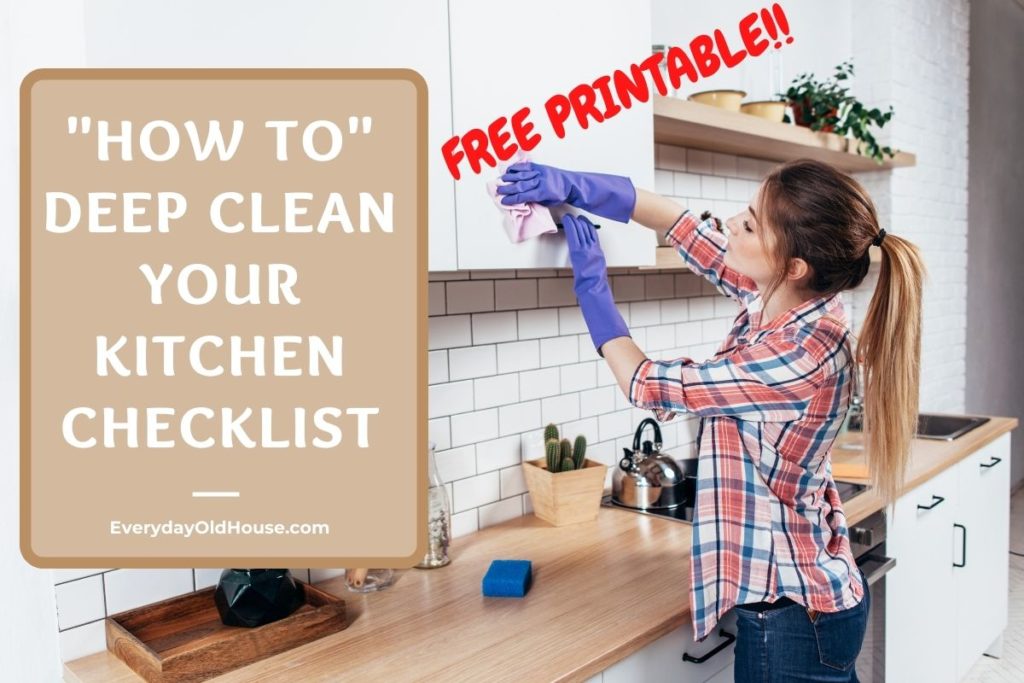
How to Clean the Top of Kitchen Cupboards
While you infrequently see the top of your kitchen cupboards, it is a prime target for accumulating grease, grime and dust.
Instead of getting annoyed by the gunk collecting in these hard-to-reach places, learn how to clean the top of kitchen cupboards in 4 easy steps.
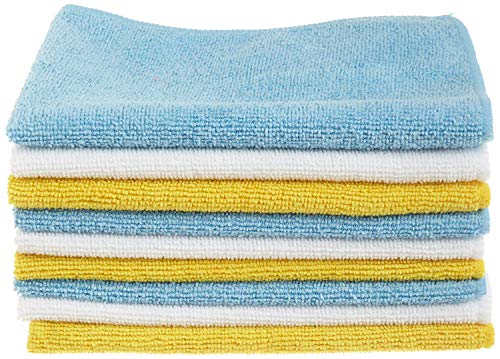
Supplies
- Ladder or step stool
- Vacuum, dust pan & broom or dustcloth
- Paper towels, rags, or microfiber cleaning cloths
- Bowl or bucket of water
- Degreaser (natural or chemical – see below)
- Scrub brush
Don’t forget to scroll to the end of this post for links to my favorite supplies!
Step 1: Prep
Climb your ladder or step stool to remove all items (e.g. décor, boxes, small appliances, etc..) from the top of kitchen cupboards. If using a ladder, don’t forget the usual safety rules. Luckily I was able to use the ladder to get to all but one of my kitchen cupboard tops. There was one cupboard where I needed to stand on my counter.
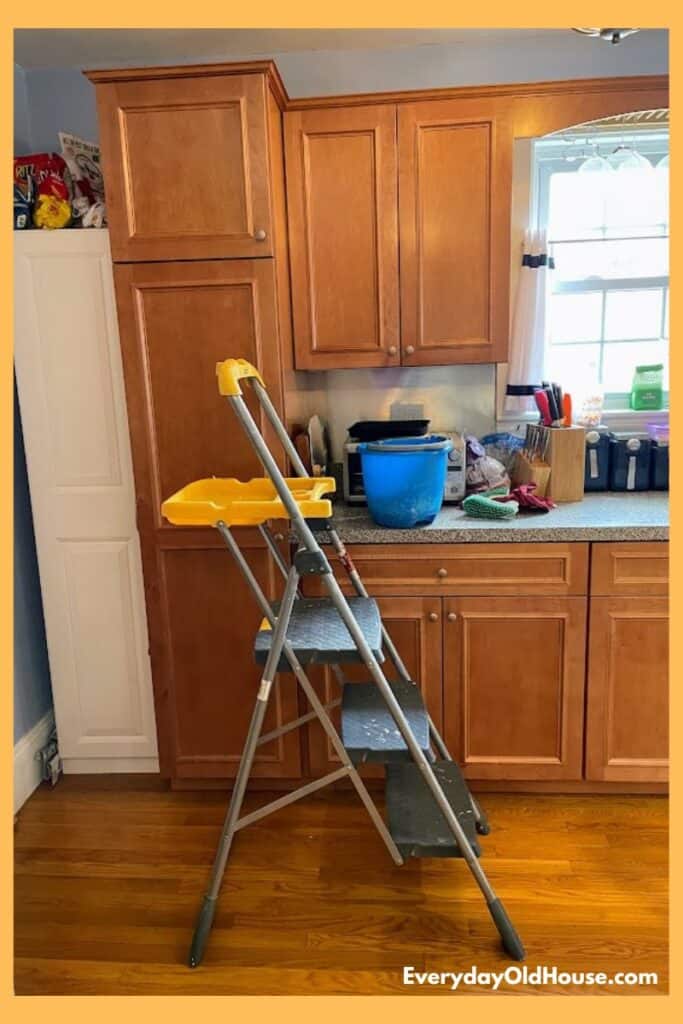
In other words, be careful when going up high to reach those cupboard tops! Luckily I own this amazing ladder we invested in when we painted our interior that not only has wide sturdy steps, it has a shelf to hold paint cans and buckets.
This might be a good time to declutter and prioritize what really needs to be up there. The top of kitchen cupboards are a great place to store things, particularly if you live in a small space. BUT these items get dusty and tend to be forgotten, so make sure you are intentionally about what does up there.
For those items that you plan to put back up on top of the kitchen cupboard, wash (either in dishwasher or handwash) or wipe down with a gentle cleaner and clean cloth.
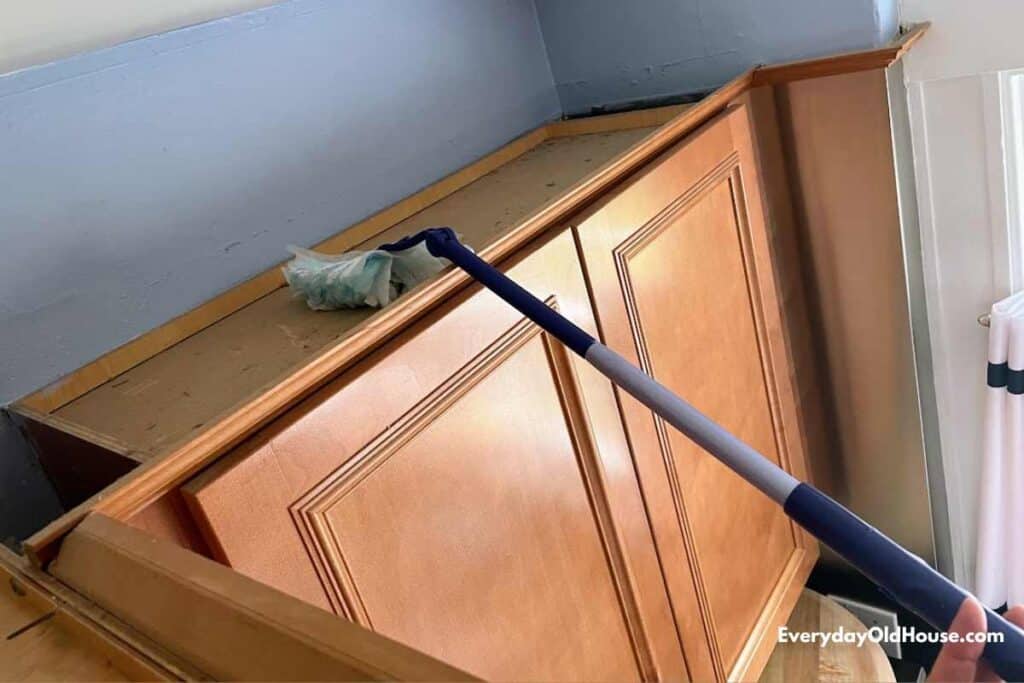
Step 2: Dust
Now that the top of the kitchen cupboards are empty, time to get rid of the bid dirt and dust.
If you have the right type of vacuum (i.e. a long hose with a soft brush attachment), vacuum the top of the kitchen cupboards to get the large, loose dust balls.
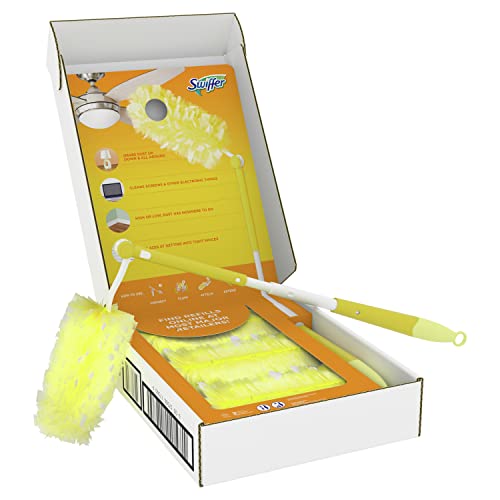
Otherwise, use a dust pan and broom. Or a general dust rag. Or even a Swiffer duster.
Tip
This step could get VERY dusty. If you have dust allergies, consider a face mask and safety glasses to stop dust from getting into your nose and eyes.
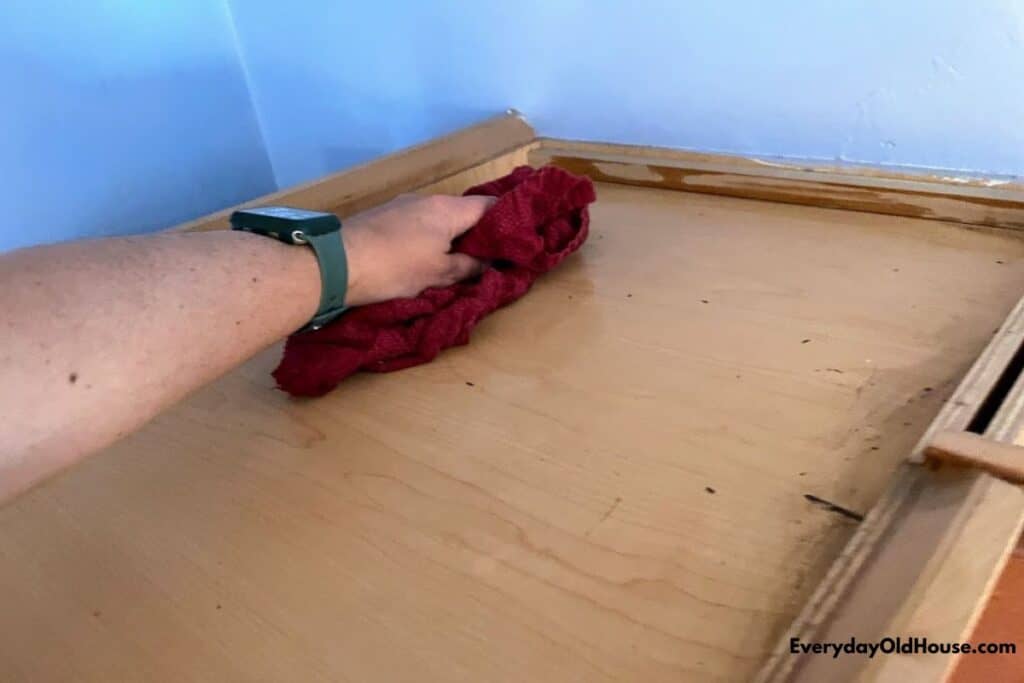
Step 3: Degrease
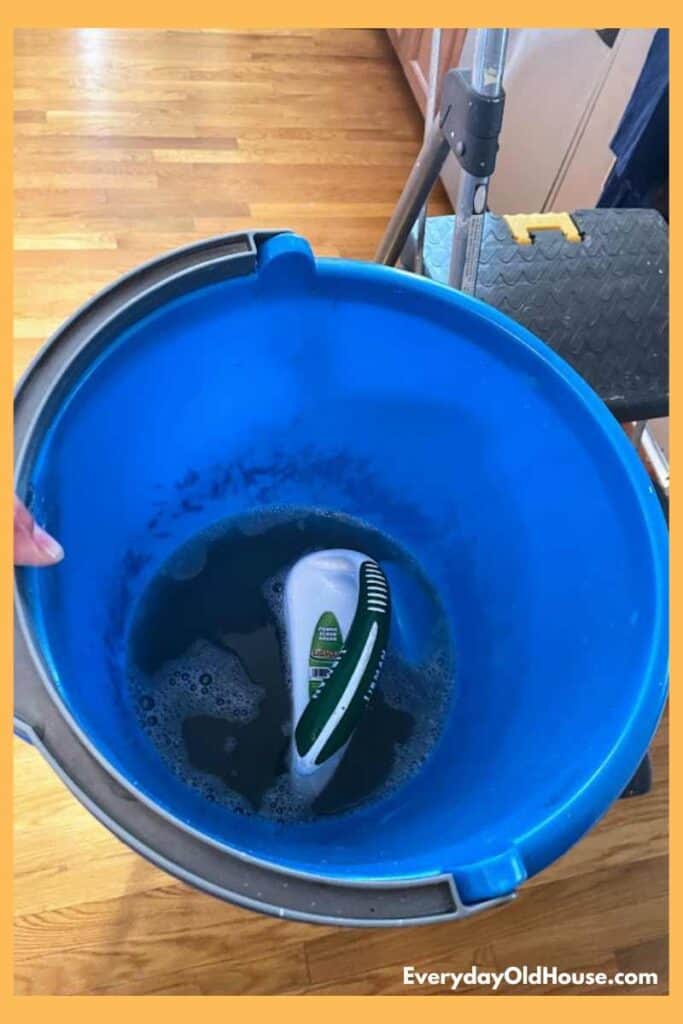
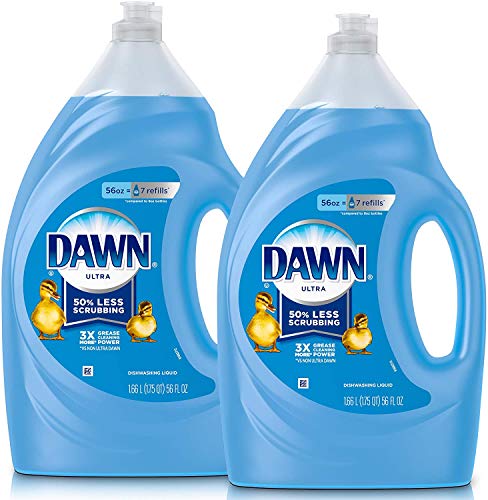
Now it’s time to roll up your sleeves and tackle the remaining sticky gunk and dirt. As you will read below, there are several commercial and natural options. Personally, I’ve always had cleaning success with Dawn dish soap.
Squirted a few drops of Dawn into about a 3/4 of a gallon of warm water. Then dip a scrub brush into the soapy solution and scrub the top of the kitchen cupboards.
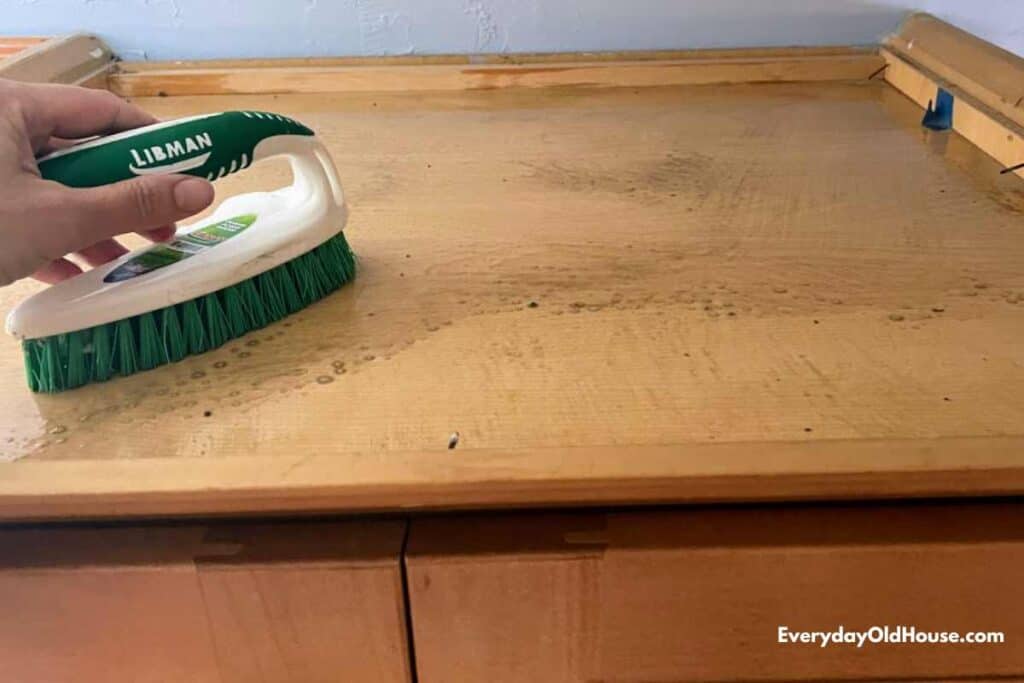
Go easy on the water – you don’t want to get the cupboards too wet and potentially damage.
After scrubbing, wipe up bubbles and loosened grime with a damped soft rag. If needed, repeat until the cupboard tops were clean.
Tip
The water in your bucket will get dirty FAST! Therefore, work in batches. For example, while I used a 5-gallon bucket, I stuck with only filling it to less than 1 gallon. I found myself continually rinsing out my rags and changing out the water every 2-3 cupboards.
Natural or Commercial Degreaser?
A commonly asked cleaning question is what type of cleaner to use. Which is most effective at removing gunk and dirt while still being safe? Based on a search across the web, it seems that you can get your kitchen cupboard tops clean using either. So it is really up to you which method you use.
Commercial Options
If you don’t mind commercial products, any basic all-in-one cleaner/ degreaser will do the trick such as:
- Fantastik Scrubbing Bubbles All Purpose Cleaner
- Mrs. Meyer’s Multi-Surface Cleaner
- Dawn Dish Soap (diluted)
Be sure to always read the instructions on cleaning products before using them to ensure they are right for the job.
Natural Options
If you don’t want to go the commercial route, there are several natural degreaser alternatives. Here’s some options I found around the web (I personally didn’t try these):
- Spritzing lemon juice (straight or diluted), followed by sprinkling of salt.
- Spray vinegar (straight or diluted) onto top of kitchen cupboards. Don’t pour!
Tough Buildup?
If these methods still don’t remove all the sticky gunk and grit from and clean the top of your kitchen cupboards, it’s time to bring out the big guns with these 2 options:
Credit Card
If your scrub brush isn’t getting all the gunk off of the kitchen cupboard tops, try scraping with an expired credit card or used gift card. (Just make sure there is no more balance on it!!)
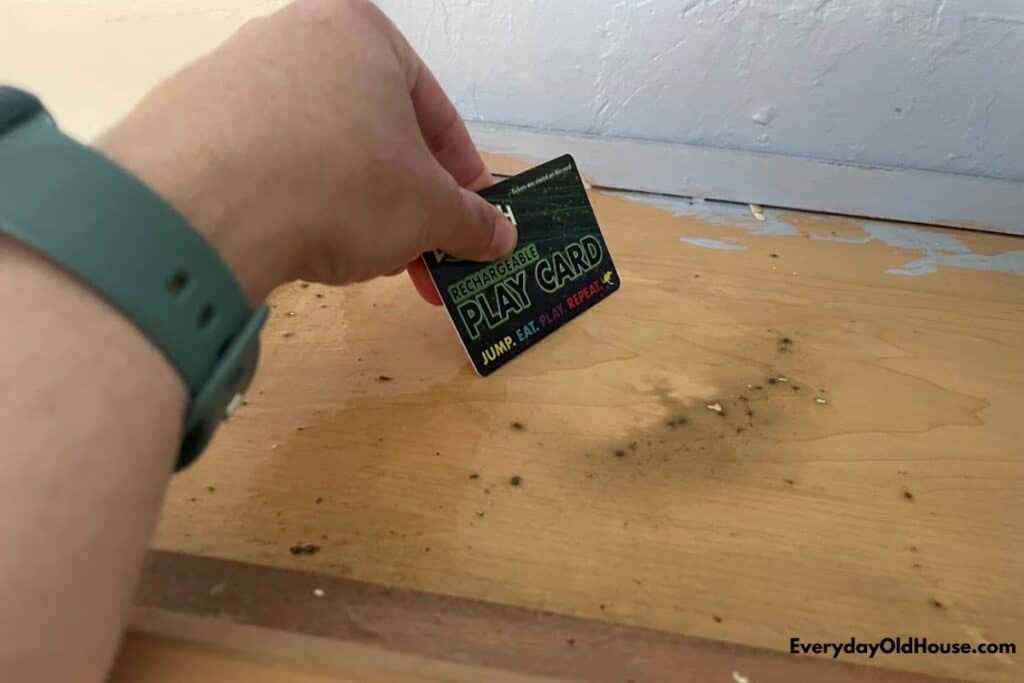
Scrape up the sticky grease and grit and wipe with a damp cloth (or paper towels).
Admittedly I found this method to be slower than using a scrub brush with hard bristles. But it did work.
Baking Soda
If you use natural degreasers, consider adding an extra cleaning punch by sprinkling of baking soda after spraying lemon or vinegar cleaner. Let the baking powder and liquid fizz and do its job (i.e. cut through the grease) before wiping up.
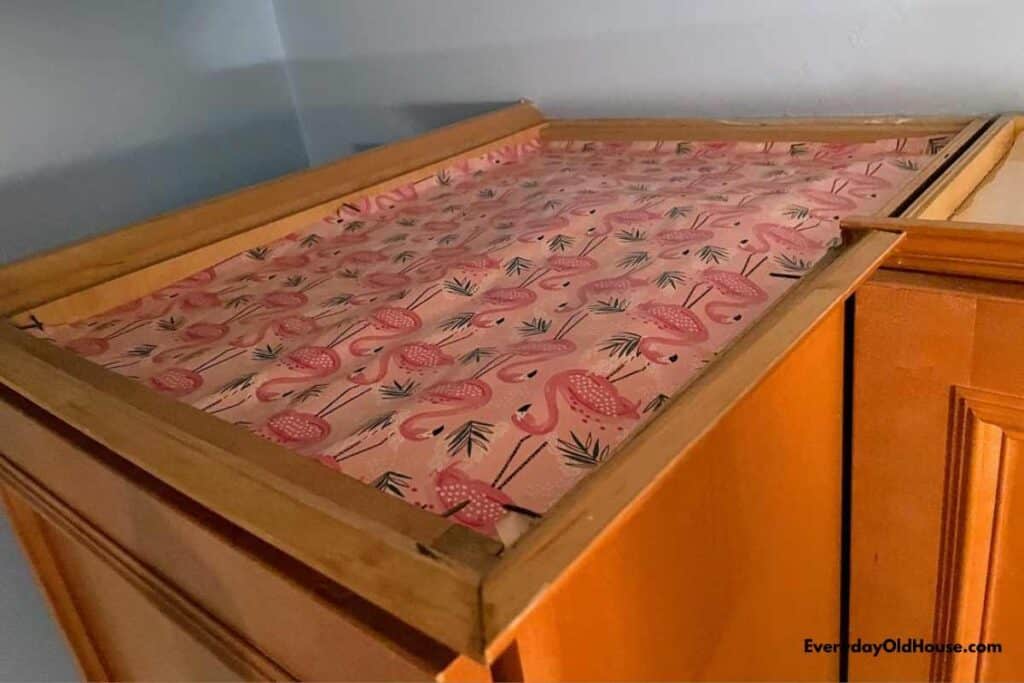
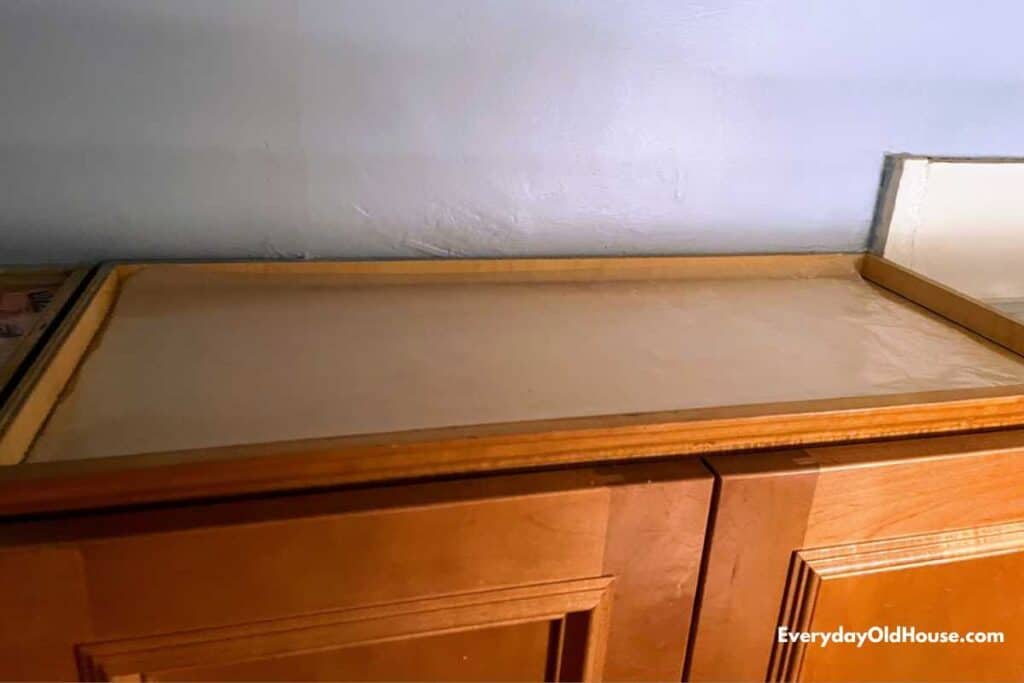
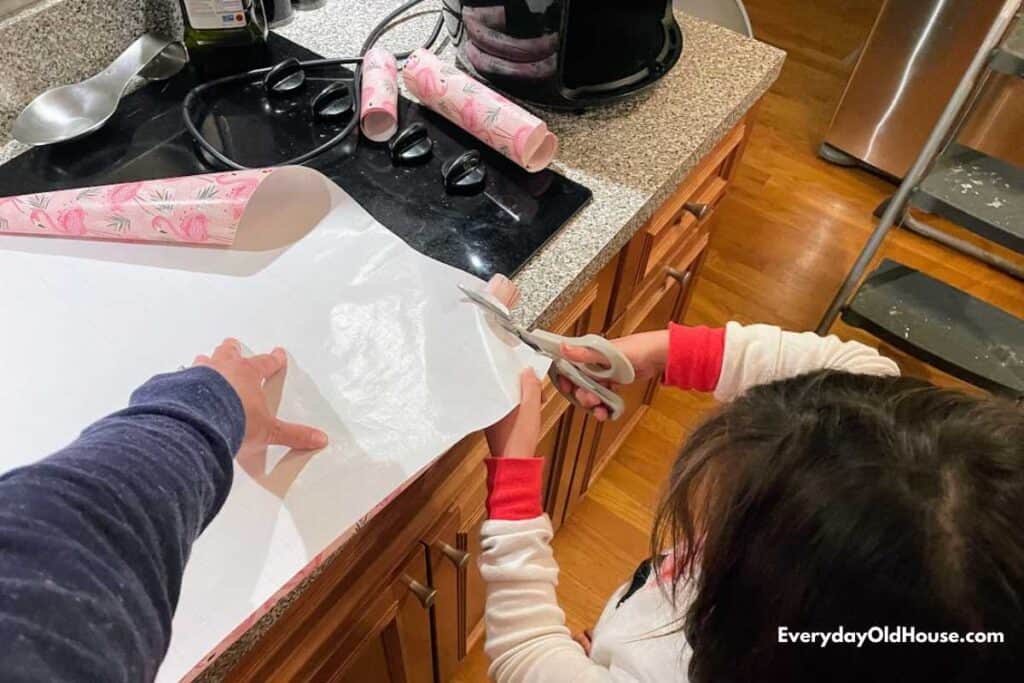
Step 4: Line Top of Kitchen Cupboards
While this last step is optional, I promise it will prevent sticky and dirty cupboard tops in the future. This step took me all of 10 minutes, and it be SO worth it the future.
First, let your kitchen cupboards fully dry. Then simply line your kitchen cupboard tops. Now, instead of grime and dirt accumulating directly on your kitchen cupboards, it will accumulate on these liners. Which, in the future when you next clean the top of kitchen cupboards, you can simply remove and replace!
No more scrubbing! How can you NOT love that?!?
Best Liners for Top of Kitchen Cupboards
What’s the best liner? Kitchen experts recommend wax paper since its waxy coating is a magnet for collecting dust and grime. Plus it is an inexpensive option that is probably already available in your kitchen.
However, there are a few other options, such as:
- Cereal boxes
- Wrapping paper
Looking for a more eco-friendly route? Here’s a few additional options to line the top of your kitchen cupboards:
- Newspapers (for the eco-friendly since they decompose quicker in landfills)
- Extra roll of wallpaper (wipe down and re-use)
- Shelf liners (also wipeable)
- Leftover fabric (washable)
It doesn’t truly matter what you to line the top of your kitchen cupboards use since it won’t be visible.
I used a combination of wax paper and wrapping paper. Why? Honestly, for speed and ease. About half of my cupboards had a width of 12”, which was also the width of my wax paper. It was a no-brainer to choose wax paper.
But for those cupboards that were wider than 12” I decided to line them with wrapping paper. Why? I’m lazy and I wanted one continuous liner. I didn’t want to cut multiple pieces of wax paper and tape them together. So I used this fun flamingo wrapping paper I’ve had hanging around for awhile.
To keep the liners secure in their place, you might consider using a piece of scotch tape to avoid shifting. Or a clean rock from outside. However, for me, I merely secured the liners underneath the nails popping out of the cupboards.
Once the liners are installed, replace any décor or stored items (or your secret stash of cookies ?) back in their place.
Wah-la! You’re done!
Additional Tips for Cleaning Top of Kitchen Cupboards
Considering the high cost of new kitchen cupboards are, it’s important that we keep our current ones clean and well-cares for. Here’s a few additional maintenance tips:
- Cover any food on kitchen counters to avoid any dust from floating down and contaminating.
- Since you’ve taken the time to get up on a ladder to clean, might as well dust the kitchen ceiling too!
- Regardless if you use commercial or natural degreasers, ensure they are gentle so they don’t damage cupboard finish
- Don’t soak your cupboards. Prolonged moisture will damage cupboards.
- Ensure that your scrub brush has hard enough bristles to be effective at removing gunk, but soft enough NOT to damage the cupboards.
- Dry your cupboards completely after cleaning (again to avoid prolonged moisture)
- It’s easy to forget cleaning the top of cupboards, so make it part of your regular cabinet cleaning.


Related Posts


Want to be the first to know about new posts? Be sure to follow me on Pinterest, Facebook, Instagram or Twitter of even Etsy! Or better yet… Subscribe below!
My monthly (admittedly sometimes more, sometimes less….) emails are like receiving a unexpected letter from an old friend WITHOUT needing to put on your slippers and walk out to your mailbox…. See? I got ya, my friend!)
[Note: My posts are proudly connected to these amazing link parties full of DIY ideas and inspiration!]
Great post! We recently had our kitchen cabinets refinished and we wanted to know how to clean them if any spills were to occur! Thank you for the very informative post!
Addie – I’m so glad you found this helpful! And congrats on the kitchen cabinet refinishing – I bet they look amazing!