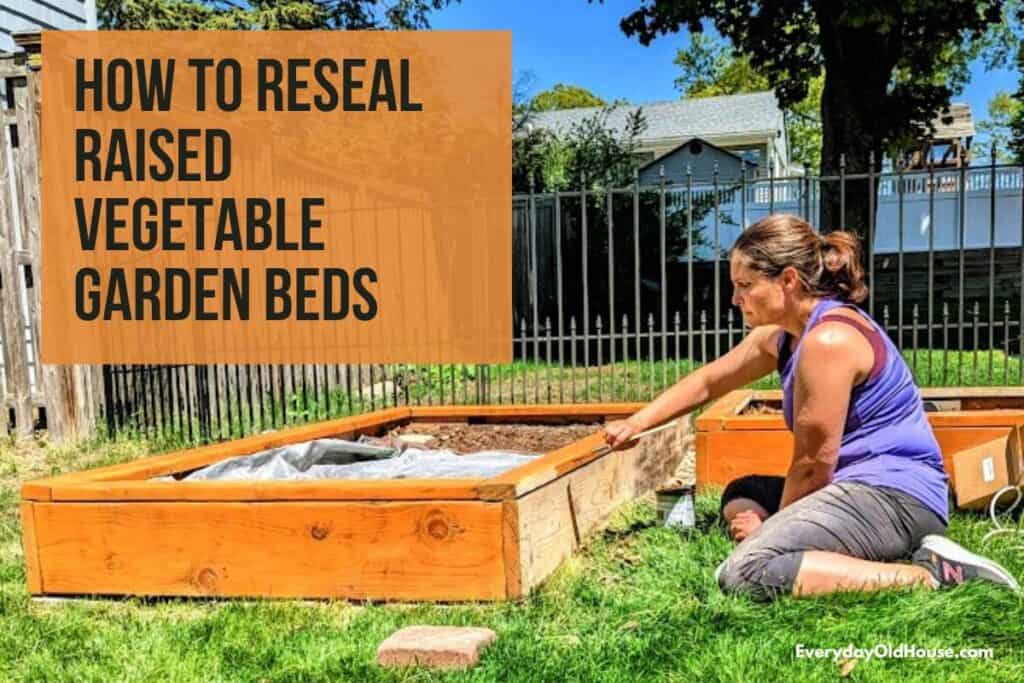
Newly built raised garden beds look so gorgeous, don’t they? Bright, beautiful wood for all to admire. Yet, the wood seems to weather and grey within a blink of an eye (or at least my garden beds did…). While some folks love that weathered look, I do not. Today I’m going to talk about what we did to reseal wood on raised vegetable garden beds to increase their longevity and appearance.
This post contains affiliate links, including but not limited to, Amazon Associates. As such, I earn from qualifying purchases. Full disclosure located here.
Backstory
Last Mother’s Day I asked for a new raised garden bed as a gift. At the time, our current raised garden beds were completely worn out. They were “bed in a box” kits that honestly, weren’t worth the money. The wood slats quickly split and soil was piling out through the sides.
So my amazing husband took to the internet a few weeks before Mother’s Day to build new garden beds using this YouTube tutorial by James Prigioni, also known as the “food forest guy”. In that video (and another video) my husband followed the recommendation to use untreated lumber sealed with boiled linseed oil.
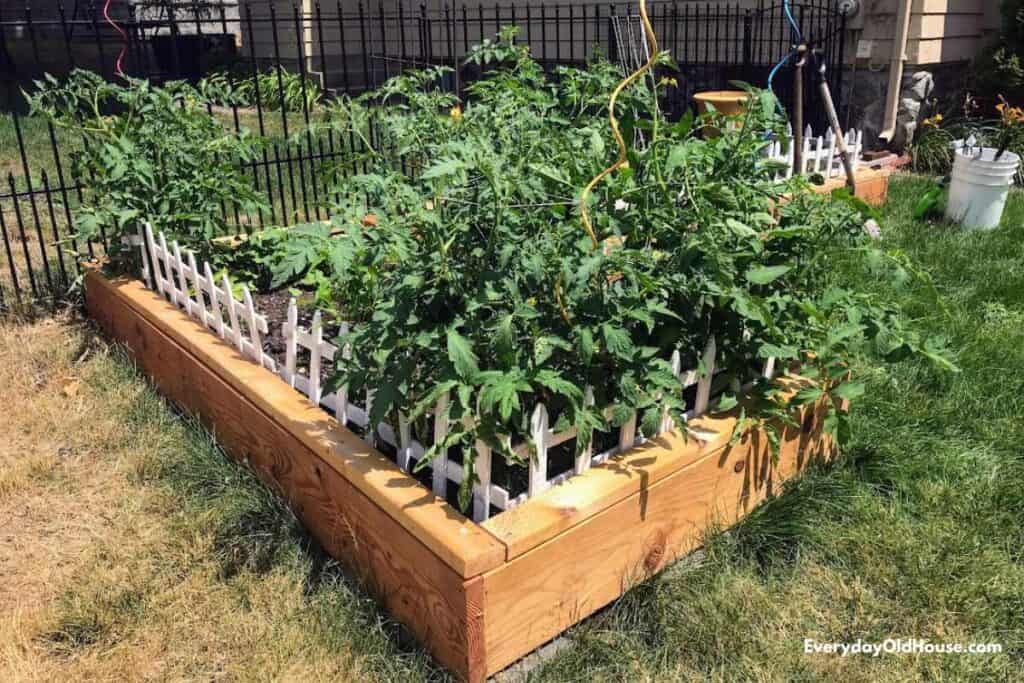
And my raised garden beds were BEAUTIFUL that first summer. The neighbors showered my husband with compliments on how gorgeous the beds turned out. I think one or two hinted at hiring him to build them their own!
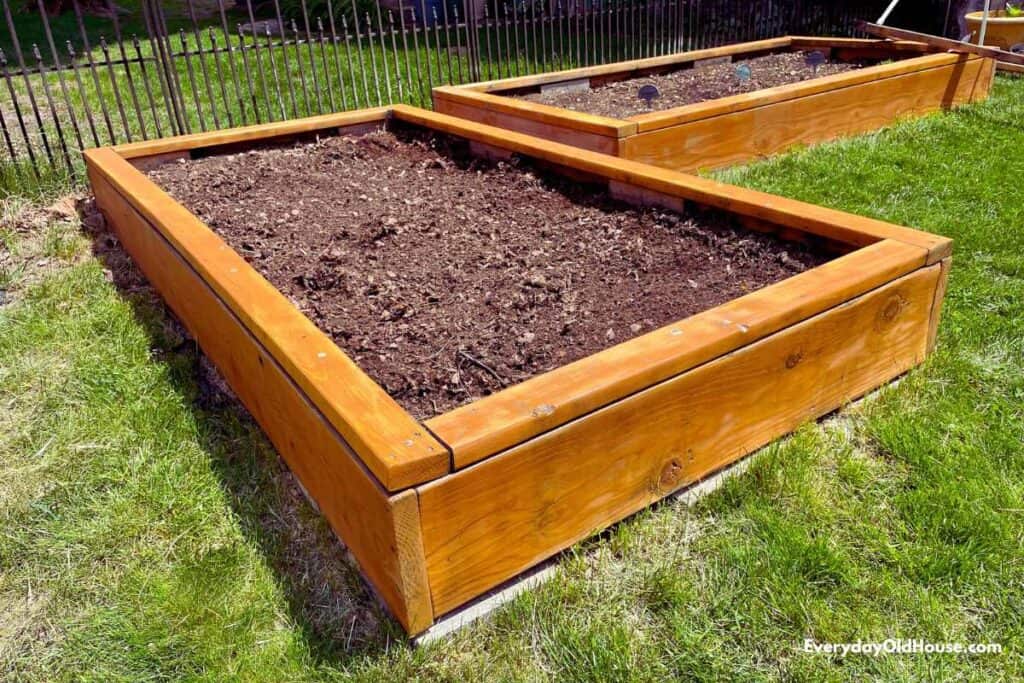
Fast-forward a year. While my DIY raised garden beds are still structurally very sound, they were more weathered and grey than I anticipated.
I was so bummed I decided to dome something about them. Could I revive them? Could I reseal wood on raised vegetable garden beds and bring back that shiny, new look? Let’s find out…..
Should You Use Linseed Oil on Raised Garden Beds?
First, I decided to learn more about the sealant my husband used the previous summer – linseed oil. Call it a “learn from my mistakes” lesson. Here’s what I learned (and why you probably shouldn’t use linseed oil either…).
Linseed oil is an extract of flax seed that protects natural wood from decaying. There are several advantages of using linseed oil to seal wood, such as:
- Water resistant
- Flexible (i.e. stays intact even when wood expands and contracts)
- Accentuates wood texture and grain
- Easy to apply (rub on, rub off)
Sounds perfect, right? But I decided against re-using linseed oil this year to reseal wood on raised vegetable garden beds for these reasons:
1. Dry Time & Additives
Linseed oil is sold in two forms – raw or boiled.
Raw linseed oil is the pure form, extracted from the flax seed, fairly inexpensive, and doesn’t contain any chemicals or additives. Sounds great – no added chemicals near your growing veggies at a low cost, right? But here’s the problem.
Raw linseed oil takes about a LONG time to cure. The oil is very slow-drying and will take days or even weeks to thoroughly dry. If you are building new garden beds and can protect the drying wood in a garage or overhang, perhaps time isn’t a concern to you.
But my garden beds are out in the open and exposed for those April and May showers. So, no raw linseed oil for me.
The other option, boiled linseed oil (which my husband originally used) dries a lot faster than raw linseed oil. However, here’s the problem. It dries faster because it contains various drying agents, stabilizers and hardeners. And depending on the manufacturer, some of these added chemicals could be toxic and leach into soil.
The last thing gardeners want is to introduce chemicals that will find their way into the veggies they plan to eat, right? (Which we may have done last year. Whoopsy…)
2. Weathering & Durability
After only one year, the exterior wood on my raised garden beds were weathered MUCH more than I expected. Apparently, linseed oil needs to be re-applied every year. I now understand that linseed oil does not contain UV inhibitors that would slow down the wood’s aging process and may not be proven to prolong the life of wood.
And honestly, I’m not looking to reseal wood on raised vegetable garden beds annually if I have another option.
So I wanted to try something else more durable.
What Kind of Wood Sealer for Raised Vegetable Garden Beds?
Are there better options on the market to reseal wood on raised vegetable garden beds than linseed oil? Options that are more durable yet non-toxic?
What should I be looking for in a wood sealer for raised garden beds? The (IMHO) best answer came from the experts at Green Building Supply, summarized below.
Resealing Exterior Versus Interior Wood
Green Building Supply made a convincing case that the strategy for protecting the INTERIOR wood of raised garden beds should differ from protecting the OUTSIDE wood.
The wood inside the garden bed touches the soil. And that soil contains bugs and significant moisture, which results in mold and rot. Ultimately, it destroys the wood over time. Foundation sealers best counteract this exposure.
Meanwhile, the wood on the exterior of raised garden beds isn’t hidden under soil. Instead, it is exposed to the elements (i.e. sun, rain, wind, snow, etc.). In this case, weather resisting stains and sealers work better for this wood.
And notice, they recommend both a sealer AND a stain. Apparently, clear wood sealers (like linseed oil) protect against moisture, but not against the sun, resulting in that greying in a short period of time. Whoopsy.
Reseal Wood on Raised Vegetable Garden Beds – Options
After a fairly thorough Google search, I found 3 potential options to reseal wood on raised vegetable garden beds. Note that I’m not an expert in these things and can’t guarantee these options below are completely safe, 100% non-toxic products to reseal wood on raised vegetable garden beds.
While my professsional background is environmental health, I don’t have intimate knowledge about these products beyond the information found on the internet. My goal is to share the work I put into research and hopefully save you some work in finding the right option for you.
Ultimately I chose Vermont Natural Coatings (Option #1) for two reasons:
- I’m lazy. While the other 2 products can be used after applying stain, I didn’t want to apply 2 coats of a separate stain THEN 2 coats of sealant. Vermont’s all-in-one stain and sealant requires just 2 coats.
- Our deck needs re-finishing soon. I wasn’t impressed with the Behr deck stain we used. So I want to test the durability of Vermont Natural Coatings for this future project.
1. Vermont Natural Coatings
The magic behind their Exterior Penetrating Wood Stain is PolyWhey® which harnesses the power of whey protein, a byproduct of cheese making to create a waterproof barrier for wood that inhibits moisture, mold, mildew, and decay.
Yup. You read that correctly. Cheese! (which is a top 10 food in my household…)
It is non-toxic, has low odor and contains no biocides, fungicides or anti-microbial agents.
This exterior stain and waterproofer can be used on new wood, pressure-treated wood, and weathered wood and ideal for decks, fencing, docks, raised beds, outdoor furniture and siding. This product is not recommended for use on IPE, Mahogany, or other similiar type woods.

The Exterior Penetrating Stain is available in about a dozen different color stains, as well as a traditional clear (Caspian Clear). The stain portion blocks the UV rays and protects wood from the grey, weathered look. Apparently the darker the stain, the longer the protection.
There are ultra-low levels of VOCs in this exterior penetrating stain (the other two options below reportedly don’t). BUT this level is much lower compared to other traditional exterior stain and sealants and passes stringent health and criteria such as California Prop 65.
Personally, I’m OK with low level of VOCs especially since I’m just resealing the exterior of my raised vegetable garden beds. Perhaps if I was starting from scratch, maybe I would reconsider.
And Vermont Natural Coatings take a serious approach to environmental sustainability. They use up to 45% renewable ingredients in their products, and 50% of their electricity is sourced from renewable resources.
As of June 2023, this product has a positive 4.6 out of 5 stars rating on Amazon with 104 ratings.

2. Garden-Seal
This wood sealant was a strong contender based on price and longevity in business.
Sold by either the gallon and 5-gallon buckets (no quarts), the cost per unit is more reasonable than the other two options. And I like my bargains….
But ultimately, I decided against it because it didn’t come with the stain included. And I knew that I could get away with resealing my raised vegetable garden beds with just a quart of product.
According to their website, Garden-Seal is the “original non-toxic sealant” since 1995 (aka 25 years of proven effectiveness). It can be applied to new or existing wood, easy to apply, dries clear and self-leveling. Garden-Seal has over 100 household uses – it even seals tree wounds!

Its magic is a non-toxic, VOC-free tricopolymer sealant that creates a barrier that seals out moisture.
Two+ coats are recommended, and it cleans up easily with soap and water. It’s compatible with all species of softwoods and hardwoods.
As of June 2023, has a positive 4.6 out of 5 stars rating on Amazon with 446 ratings.
3. Garden Box Armor
I liked the looks of this option based on its promise in caps “LASTS 10+ YEARS”. Since I didn’t see a reference to a specific year longevity with the other options, this guarantee of longevity was very intriguing. Who wants to reseal wood on raised vegetable garden beds every year? Not this gal!
Plus, there were a significant amount of positive reviews on how well this product worked on sealing the inside of garden beds. If I could travel back in time to last year when my husband was initially building the raised garden beds and I had the opportunity to seal the interior (versus linseed oil), I might have leaned towards this product.

NOTE
After publishing this post, I found in Amazon Q&A section that the company does offer a combined stain and sealant safe for raised vegetable garden beds. According to the manufacturer, “Seal It Green Total Wood is a similar plant-based sealer but comes in different tints”.
Well, shoot.
Garden Box Sealer uses powerful plant-based ingredients to help protect all wood types from water & weather damage. These ingredients include:
- Tree And Nut Oils
- Plant Derived Carrier nor
- Coconut Derived Surfactants
This product was created by a chemist Richard Winget who quit his job to focus on developing non-toxic, zero-VOC, premium products for his home use and for others under the Seal It Green Sealants brand.
It’s non-toxic, food, animal, pet and plant safe. It’s perfect for a variety of uses, such as sealing and protecting bird houses, bird feeders, dog houses, and chicken coops. And prevents 90%+ of all cracks, end checks (cracks and end of board), warping and splitting.
Garden Box Armor can be applied to all wood types including cedar, bamboo, redwood, pressure treated, Ipe and other wood types.
As of June 2023, has a positive 4.6 out of 5 stars rating on Amazon with 185 ratings.

How to Reseal Wood on Raised Vegetable Garden Beds
Here’s what we did to reseal the wood on raised garden beds. It was fairly easy and fast – I spent just a few hours over a weekend. I’m impressed with how beautiful they turned out!
Below is the list of materials you need, and step-by-step directions.
Materials/Tools
- Tarp
- Sander
- Dust mask and safety glasses
- Soft, clean rages
- Stain & Sealant
- Paint Brush
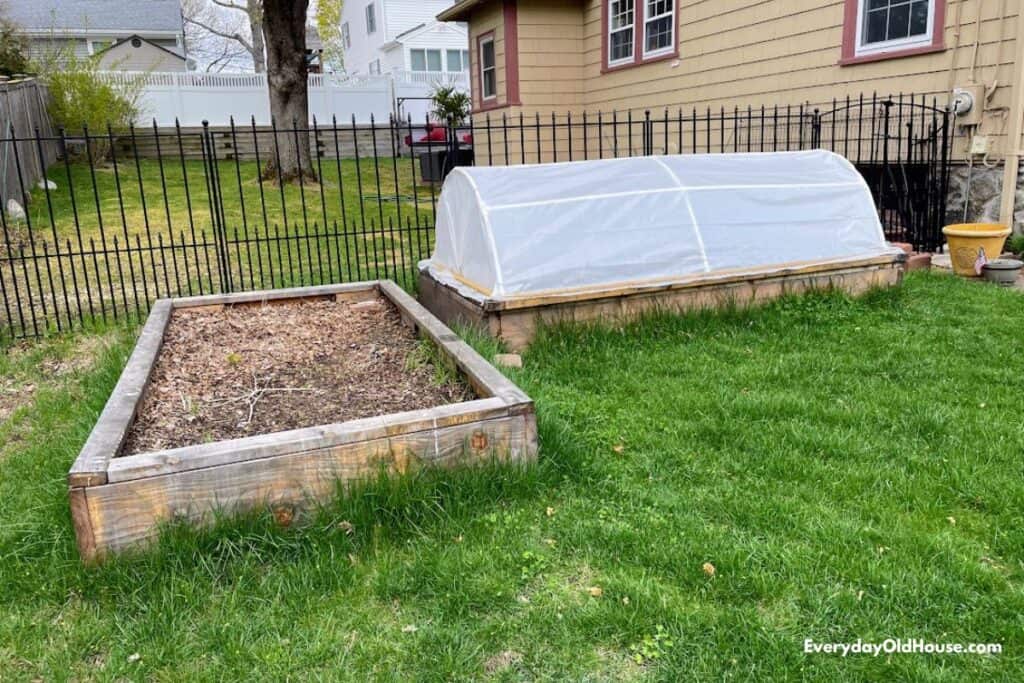
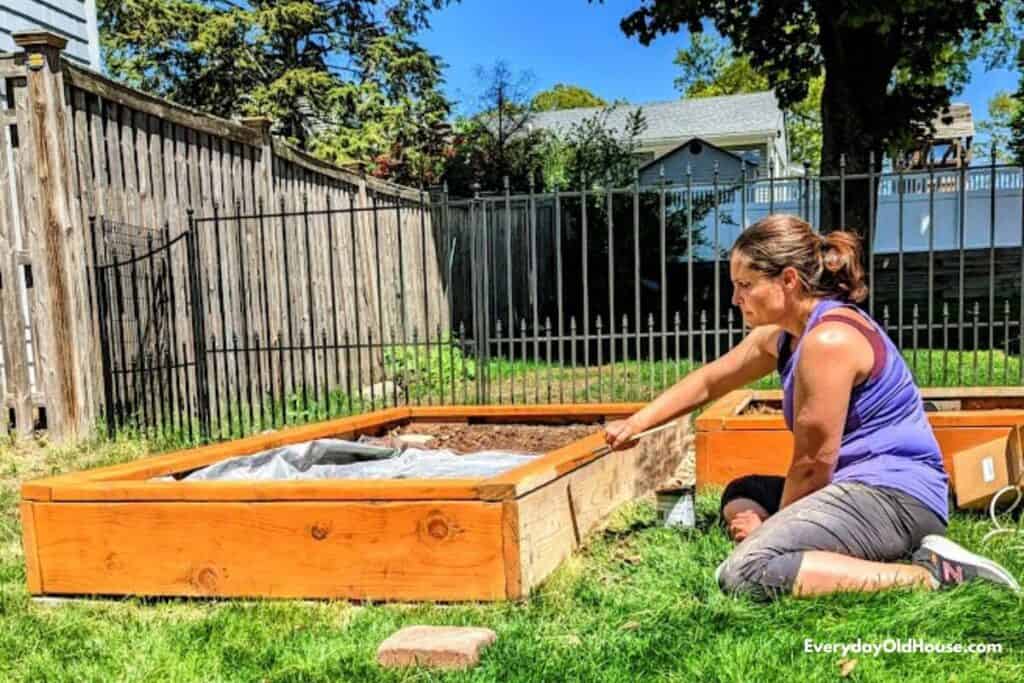
Step 1. Prep Area
First, check the weather! Do not start this project when rain is expected within the next 48 hours, and air temps must be between 50 and 80 degrees Fahrenheit. Sure, unexpected weather happens (like the time it HAILED in August while we were staining our deck – Seriously!), but check your weather app to ensure no rain is expected.
Second, before any wood restoration project, you always want to start with a clean surface, right? Clean off any dirt and bird droppings. If you have the time, use water and scrub brush to wash. Let it dry before sanding. This might be a good Friday afternoon task so that you are ready to rock and roll and start sanding on Saturday morning.
If your raised vegetable garden beds are low on the ground, you might need to clean up around the work area. For me, it was cutting back the grass so that I could get as low as possible.

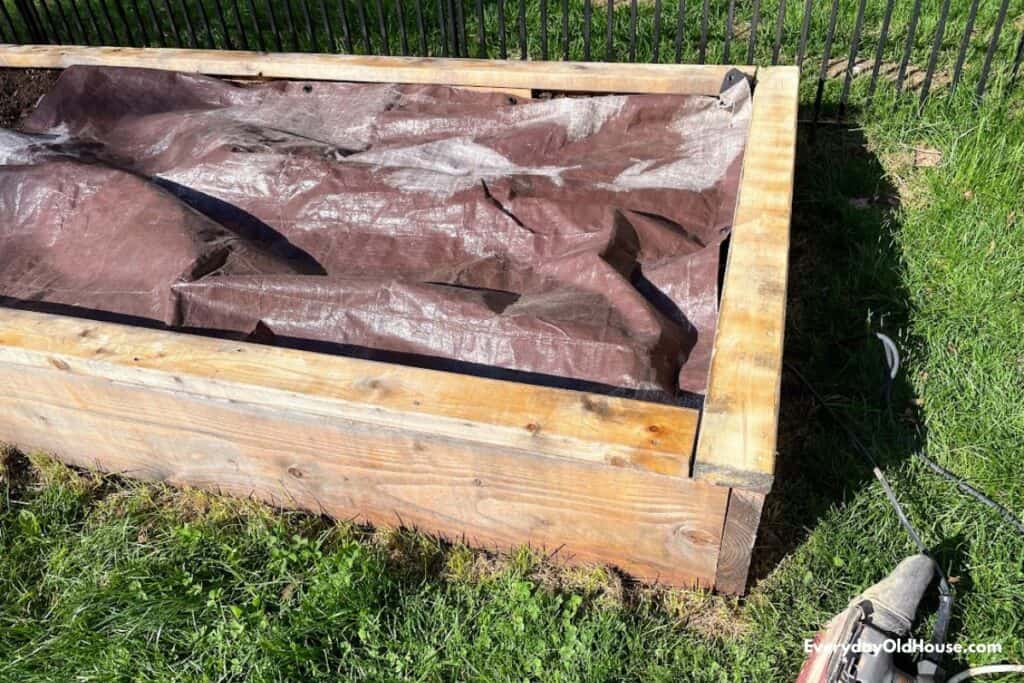
Step 2. Sand
If your wood was previously treated, you must sand and remove that old protectant so that the new stain and sealant can penetrate the wood and do its job.
To minimize the impact of sawdust on the soil, cover the interior of the garden beds with a tarp. Once done, carefully roll up the tarp and shake out in a safer area.
Don’t forget your safety glasses and dust mask!
If you have a raised vegetable garden bed near the ground, you may have problems (like me) getting the sander all the way to the bottom near the grass. Sometimes you just can’t have a perfect project and can only do your best.
After sanding (with the grain), use a soft rag to wipe sawdust off the fresh new wood.
Step 3. Seal
Time for the big event! Follow the directions on the label of your stain and sealant. Here’s the highlights of instructions from the Vermont Natural Coatings:
- Stir well prior to use.
- Apply with brush, paint pad, foam brush or spray. Do not thin. Apply an even coat with the grain of the wood and maintain a wet edge. Coat the end grain of all exposed boards.
- Two coats are recommended. Apply second coat while the first coat is still damp. Do not sand between coats. If the first coat fully dries the second coat will not be able to penetrate.
For me, I applied on the high end of the recommended temperature (70s and sunny). And I will attest that this stuff dries FAST!!! If you wait too long, the second coat goes on a bit milky.
Sure, I would have loved to have done this project on a cooler, clouder day. But I’m a mom of 3 who grabs time to do her DIY projects whenever she can. And considering my family surprised me with a bunch of veggie seedlings as a gift for Mother’s Day, I needed to reseal my garden beds pronto and plant!
If you decide to reseal wood on raised vegetable garden beds in hotter weather, work fast and in smaller areas before moving to the next section.
Step 4. Dry
Usually, the stained and sealed wood will be fully cured in 48 hours. And then it’s time to plant and get ready for veggie season!!!
Here’s my finished garden beds – don’t they look fantastic?!?!?! I chose the Lakeside Cedar stain. Admittedly, when I first applied it, I was hesitant. It went on VERY orange and bright. (I know, I know, I’m supposed to test the stain on an inconspicuous spot before applying on the entire bed, but I didn’t have time for that!) But the next day, it fully dried to a more subtle tawny stain that I now love.
That’s it! Time to plant those seedlings! I’ll keep you posted as the summer and year progresses on its durability!
Related Posts


Want to be the first to know about new posts? Be sure to follow me on Pinterest, Facebook, Instagram or Twitter of even Etsy! Or better yet… Subscribe below!
My monthly (admittedly sometimes more, sometimes less….) emails are like receiving a unexpected letter from an old friend WITHOUT needing to put on your slippers and walk out to your mailbox…. See? I got ya, my friend!)
[Note: My posts are proudly connected to these amazing link parties full of DIY ideas and inspiration!]